27 Genius Studio Apartment Layout Ideas That Maximize Every Square Inch
Living in a studio apartment presents unique challenges, but with clever layout strategies, you can transform your compact space into a stylish, functional home.
The key lies in thoughtful planning and furniture placement that maximizes every square inch while creating distinct zones for different activities.
Whether you’ve just moved into your first studio or want to refresh your current space, these smart layout ideas will help you make the most of your one-room living situation.
Let’s explore these practical solutions that prove small spaces can still deliver big on style and functionality.
1: Create a Room Divider With Bookshelves
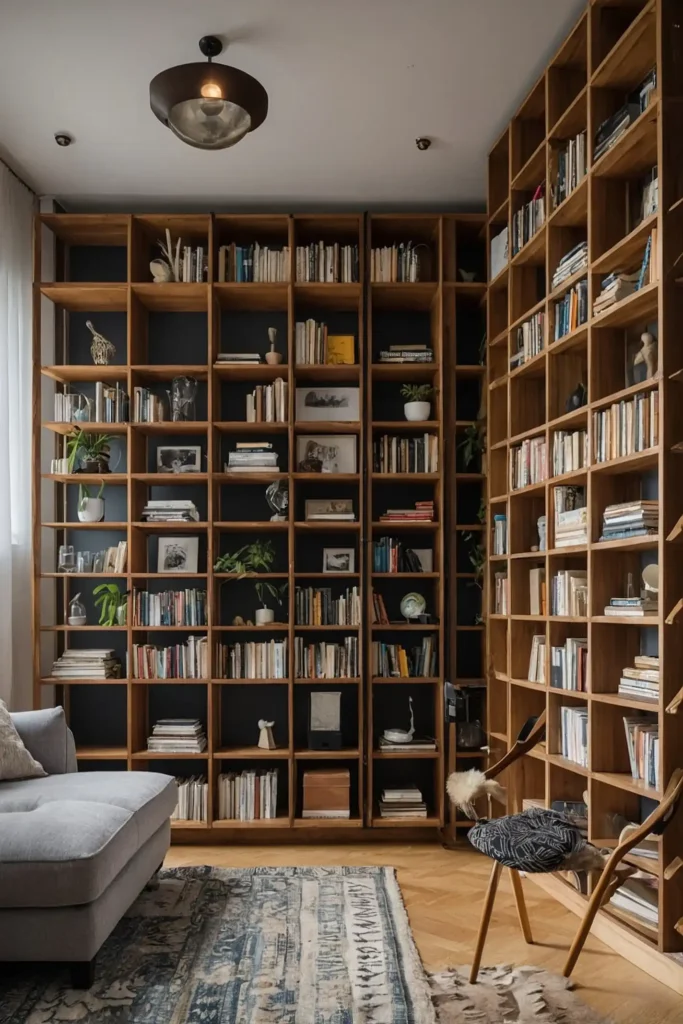
Use a tall bookshelf positioned perpendicular to your wall to visually separate your sleeping area from your living space.
This creates distinct zones without constructing permanent walls.
The open shelving allows light to flow through while providing valuable storage. Position the unit so the shelves are accessible from both sides.
Choose a model that matches your aesthetic—whether that’s a sleek, modern design or something more rustic and characterful.
2: Elevate Your Bed on a Platform
Build or purchase a platform bed with built-in storage drawers underneath.
This smart solution creates a dedicated sleeping area while maximizing storage potential.
The elevation helps define your bedroom zone within the larger space. Some platforms even include additional features like pull-out desks or seating.
This multifunctional approach eliminates the need for separate storage furniture, freeing up valuable floor space.
3: Utilize a Murphy Bed
Install a wall bed that folds up when not in use, instantly converting your bedroom into additional living space.
Modern murphy beds come with sleek designs that blend seamlessly with your decor.
Many models include integrated shelving or desks that remain accessible when the bed is folded away.
This transformation provides maximum flexibility for your daily activities.
This investment pays dividends in usable square footage, especially if you entertain frequently or work from home.
4: Define Zones With Area Rugs
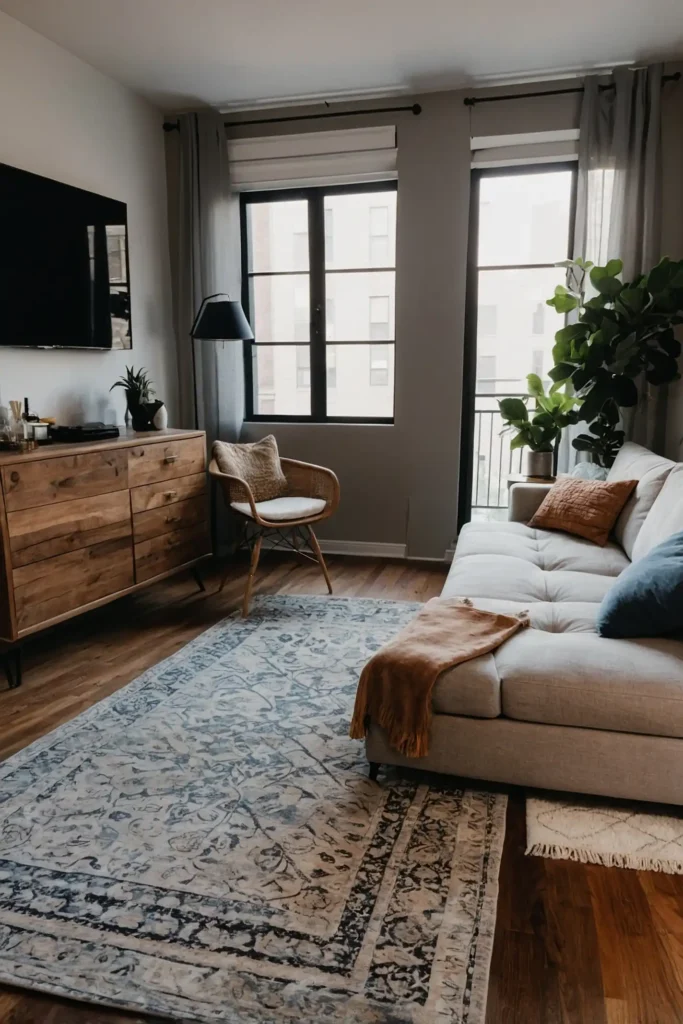
Place different area rugs to visually separate your living, dining, and sleeping areas.
This simple technique creates distinct spaces without physical barriers.
Choose complementary designs that coordinate rather than match exactly.
The varying textures and patterns add visual interest while serving a practical purpose.
This approach allows you to easily rearrange your layout as needed while maintaining defined functional zones.
5: Opt for a Loft Bed Setup
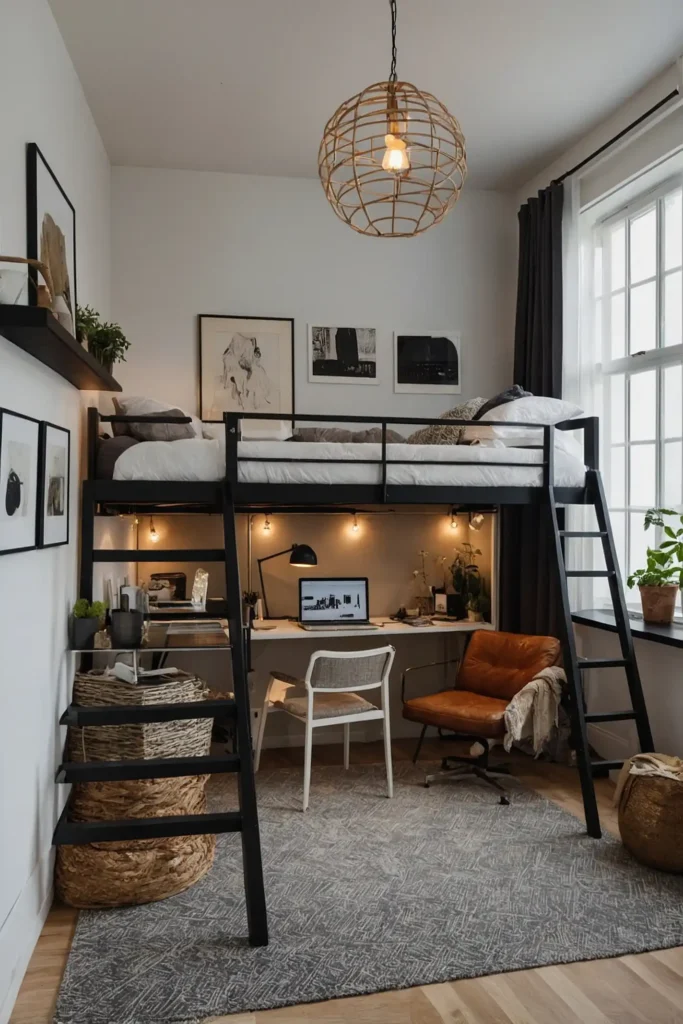
Maximize vertical space by installing a loft bed with your living area underneath. This arrangement effectively doubles your usable floor space.
Create a cozy seating area, home office, or storage solution beneath the elevated sleeping platform.
Choose a sturdy, adult-appropriate design rather than collegiate options.
This layout works particularly well in studios with higher ceilings, providing a true two-in-one space solution.
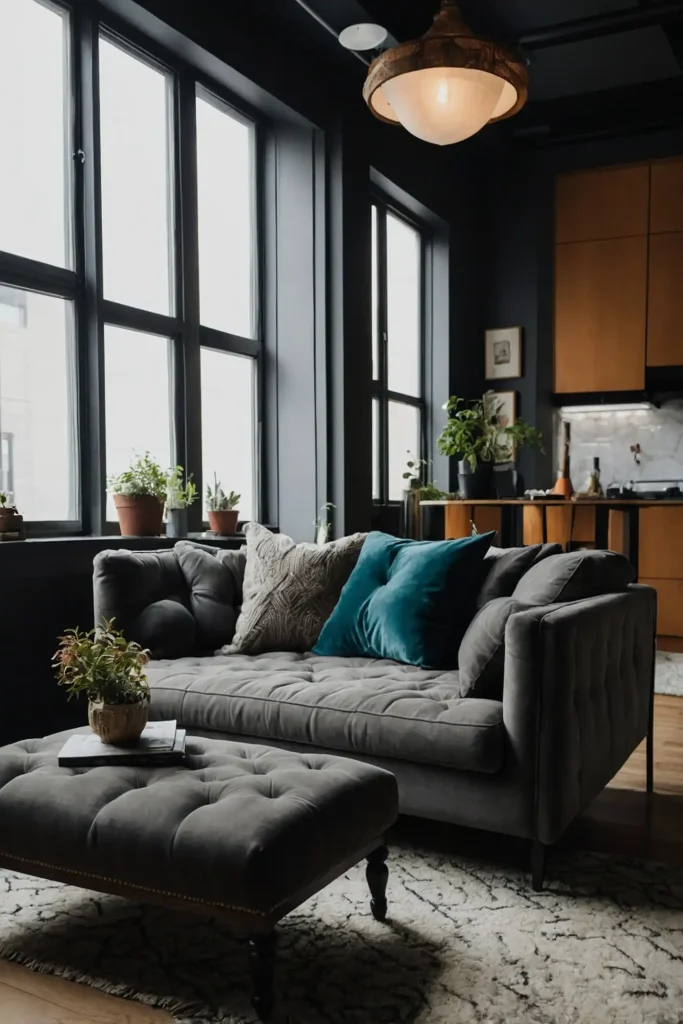
6: Position Furniture Away From Walls
Create a more dynamic layout by floating furniture away from walls. Place your sofa or bed in the center of the room to create circulation paths around your furniture.
This unexpected arrangement can make your studio feel more spacious and intentionally designed.
Use the wall space you free up for storage or decorative elements.
This technique works especially well in square-shaped studios where central placement creates natural divisions.
7: Embrace Multi-Functional Furniture
Invest in pieces that serve multiple purposes, like a sofa bed, extendable dining table, or ottoman with hidden storage.
These versatile items adapt to your changing needs throughout the day.
Look for quality designs that function well in all configurations.
The best multi-functional pieces transition smoothly without feeling like compromises.
This approach lets you enjoy full-sized furniture without duplicating functions that consume precious space.
8: Create a Studio “Entryway”
Designate a small area near your door as a proper entryway with a narrow console table or wall-mounted organizer.
This creates a transitional space between the outside world and your home.
Add hooks for coats, a small bench for removing shoes, and a dish for keys.
This dedicated zone prevents outdoor items from encroaching on your living area.
This thoughtful detail makes your studio feel more like a complete home with distinct functional areas.
9: Use a Sofa as a Room Divider
Position your sofa with its back toward your bed to create separate living and sleeping zones.
This arrangement establishes distinct areas while using furniture you already need.
Add a narrow console table behind the sofa to create a boundary with additional functionality.
This surface serves as both bedroom nightstand and living room accent table.
The dual-purpose setup maximizes your furniture’s potential while creating visual separation.
10: Install Ceiling-Mounted Curtains
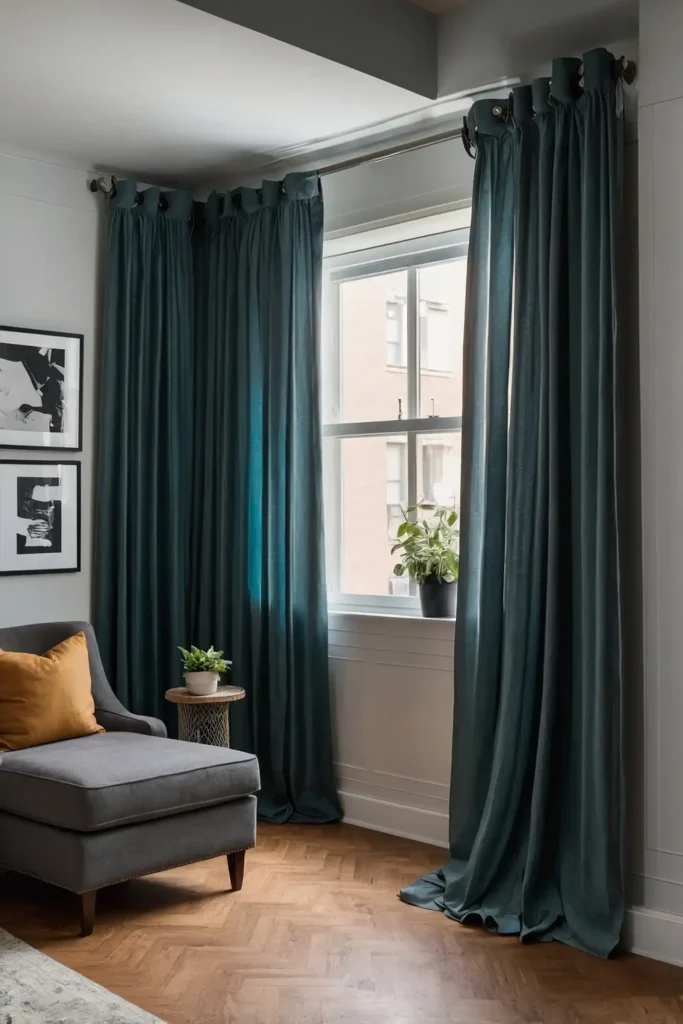
Hang ceiling tracks to support curtains that can be drawn to conceal your sleeping area when desired.
This flexible solution provides privacy without permanent construction.
Choose fabric that complements your overall design scheme. Semi-transparent options allow light flow while still creating visual separation.
This adaptable divider can be completely opened during the day to maximize your space and closed when privacy is needed.
11: Design a Kitchen “Peninsula”
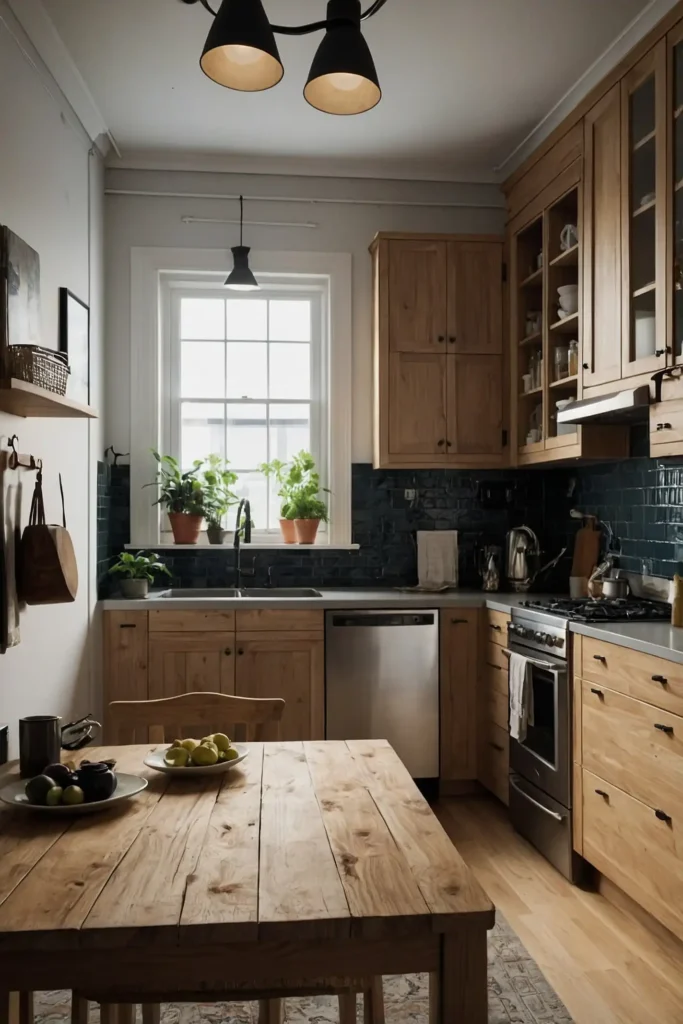
Extend your kitchen counter to create a peninsula that doubles as a dining area or workspace.
This layout maximizes your kitchen functionality without requiring additional furniture.
Add stools for comfortable seating that tucks away when not in use. The extended counter provides valuable workspace for cooking, dining, or working.
This integrated solution eliminates the need for a separate dining table, saving significant floor space.
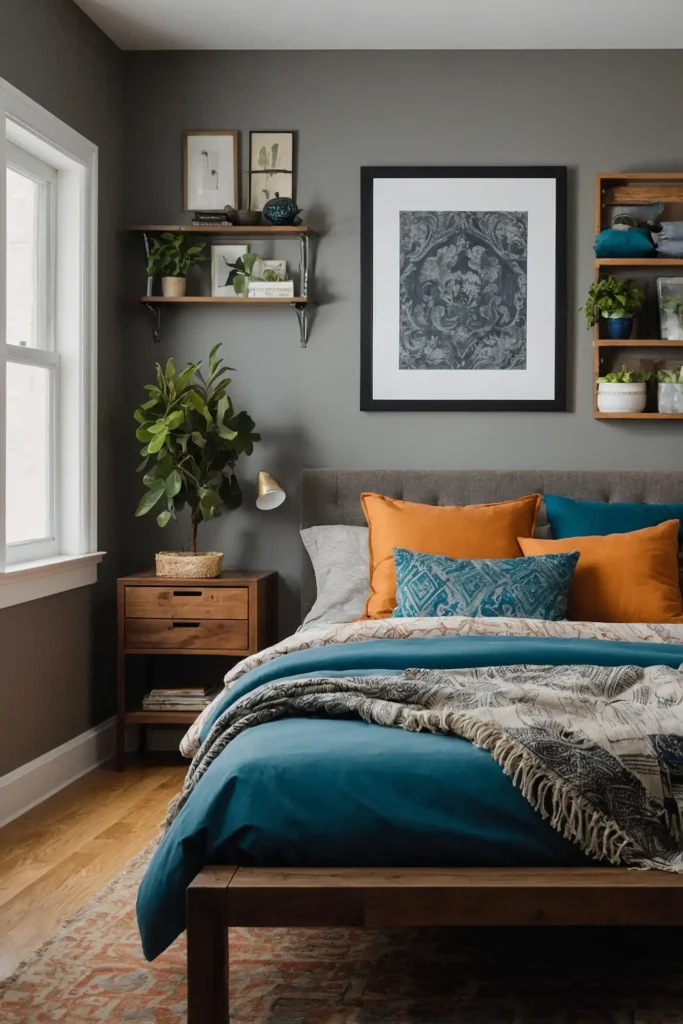
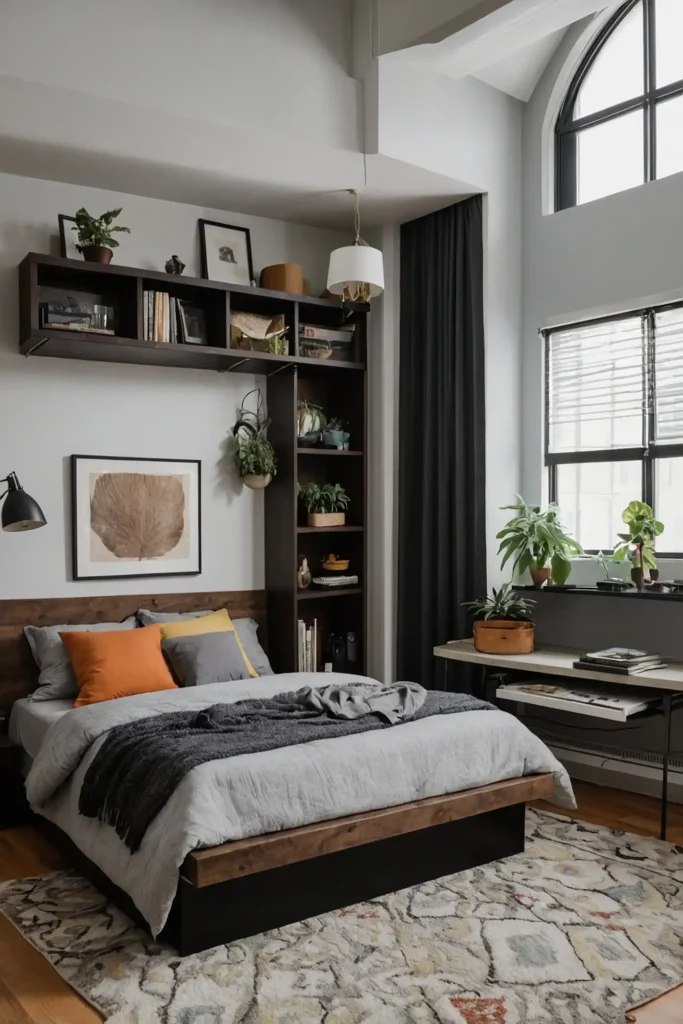
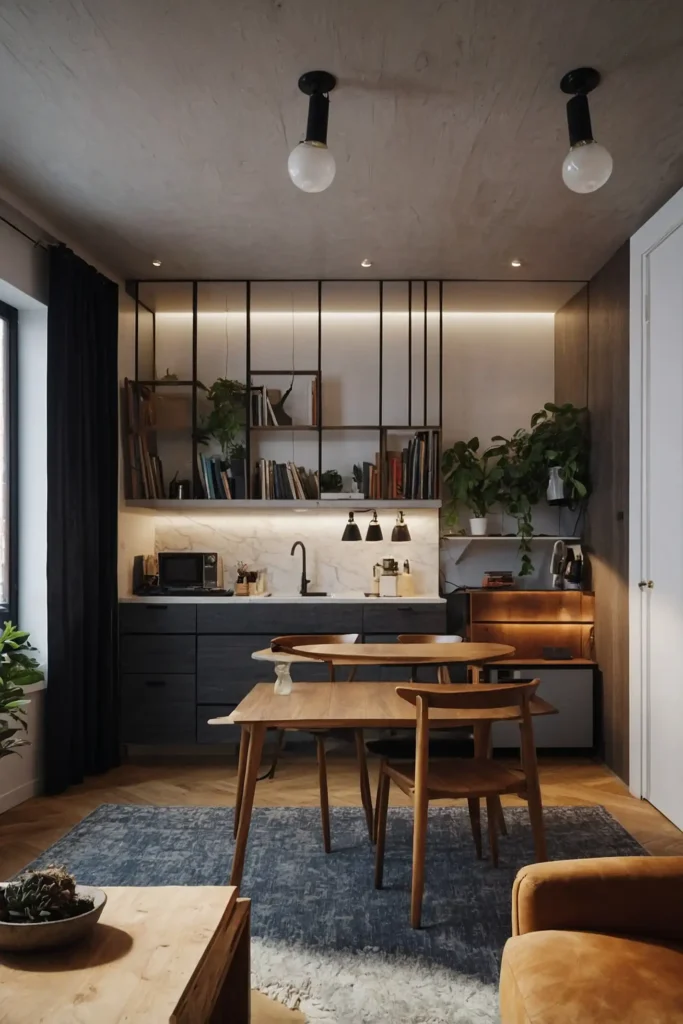
12: Utilize Vertical Wall Storage
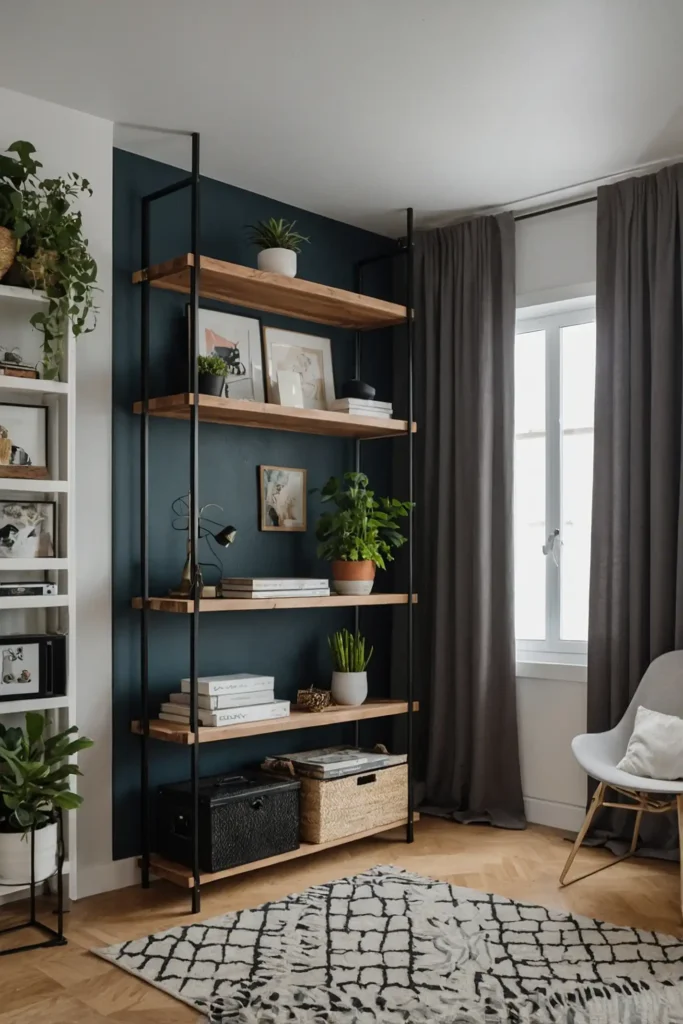
Maximize wall space with floor-to-ceiling shelving units or modular wall systems.
This vertical approach keeps necessities accessible without consuming valuable floor space.
Mix open shelving with closed cabinets to display decorative items while hiding clutter.
Extend storage as high as possible to take advantage of often-wasted upper wall space.
This strategy dramatically increases your storage capacity while creating visual interest through thoughtful arrangement.
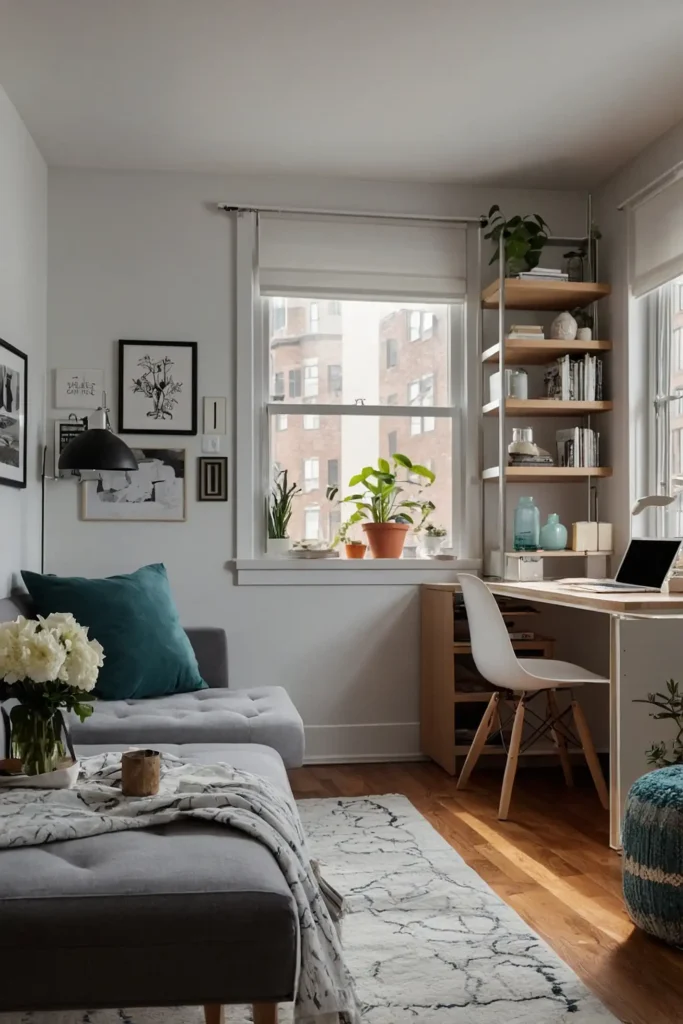
13: Create a Window-Facing Desk Area
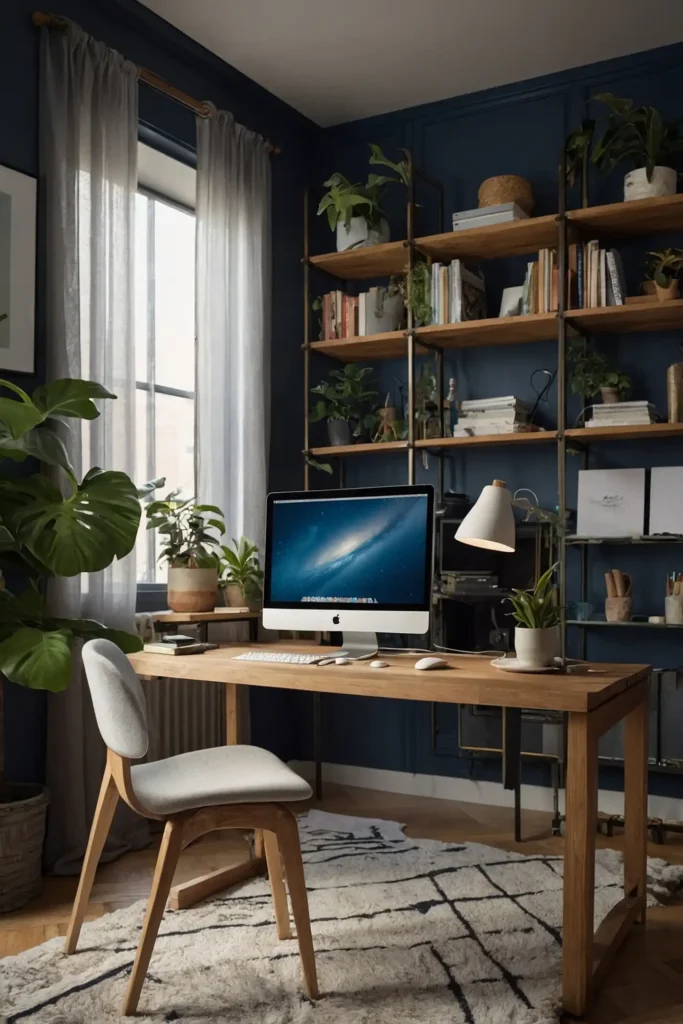
Position your workspace facing a window to maximize natural light and create a psychological separation from your living area.
This orientation provides inspiring views and optimal lighting.
Choose a desk that fits your window width exactly for a built-in appearance.
Add task lighting for evening productivity without disturbing the ambiance in the rest of your studio.
This arrangement makes working from home more pleasant while establishing a dedicated productivity zone.
14: Use a Decorative Screen Divider
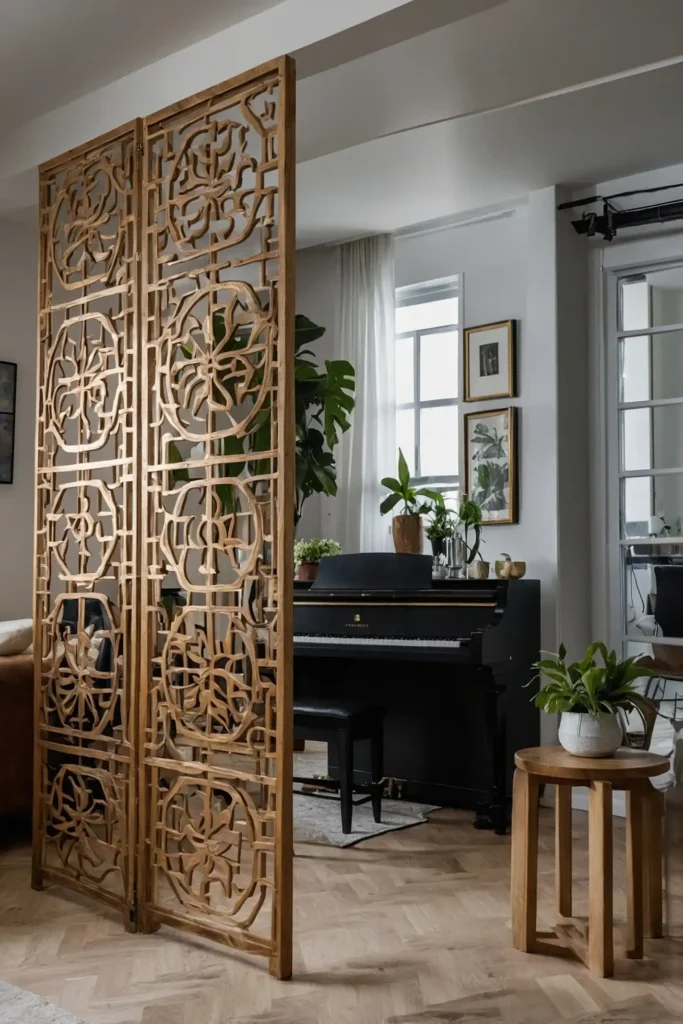
Add a folding screen to separate your sleeping area from the main living space.
This portable solution can be repositioned as needed and adds decorative interest.
Choose a design that complements your aesthetic, whether that’s a minimalist modern screen or something with more ornate detailing.
Some screens even include built-in shelving for added functionality.
The flexibility allows you to create privacy when desired or open up the space for entertaining.
15: Design a Studio “Hallway”
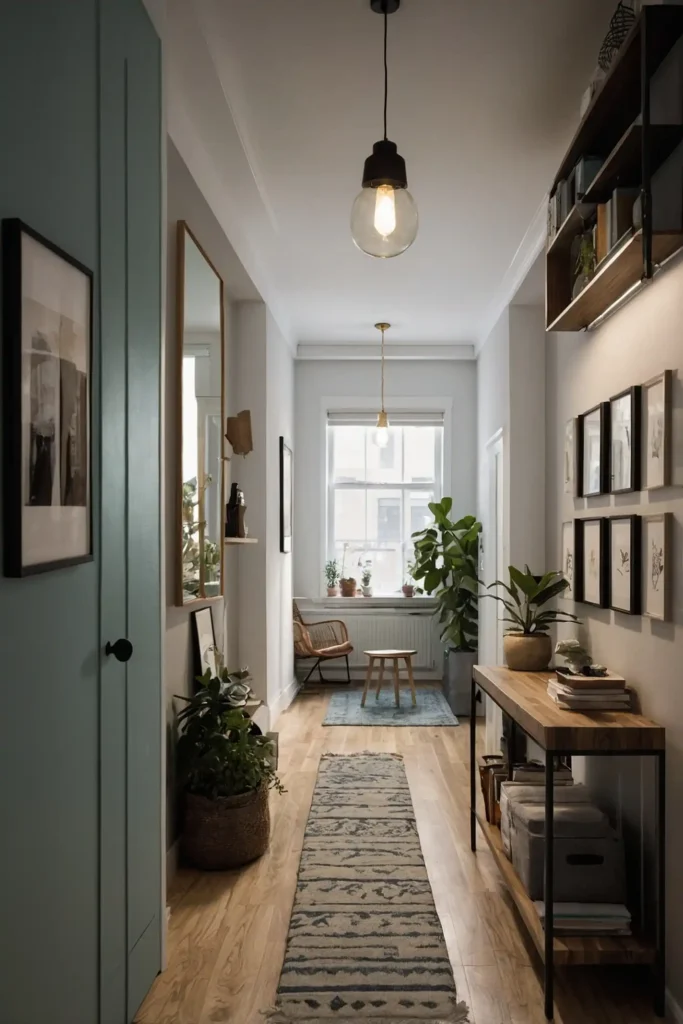
Create the illusion of a hallway using a narrow console table or bookshelf to define a pathway through your studio.
This simple addition establishes a sense of proper circulation.
Style the surface with decorative objects that express your personality.
This “hallway” creates a transitional zone that makes your studio feel more like a larger apartment.
This thoughtful detail helps organize your space into distinct areas with clear purposes.
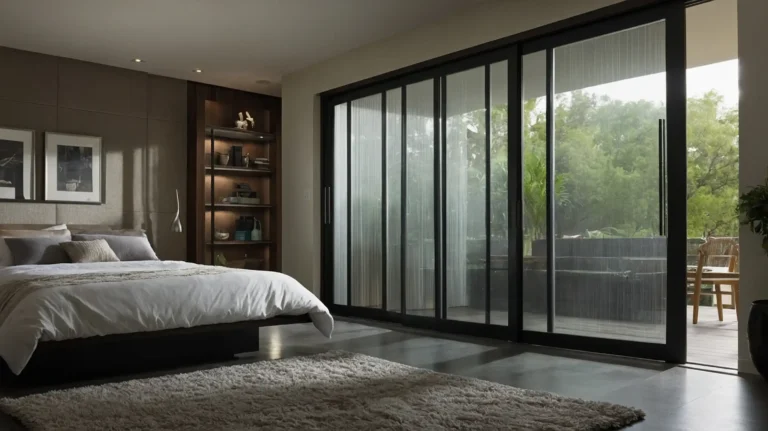
16: Install a Sliding Barn Door
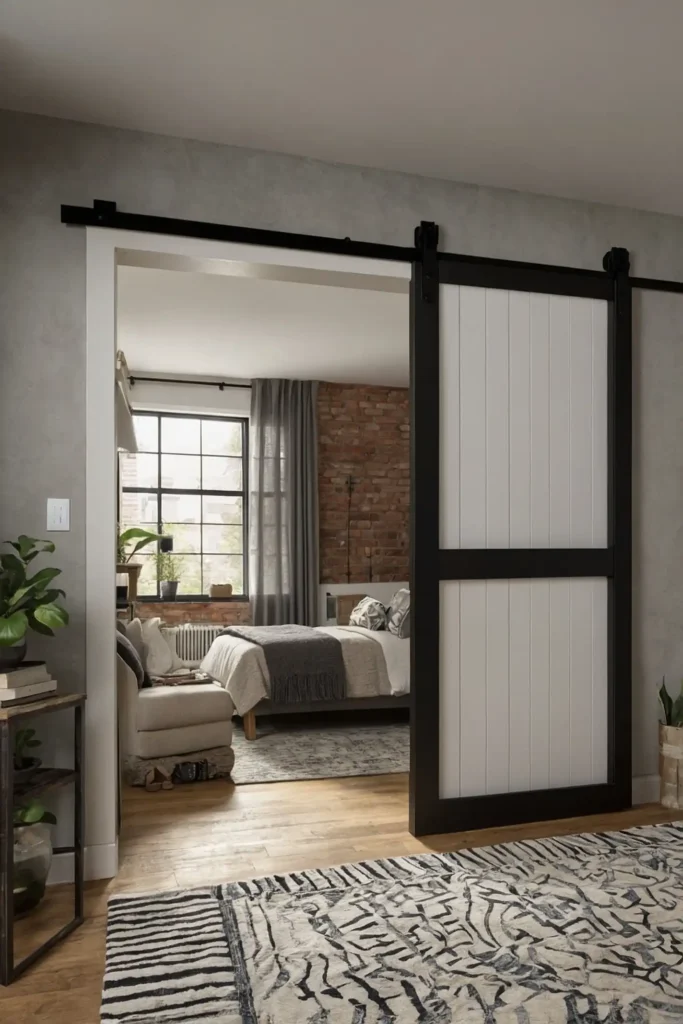
Mount a sliding barn door on exposed hardware to separate your sleeping area when desired.
This architectural feature adds character while serving a practical purpose.
Choose a door style that complements your overall aesthetic.
The sliding mechanism requires minimal clearance, making it ideal for tight spaces.
When open, the door becomes a decorative element; when closed, it provides privacy without swinging door clearance requirements.
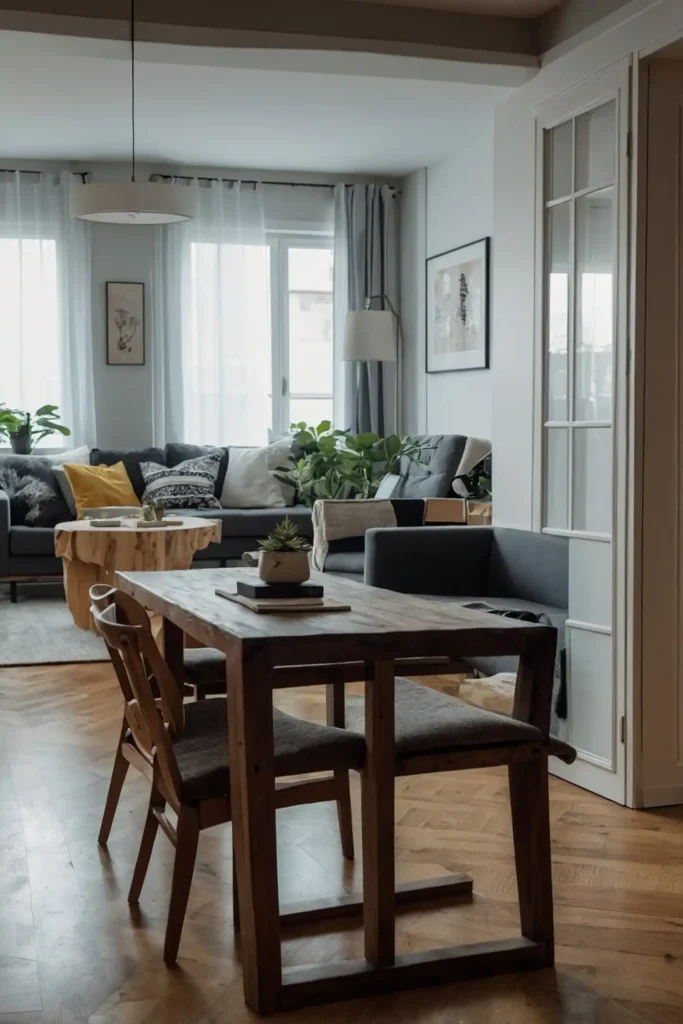
17: Create a Dedicated Dining Nook
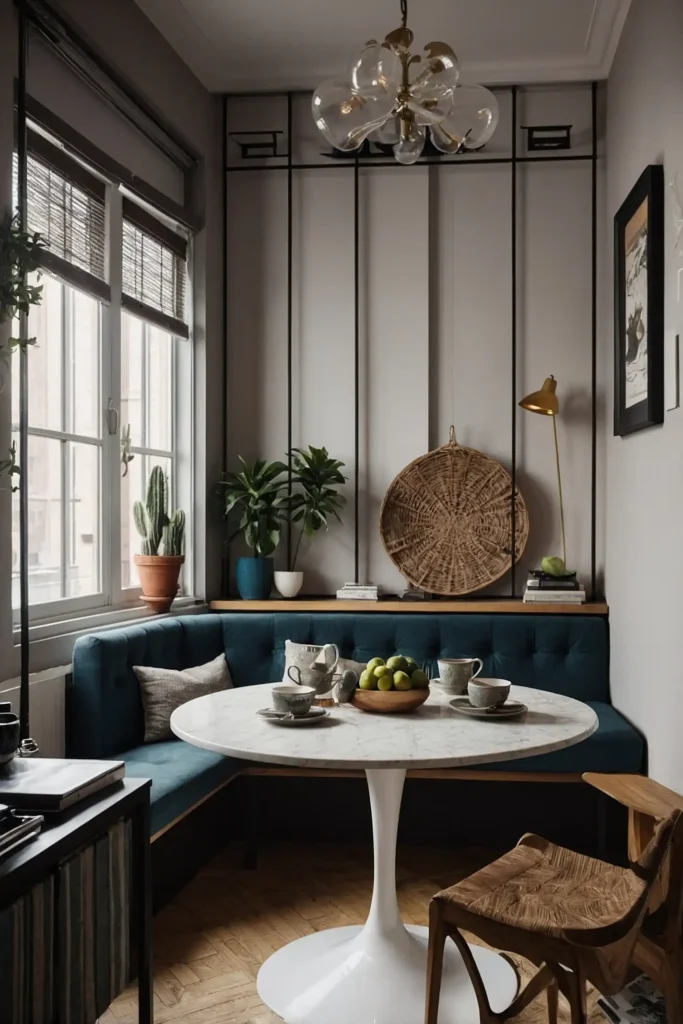
Designate a specific area for dining with a small round table and chairs, preferably near a window.
This dedicated zone elevates your daily routine and makes entertaining possible.
Choose a table with leaves that expand when needed but remain compact for daily use.
Consider benches or backless stools that tuck completely under the table when not in use.
This intentional dining space prevents eating on the sofa from becoming your default and makes your studio feel more like a complete home.
18: Utilize a Daybed Setup
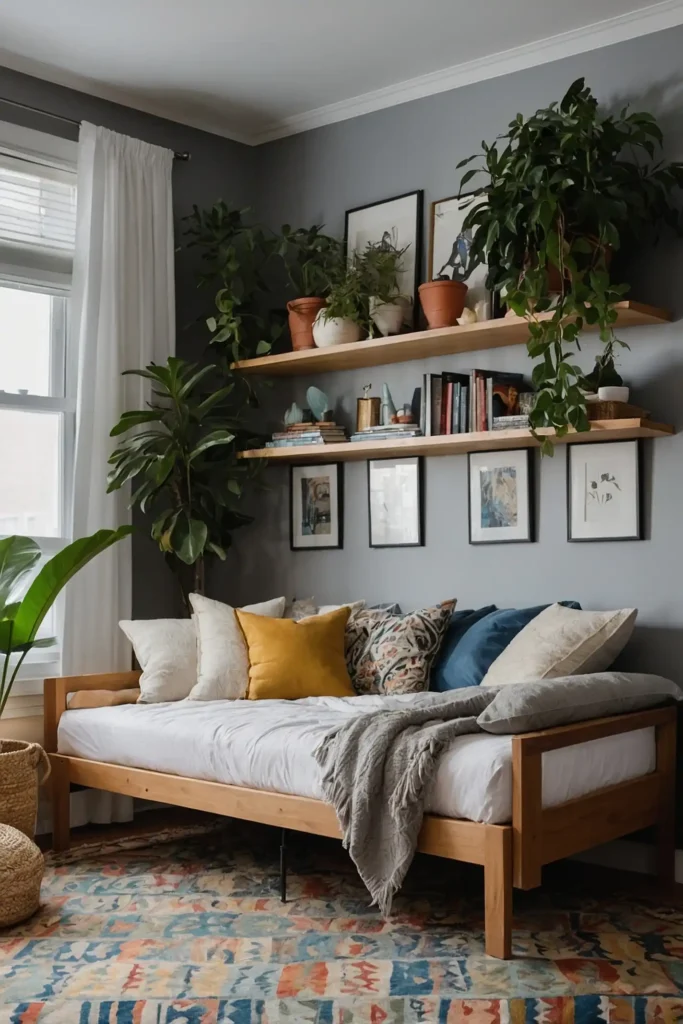
Choose a daybed that functions as seating during the day and converts to a bed at night. This versatile piece eliminates the need for both a sofa and a bed.
Select a model with built-in storage drawers to maximize functionality.
Add bolster pillows to create a comfortable sofa-like experience during waking hours.
This streamlined solution works particularly well in smaller studios where space for both a bed and sofa simply doesn’t exist.
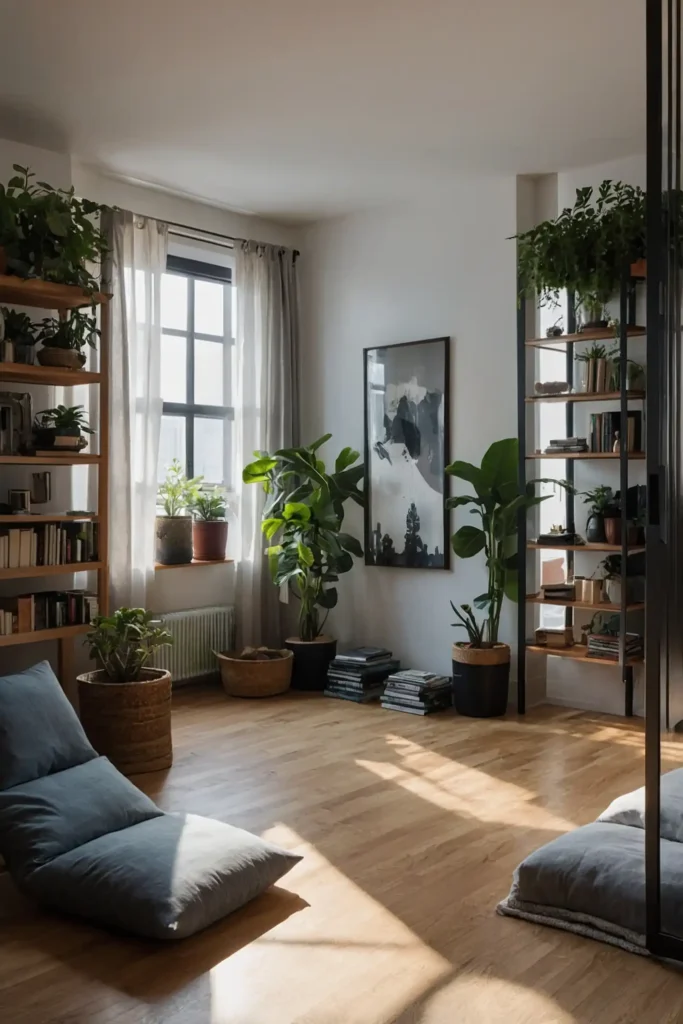
19: Incorporate Room-Height Bookshelves
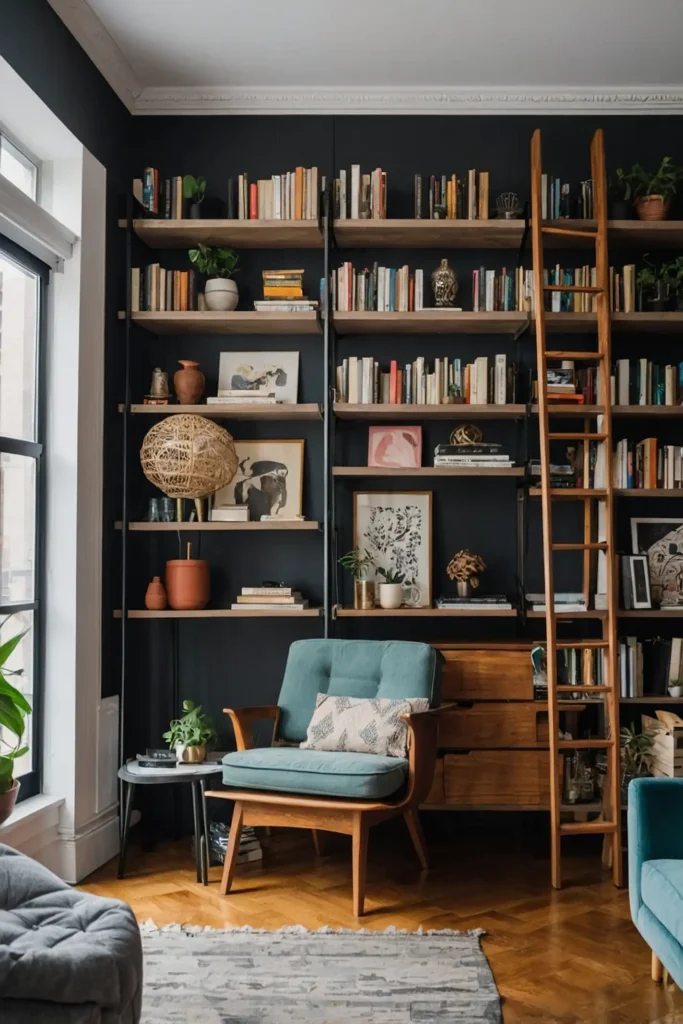
Install floor-to-ceiling bookshelves to create architectural interest while maximizing storage.
These tall elements draw the eye upward, making your ceiling appear higher.
Use these substantial structures to define different zones within your studio. The visual weight helps create psychological boundaries between areas.
Leave some shelves empty or lightly styled to prevent visual overcrowding in your compact space.
20: Create a Compact Home Office
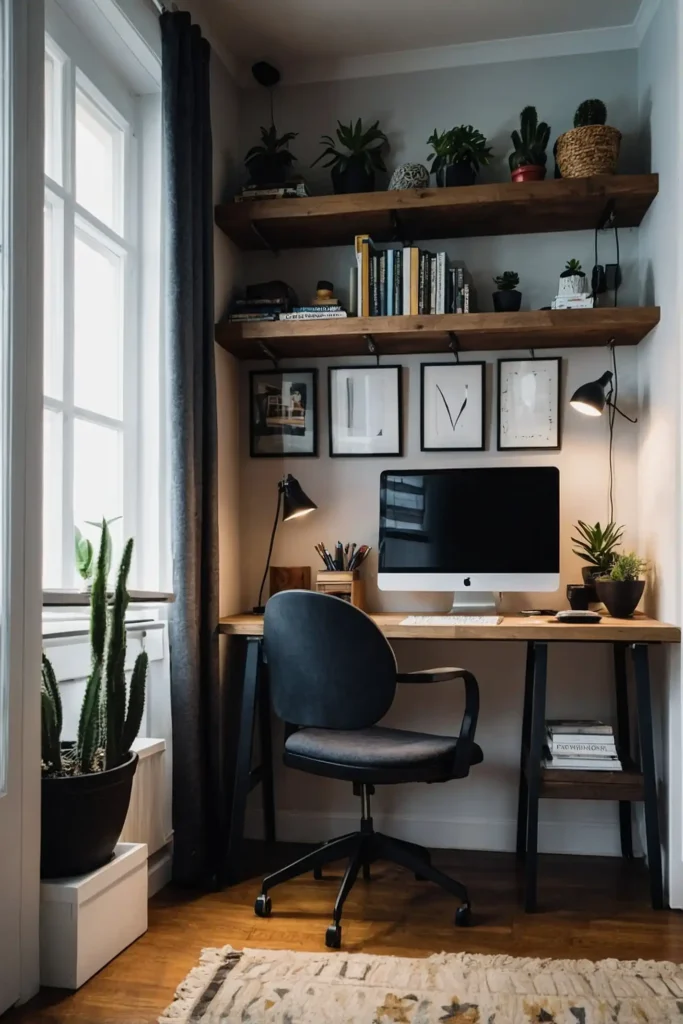
Designate a specific corner or nook for a streamlined workspace with just the essentials.
A floating desk mounted to the wall eliminates the need for leg space underneath.
Add wall-mounted organizers and shelving above to keep work materials accessible but contained.
Consider a fold-down desk that disappears when not in use.
This dedicated zone helps maintain work-life balance even in a one-room living situation.
21: Use Furniture With Exposed Legs
Choose sofas, chairs, and tables with visible legs rather than skirted or solid-base alternatives. This seemingly small detail creates visual lightness and flow.
The space beneath these elevated pieces allows your eye to travel further, making the room feel larger. This openness improves light distribution throughout your studio.
This design choice creates an airier atmosphere without sacrificing functionality or comfort.
22: Create a TV Wall System
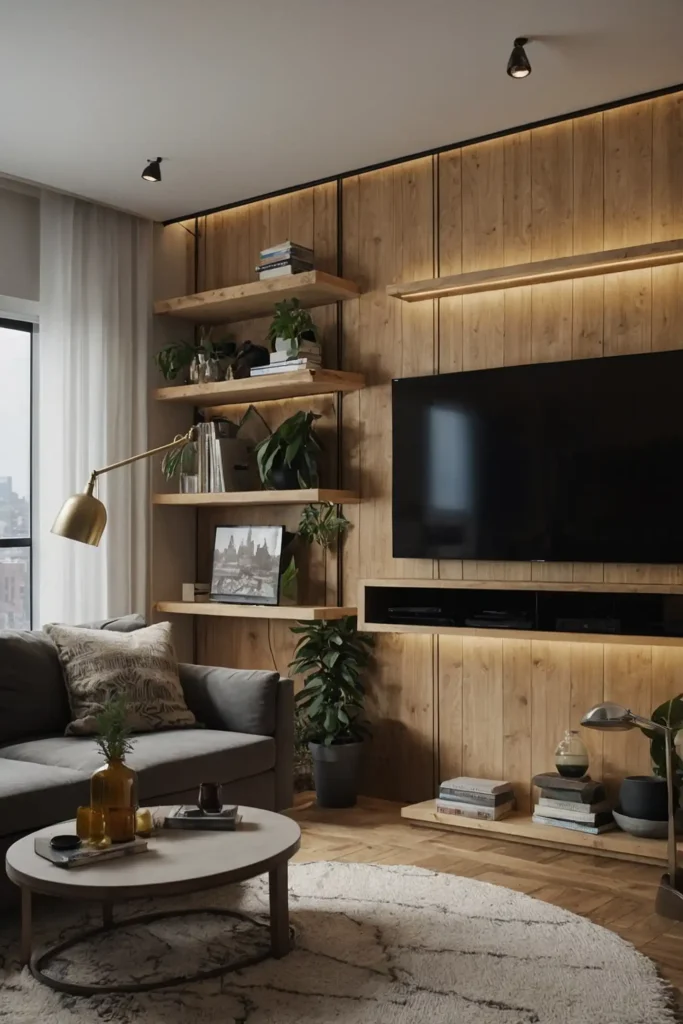
Design a comprehensive wall unit that houses your television, media components, books, and decorative objects.
This consolidated approach contains potential clutter while making a design statement.
Choose a system with varying compartment sizes to accommodate different items.
Closed storage conceals practical necessities, while open shelving displays items that deserve visibility.
This unified solution eliminates multiple furniture pieces serving similar storage functions, streamlining your overall layout.
23: Utilize Corners Effectively
Transform awkward corners into functional nooks with corner desks, shelving units, or seating arrangements.
These often-wasted spaces offer valuable square footage when properly utilized.
Choose furniture specifically designed for corner placement to maximize efficiency.
A cozy reading chair, small desk, or plant display can activate these overlooked areas.
This strategy ensures every inch of your studio contributes to your living experience.
24: Install a Kitchen Island on Wheels
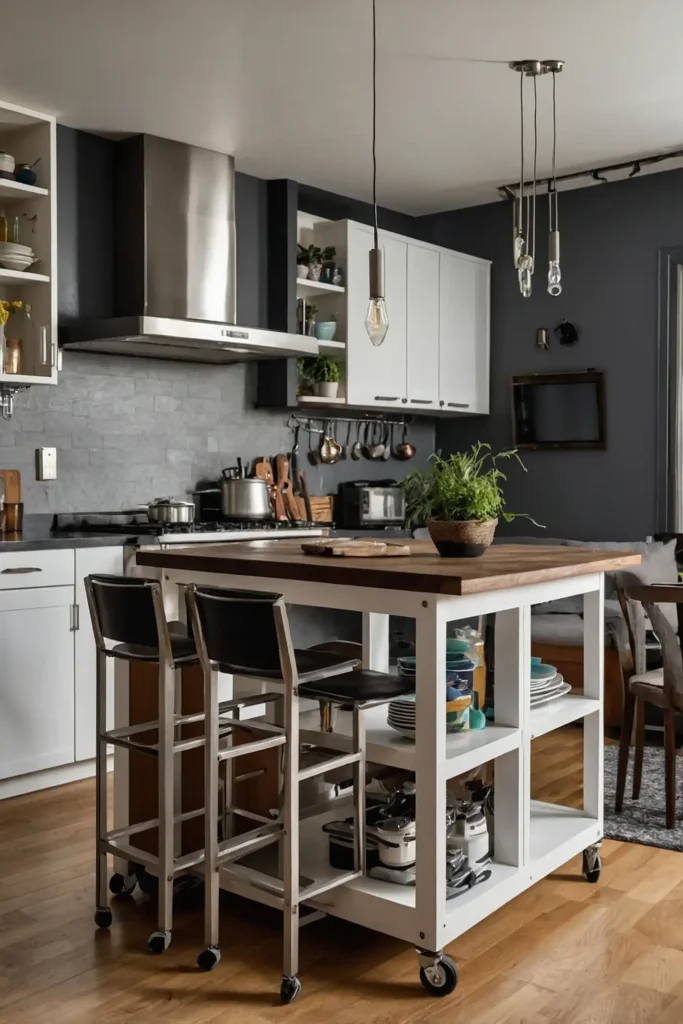
Add a rolling kitchen cart that provides additional workspace and storage while remaining completely mobile.
This flexibility allows you to reconfigure your space as needed.
Use it as extra counter space when cooking, a buffet when entertaining, or roll it aside when you need open floor space.
Choose a model with shelving or hooks for additional utility.
The mobility makes this a particularly valuable addition to studio living, adapting to your changing needs throughout the day.
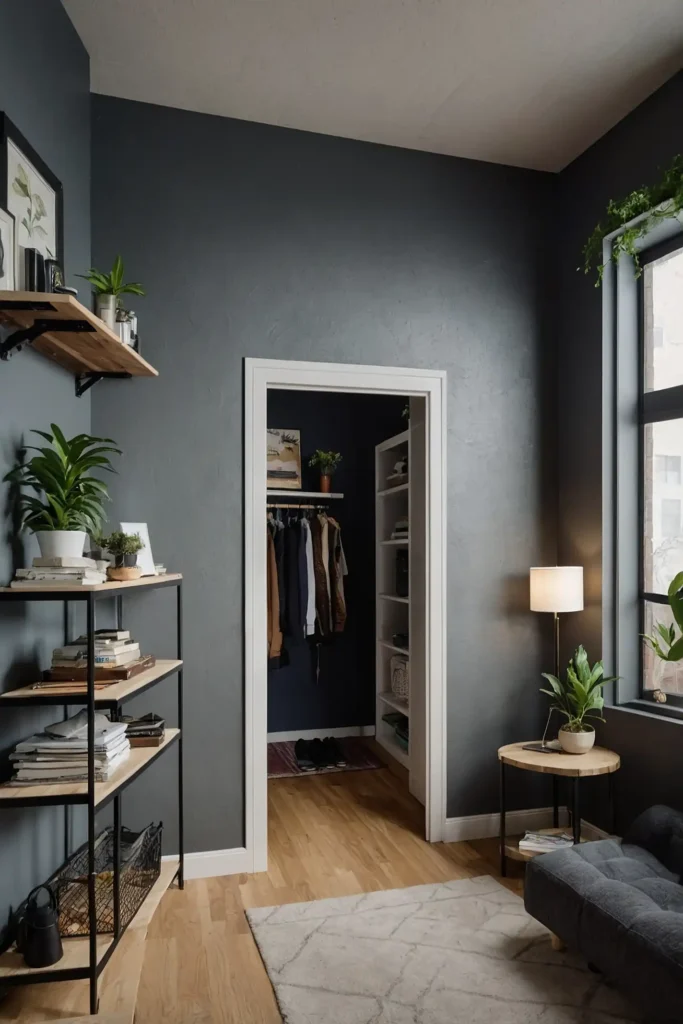
25: Create a Walk-In Closet Area
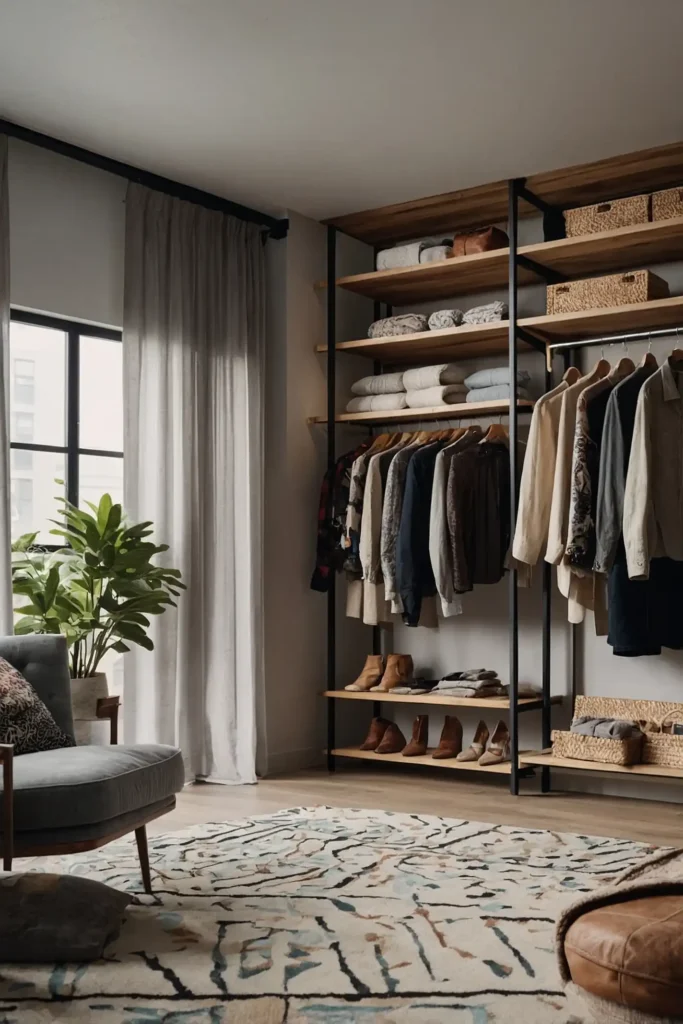
Designate a corner of your studio as a proper dressing area with a clothing rack, mirror, and small dresser.
This zone contains clothing items in one dedicated space rather than scattered throughout.
Use a decorative screen or curtain to conceal the area when desired. This arrangement creates a true closet experience without construction.
This approach keeps clothing organized and accessible while preventing it from dominating your entire living space.
26: Define a Meditation or Exercise Zone
Carve out a small, dedicated area for your wellness practices with thoughtful boundaries like a special rug or floor cushion.
This intentional space encourages regular use.
Store related equipment in attractive containers that complement your decor. Consider wall-mounted options for storing yoga mats or resistance bands.
This designated zone honors your wellbeing as a priority deserving its own space, even in a compact studio.
27: Position Your Bed in a Corner
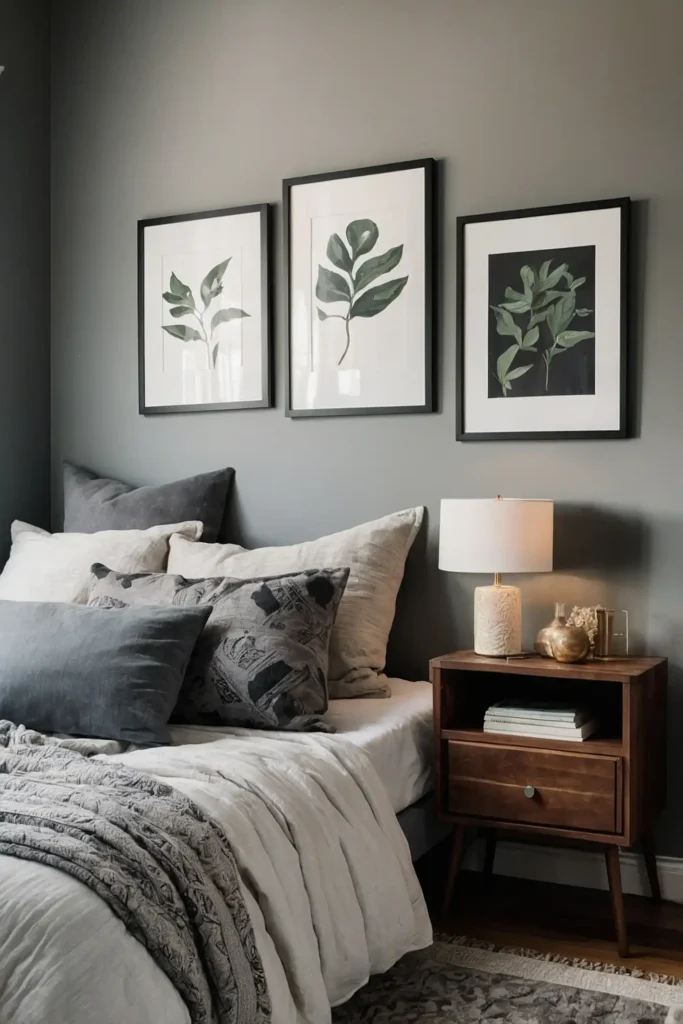
Place your bed in a corner against two walls rather than floating it in the room or positioning it along a single wall.
This arrangement maximizes open floor space for other activities.
Add wall-mounted sconces to eliminate the need for bedside tables. Consider a corner headboard design that fits the space perfectly.
This strategic placement opens up the central area of your studio for living functions while creating a cozy, nestled sleeping space.
Conclusion
With these 27 strategic layout ideas, you can transform your studio apartment into a functional, stylish home that perfectly suits your lifestyle.
Remember, successful studio living combines thoughtful planning with personality and creativity!