20 Easy Small Clay Projects You Can Create This Weekend
Clay crafting offers a wonderful way to express creativity without requiring extensive space or experience.
These small clay projects are perfect for beginners and experienced crafters alike who want to create something beautiful in just a few hours.
Working with clay provides a tactile, meditative experience that can help you unwind while creating functional or decorative pieces for your home.
The best part? You don’t need fancy equipment or a dedicated studio.
Whether you prefer air-dry clay, polymer clay, or traditional ceramic clay, these projects are designed to be approachable and satisfying.
Let’s explore some delightful small-scale clay creations you can start today!
1: Minimalist Ring Dish
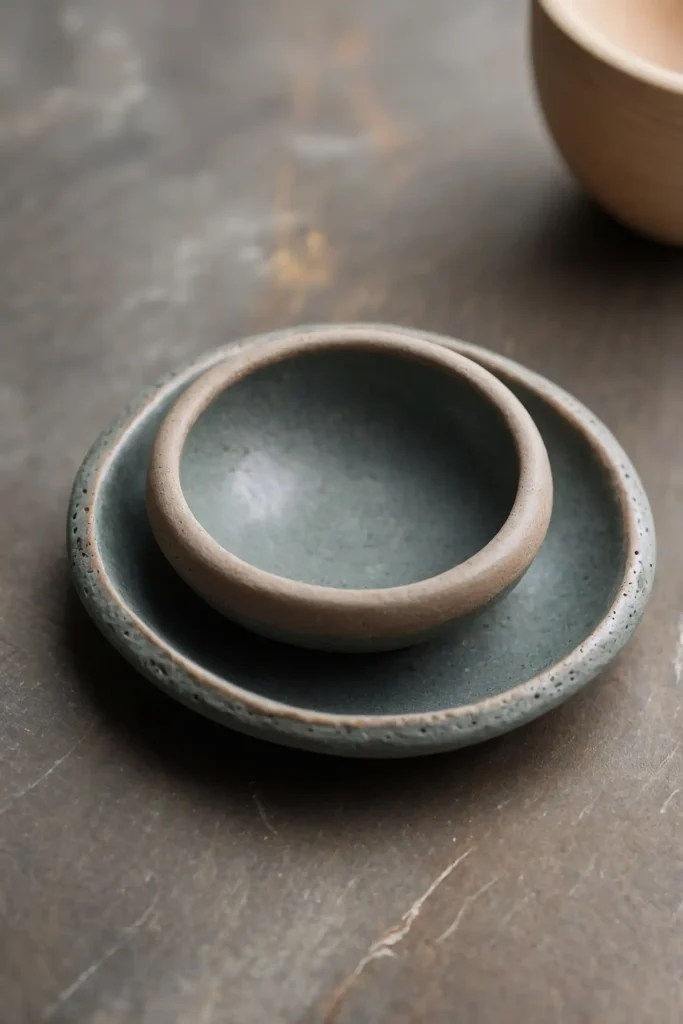
Create a simple yet elegant ring dish to keep your jewelry safe and organized. Start with a small ball of clay and press your thumb into the center to form a shallow bowl.
Smooth the edges with your fingers or a clay tool for a polished look. Add subtle details like a gentle curve on one side for easier ring removal.
For an extra special touch, press a leaf, lace, or textured fabric into the surface before drying or firing to create a beautiful impression.
2: Personalized Keychains
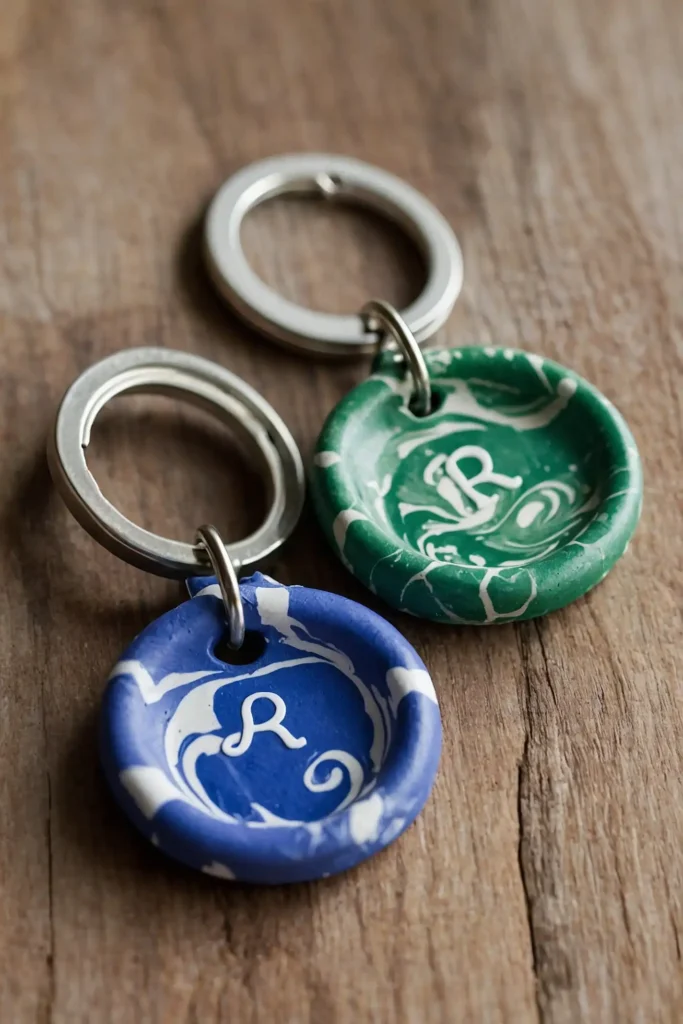
Design unique keychains that showcase your personality.
Roll clay into small shapes like circles, rectangles, or custom silhouettes that measure about 1-2 inches.
Use letter stamps to press names, inspirational words, or initials into the clay.
Don’t forget to create a small hole for the keyring before drying.
These make thoughtful gifts for friends or perfect party favors.
Try marbling different clay colors for a more dynamic effect.
3: Botanical Magnets
Transform your refrigerator with handmade botanical magnets.
Flatten small pieces of clay and press real flowers, leaves, or herbs into them to create detailed impressions.
Cut around the impressions with a knife or cookie cutter for clean edges. Remove the plants and add details with a toothpick if desired.
After drying or curing, paint the impressions with metallic paint to highlight the details, then glue small magnets to the backs for functionality.
4: Textured Pinch Pots
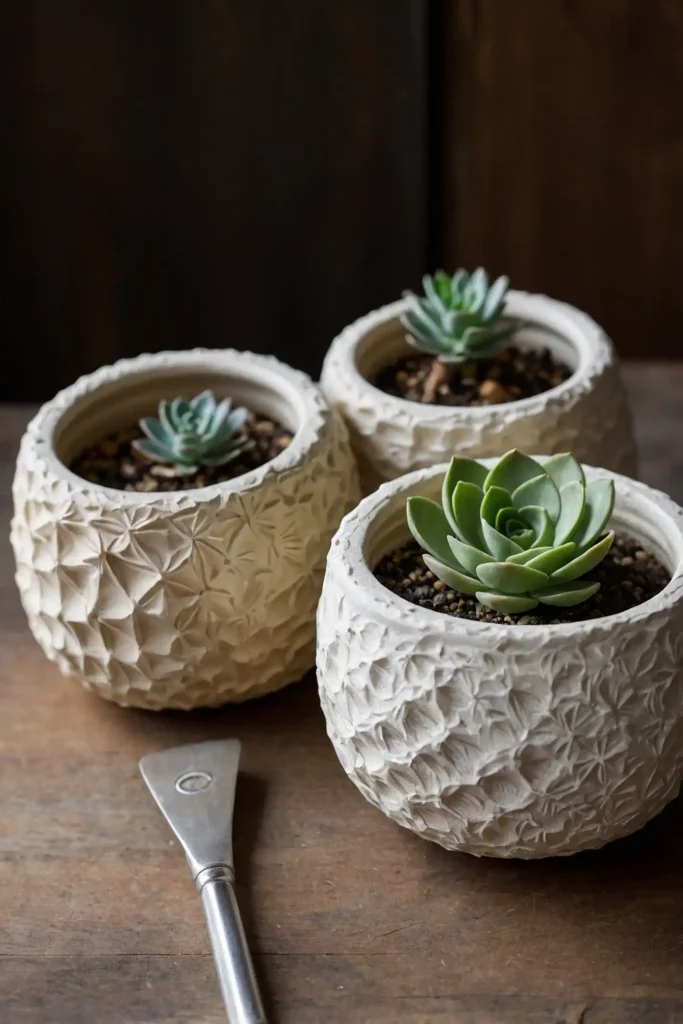
Craft small, rustic pinch pots perfect for holding tiny treasures or serving condiments.
Begin with a ball of clay and use your thumb to create a depression, then pinch and rotate to form walls.
Create interesting textures by pressing objects like shells, buttons, or textured rolling pins into the exterior.
Keep the walls relatively thick for beginners to prevent cracking.
These versatile little pots work beautifully as succulent planters, salt cellars, or catchalls for paper clips and other small items.
5: Clay Plant Markers
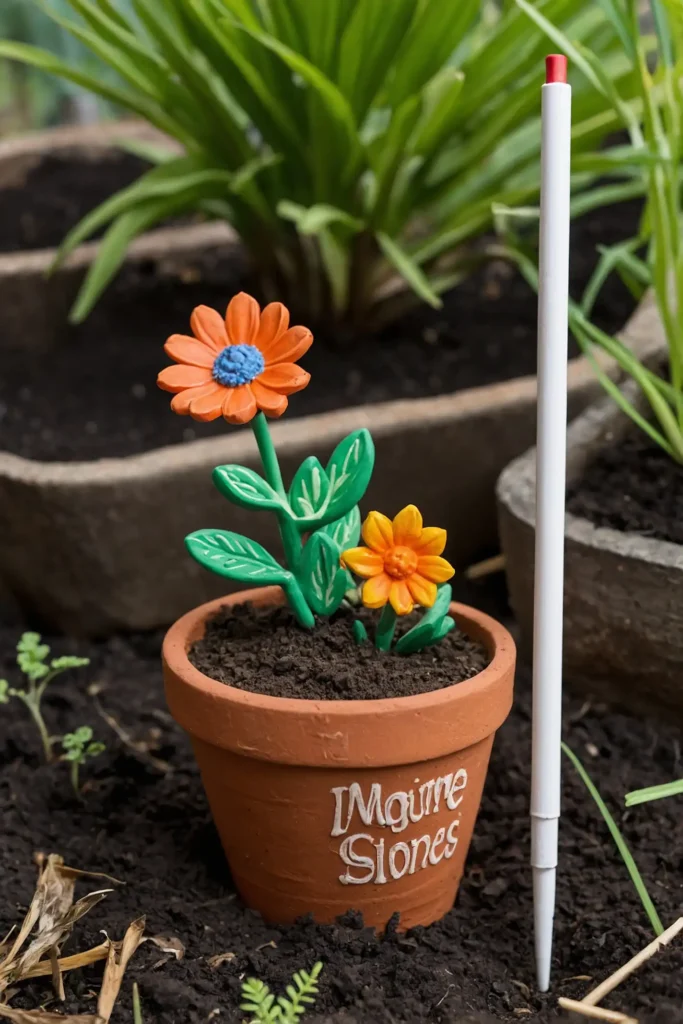
Design charming markers for your garden or houseplants. Roll out clay to approximately ¼-inch thickness and cut into stake shapes about 4-5 inches long.
Use a toothpick to engrave plant names or press letter stamps into the surface.
Consider adding small decorative elements like flowers or leaves at the top.
These practical markers add personality to your garden while helping you remember what you’ve planted where.
Paint them in weather-resistant colors for outdoor use.
6: Decorative Beads

Create unique beads for jewelry or decorative purposes.
Roll small portions of clay into balls, tubes, or other shapes, ensuring you create holes for stringing before drying.
Experiment with textures by pressing items like lace, mesh, or buttons into the surface. You can also try marbling different colors together for stunning effects.
After drying or firing, string your beads onto leather cords, hemp, or jewelry wire to create one-of-a-kind necklaces, bracelets, or decorative garlands.
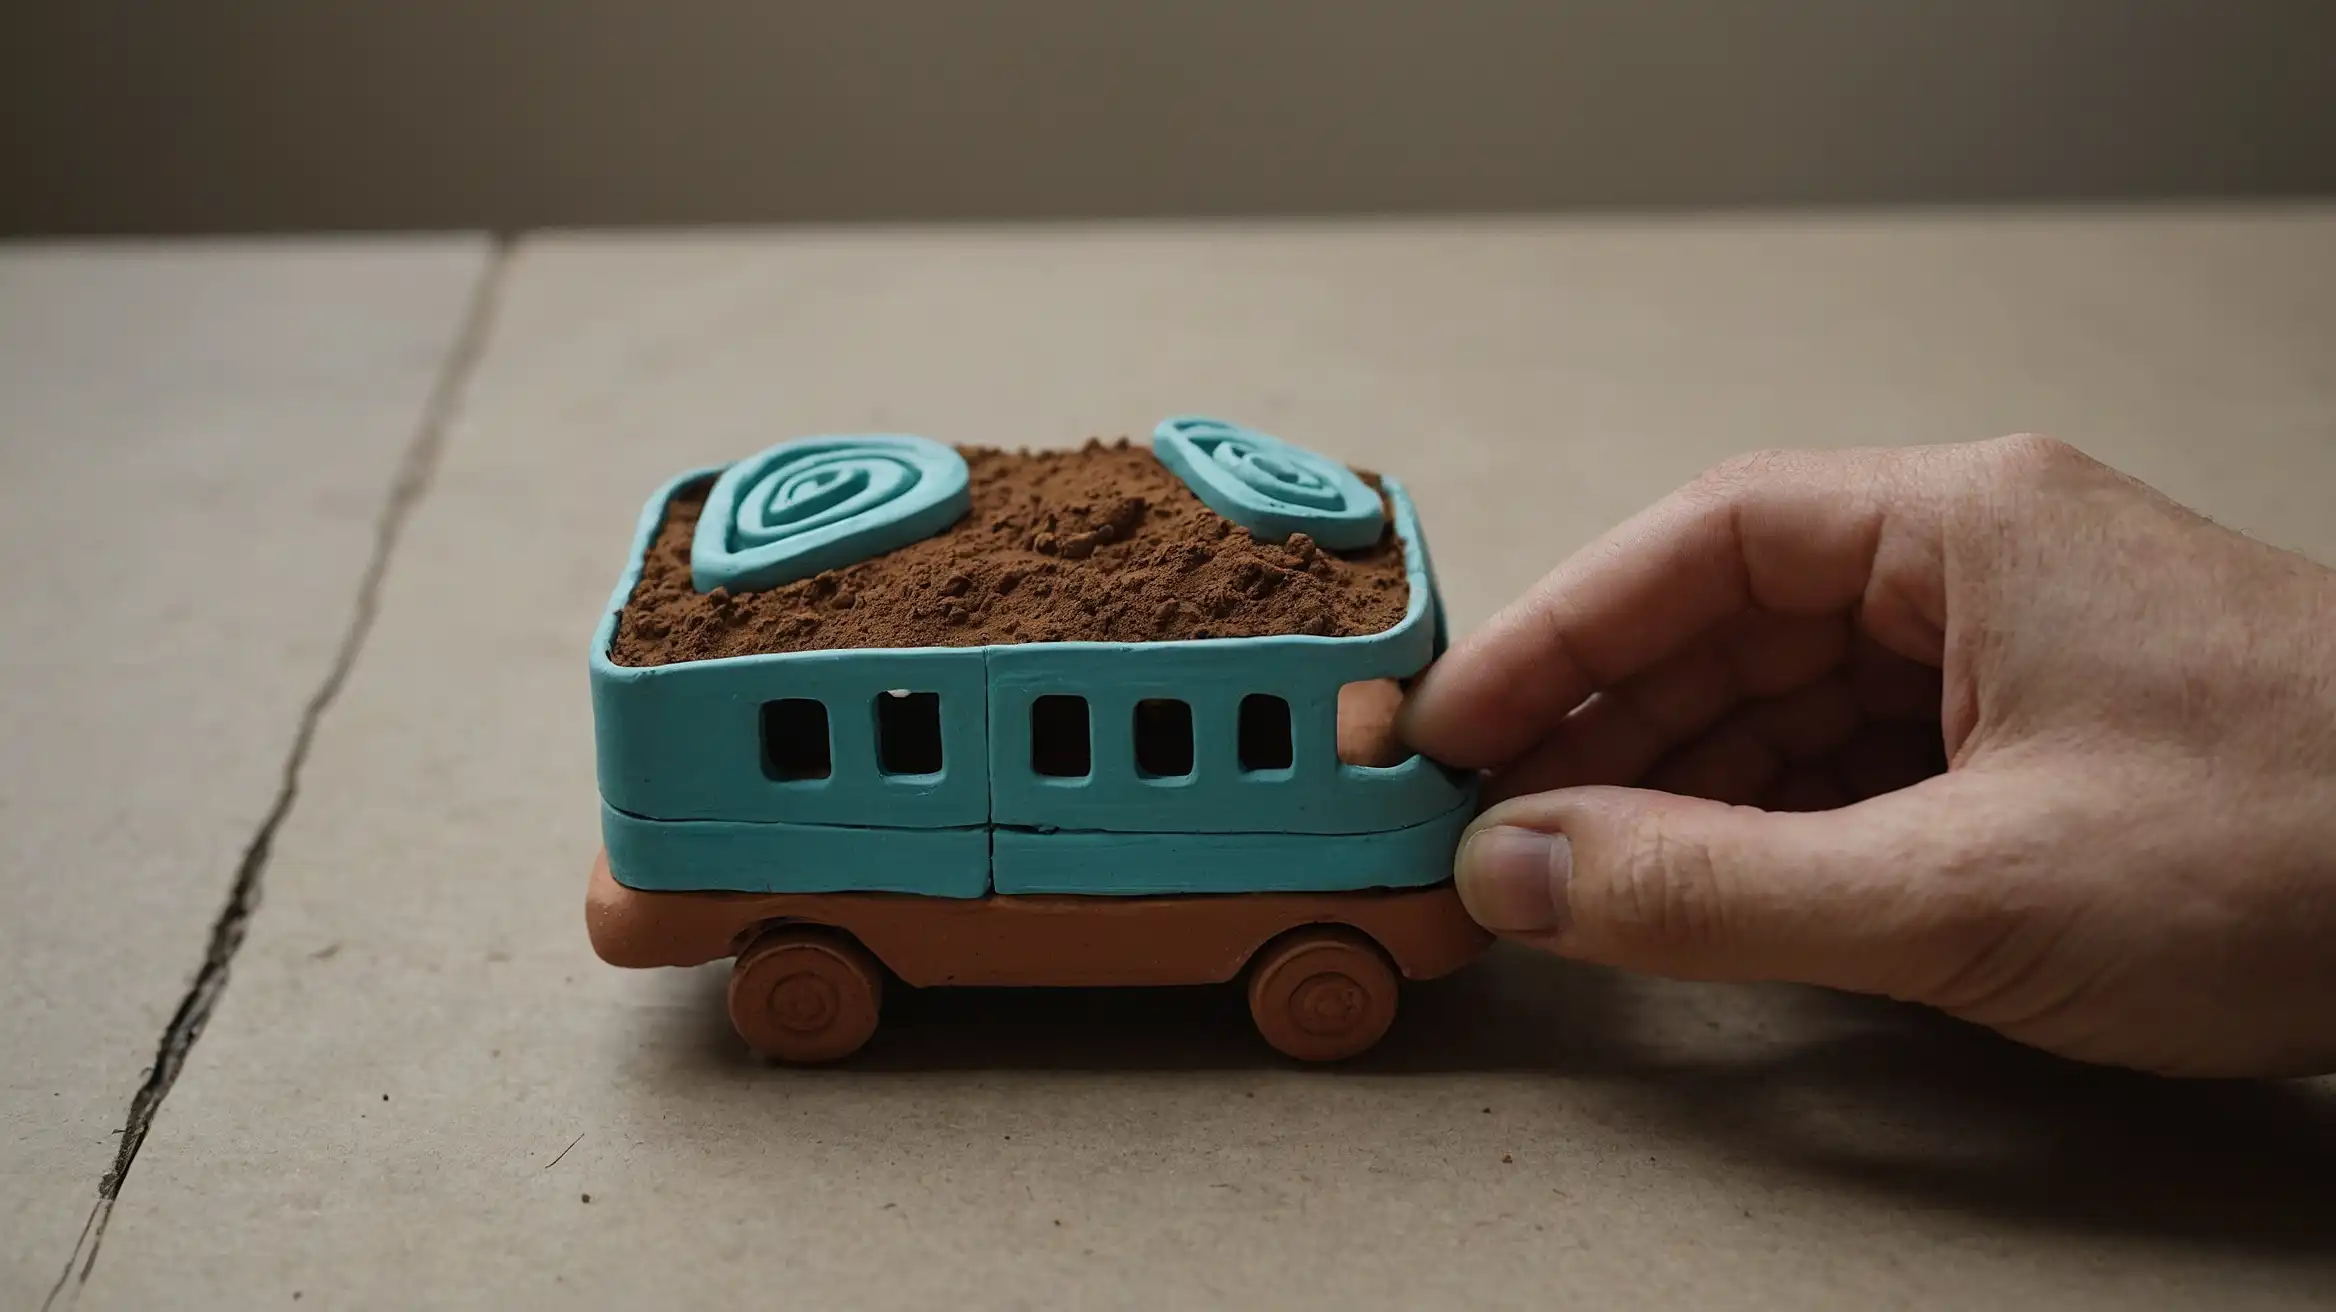
7: Miniature Animal Figurines
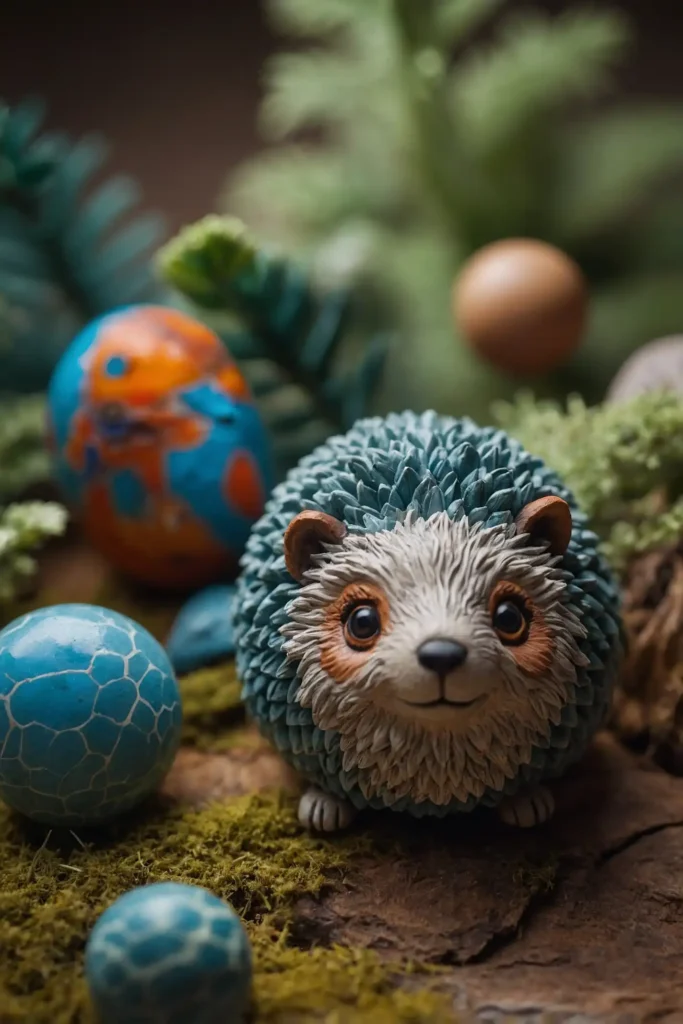
Sculpt adorable miniature animals that bring joy to any space.
Start with basic shapes – balls for heads, cylinders for bodies – and gradually add details like ears, tails, and legs.
Use toothpicks or clay tools to create texture for fur, feathers, or scales.
Keep your designs simple and stylized rather than attempting perfect realism.
These charming creatures make delightful desk companions, thoughtful gifts, or playful additions to houseplant arrangements.
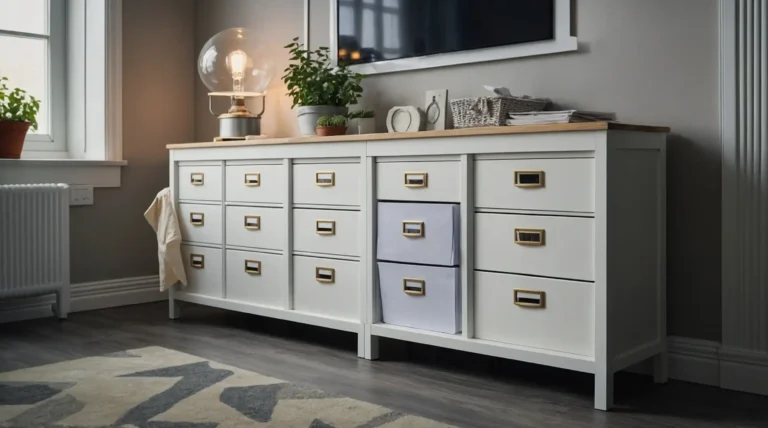
8: Custom Drawer Pulls
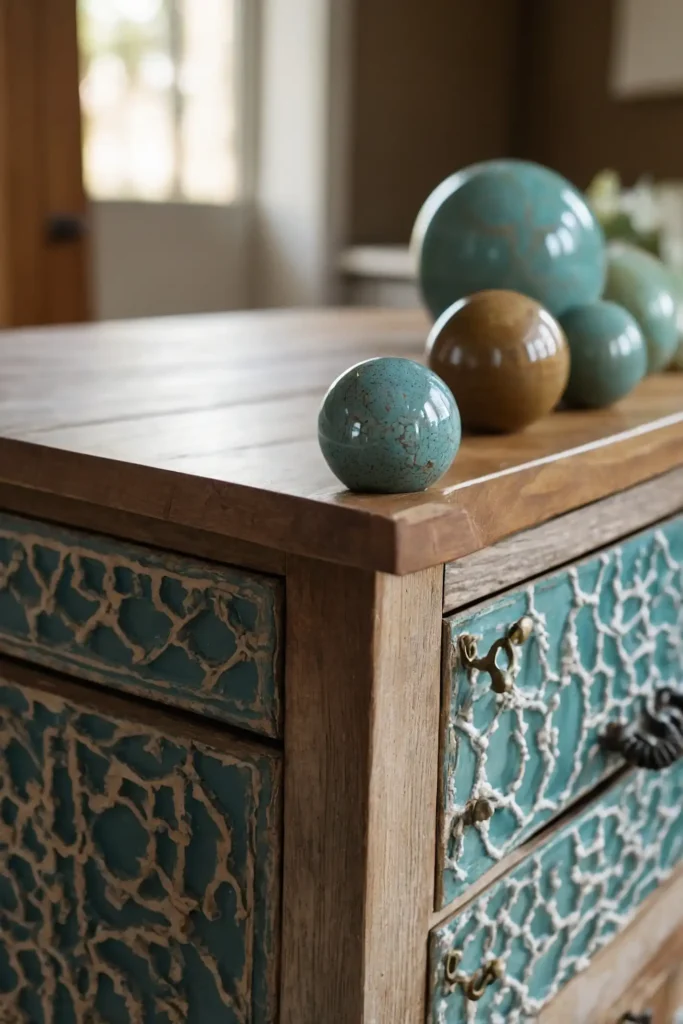
Update your furniture with handmade drawer pulls.
Form clay into knobs about 1-1.5 inches in diameter, making sure they’re thick and sturdy enough for daily use.
Create a hole that will accommodate your drawer pull hardware before drying.
You can make simple spheres or experiment with faceted geometric shapes.
After drying and finishing, attach the hardware according to package directions. The result transforms ordinary furniture into custom pieces with personal flair.
9: Stamped Coasters
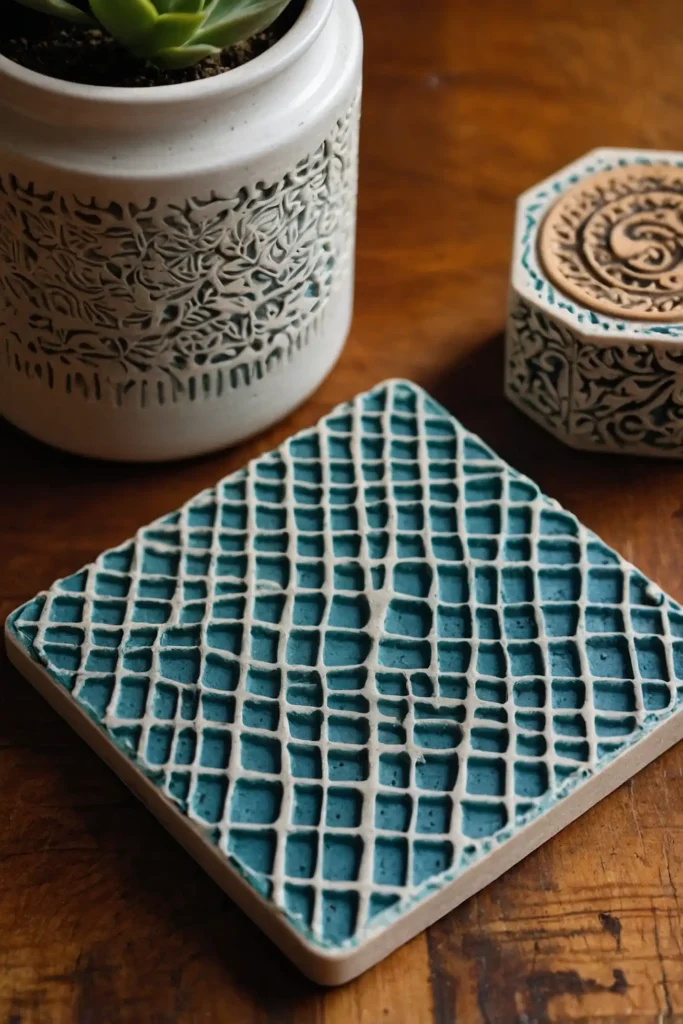
Craft functional coasters that protect surfaces while showcasing your creativity.
Roll clay to about ¼-inch thickness and cut into identical squares or circles approximately 4 inches across.
Press rubber stamps, leaves, or other textured items into the surface to create patterns.
Smooth the edges with your finger or a damp sponge for a finished look.
Consider sealing the finished pieces with clear acrylic sealer for water resistance, especially if using air-dry clay. Add felt to the bottoms to prevent scratching furniture.
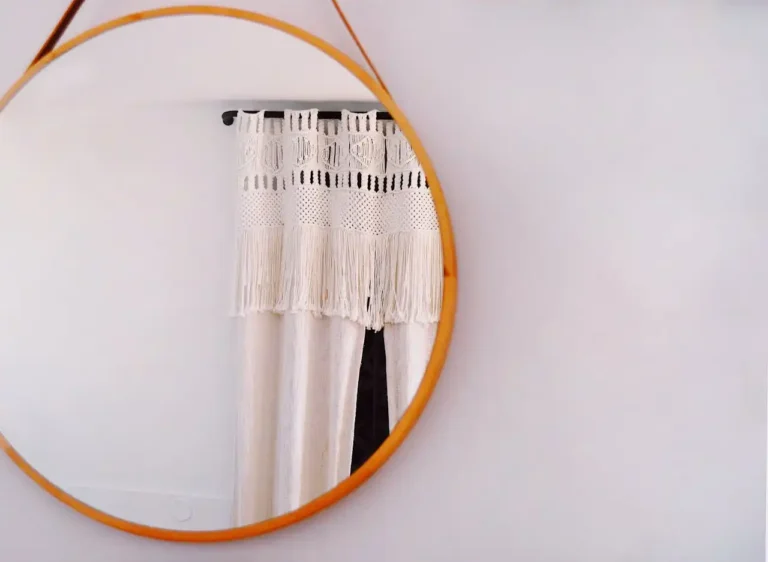
10: Decorative Wall Hangings
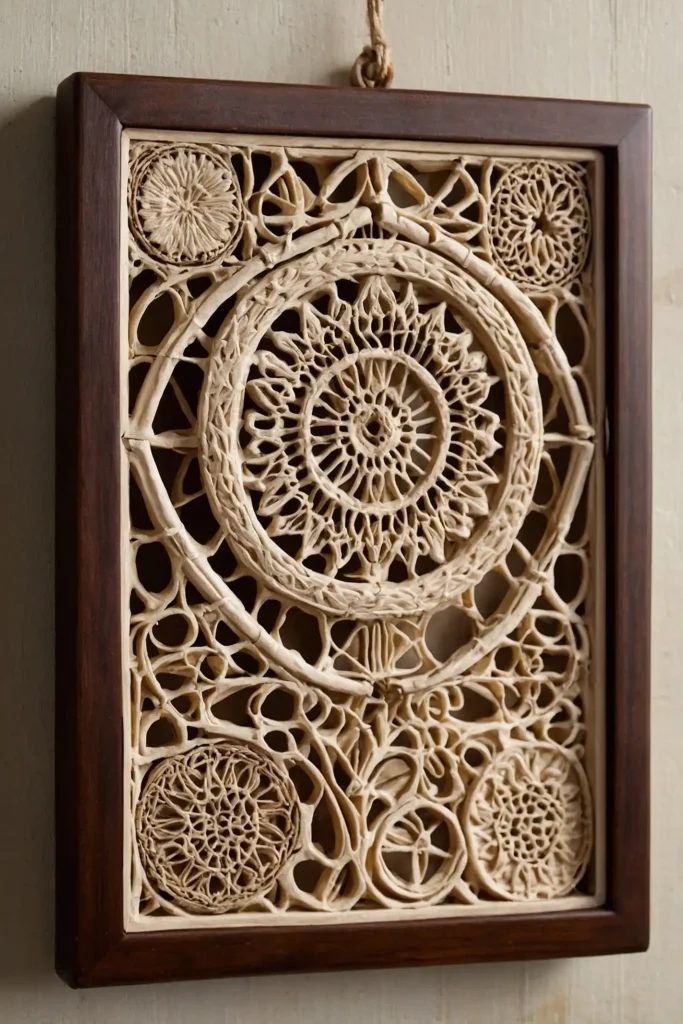
Design eye-catching wall pieces that add texture and interest to your space.
Roll out clay and cut into geometric shapes or free-form organic designs.
Create holes for hanging before drying, and consider adding texture with stamps, fabric impressions, or carved patterns.
Keep the pieces relatively small and thin for easier hanging.
After finishing, string them onto twine, leather cord, or driftwood for bohemian-inspired wall art that makes a statement without overwhelming your space.
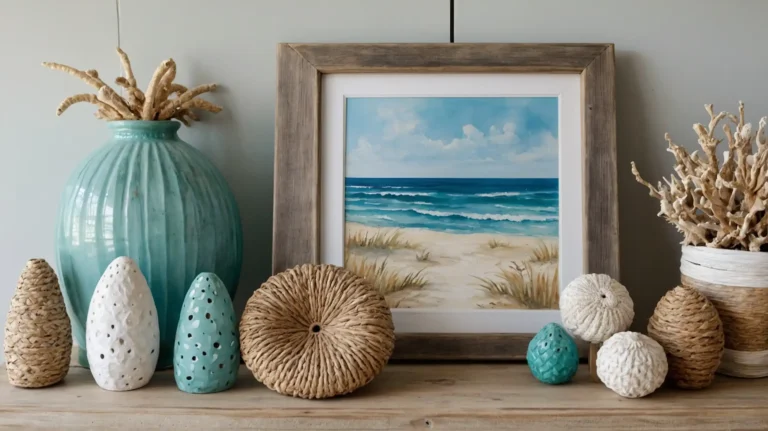
11: Marbled Clay Vases
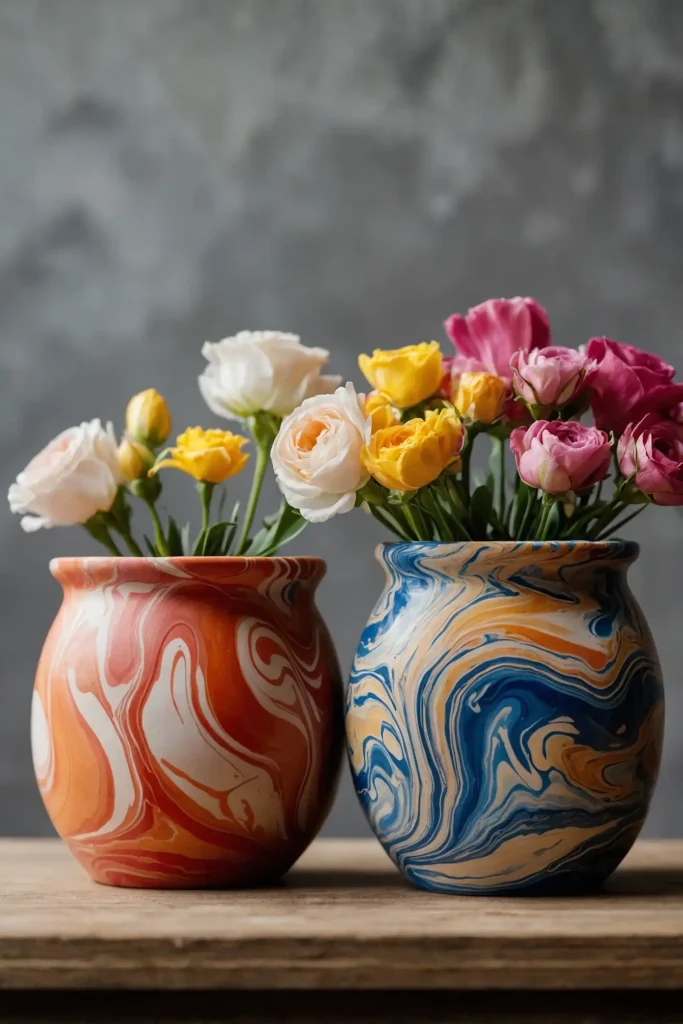
Create stunning miniature vases using the marbling technique.
Combine different colored clays without fully mixing them to achieve beautiful swirled patterns.
Form your marbled clay into small pinch pots or roll it into cylinders with closed bottoms.
Keep the openings narrow for holding just a few stems or dried flowers.
These colorful vessels make perfect windowsill decorations or thoughtful handmade gifts. No two will ever be exactly alike, making each one a unique treasure.
12: Seasonal Ornaments
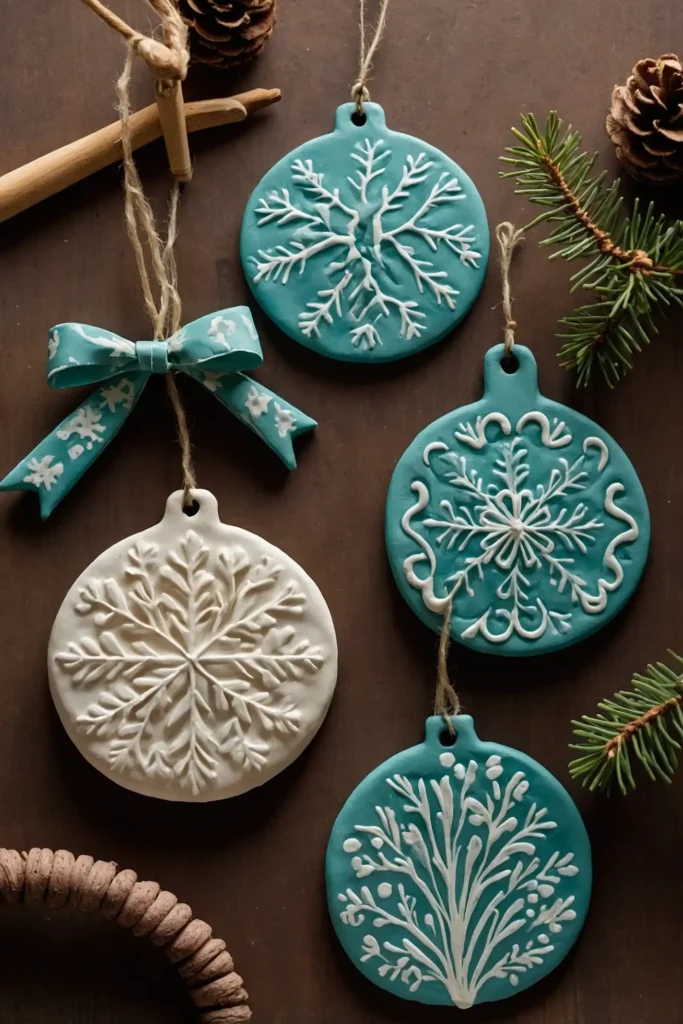
Craft ornaments for holidays or year-round decoration. Roll clay to approximately ¼-inch thickness and cut shapes using cookie cutters or a knife.
Don’t forget to create a small hole for hanging before the clay dries.
Press decorative elements into the surface or use clay tools to etch designs.
These versatile decorations work beautifully for Christmas trees, seasonal wreaths, or hanging in windows.
Paint or glaze them to match your color scheme.
13: Small Incense Holders
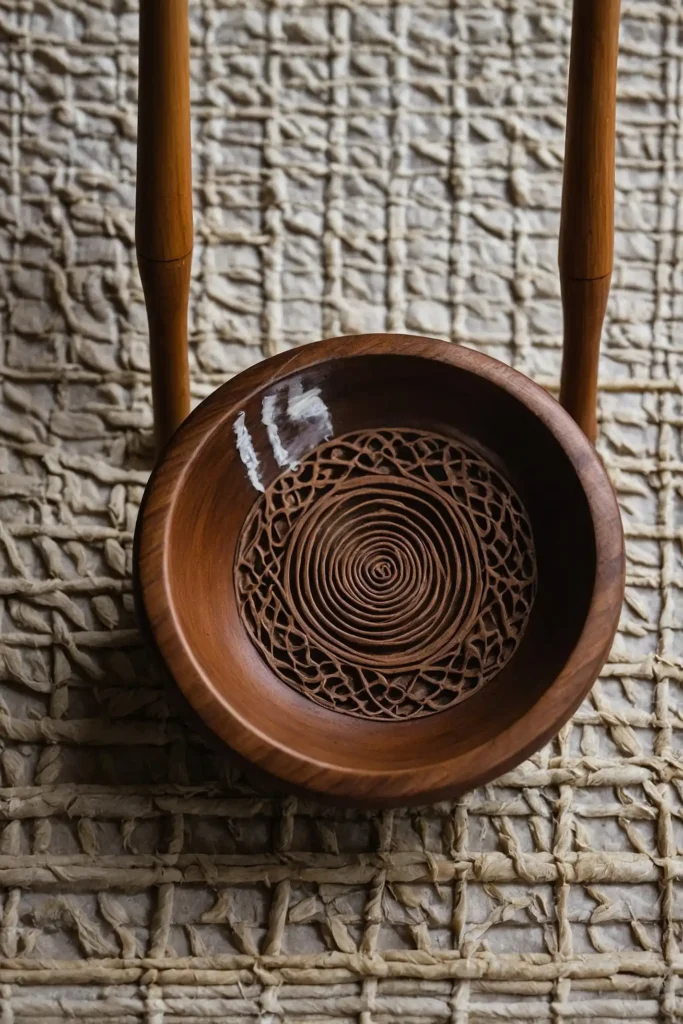
Design functional incense holders that catch ash while adding style to your space.
Form a small tray or boat shape with a groove along the center to hold stick incense.
The groove should be deep enough to securely hold the incense but not so deep that it cracks during drying.
Add a slight upturn at one end for visual interest.
Consider adding texture or carved patterns to the surface before drying. These practical pieces make wonderful housewarming gifts or additions to your meditation space.
14: Decorative Spoons
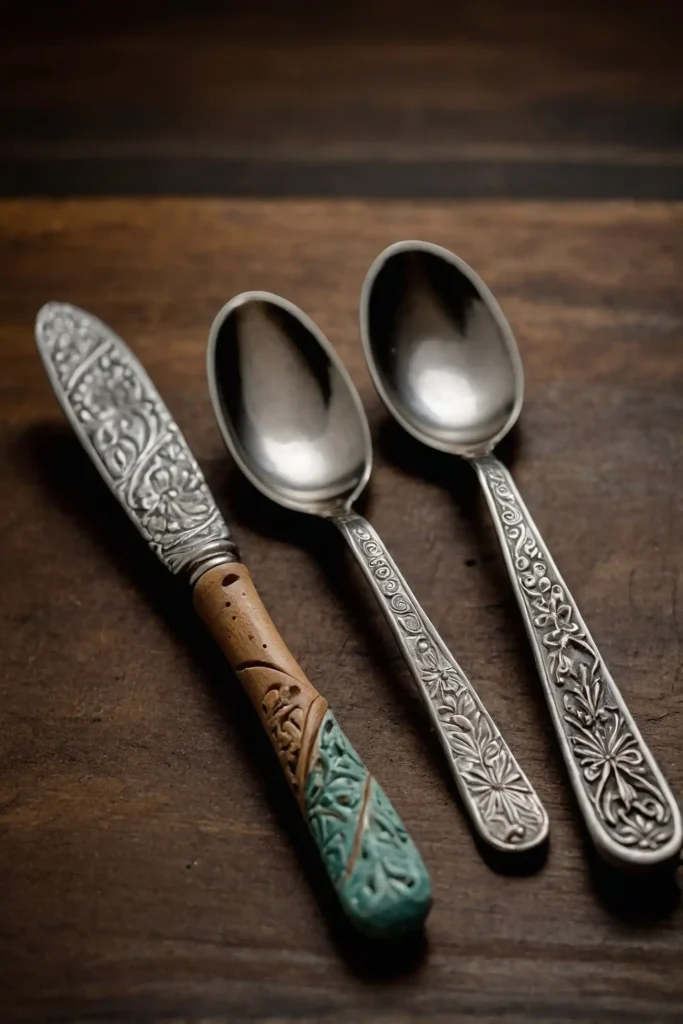
Craft small decorative spoons perfect for salt cellars, tea bags, or purely decorative purposes.
Form a small ball for the bowl of the spoon and a thin cylinder for the handle.
Connect the pieces carefully, smoothing the joint with a damp finger.
Use tools to create texture or patterns on the handle for added interest.
These delicate pieces showcase your craftsmanship while serving a practical purpose.
Try making sets with consistent designs for a cohesive look.
15: Textured Buttons
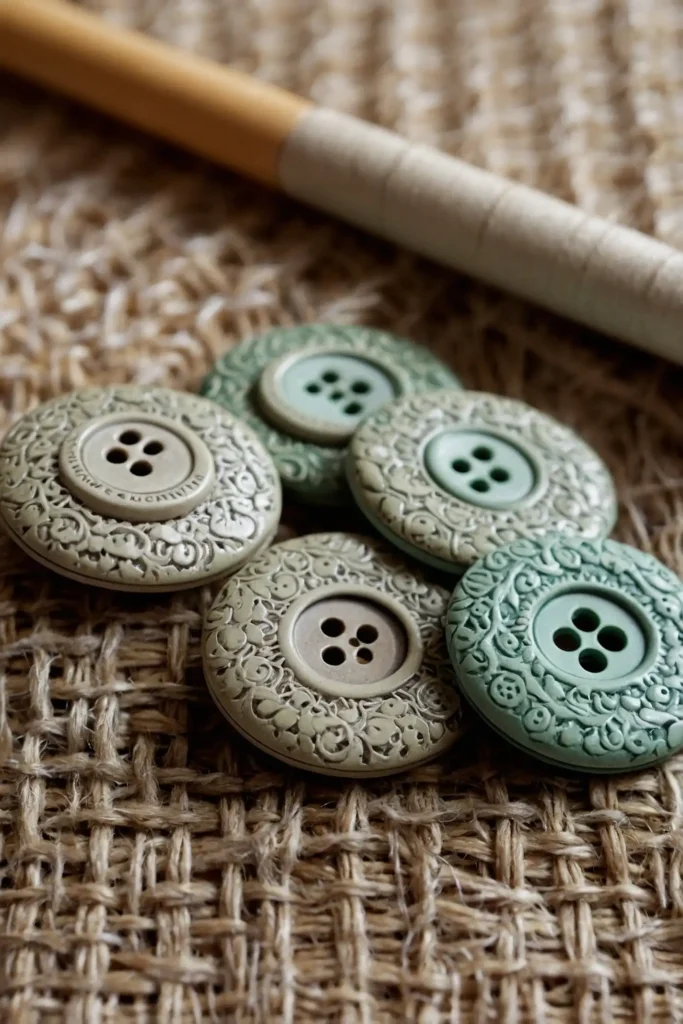
Create unique buttons for clothing, crafts, or decorative purposes.
Roll small balls of clay and flatten them to your desired button thickness, typically about ⅛-inch.
Use a straw or small round cutter to create traditional button holes, or fashion loops on the back for sew-through buttons.
Add textures using lace, fabric, or small stamps.
These personalized buttons add character to jackets, pillows, or craft projects.
Make them in various sizes and complementary designs for a coordinated collection.
16: Tiny Planters
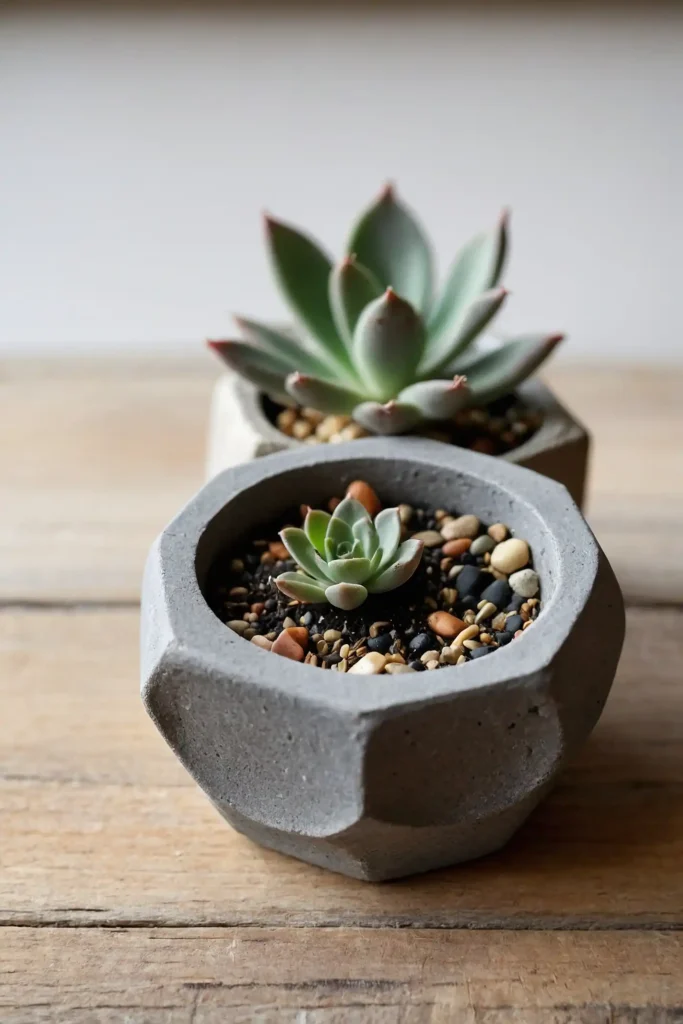
Craft miniature planters perfect for small succulents or air plants.
Form small pinch pots about 1-2 inches in diameter, ensuring they have drainage holes if intended for live plants.
Experiment with different shapes like hexagons, squares, or asymmetrical organic forms. Add feet or decorative elements to the exteriors for extra personality.
These tiny containers make charming desk accessories or windowsill decorations. Group several together for a greater impact in your space.
17: Personalized Gift Tags
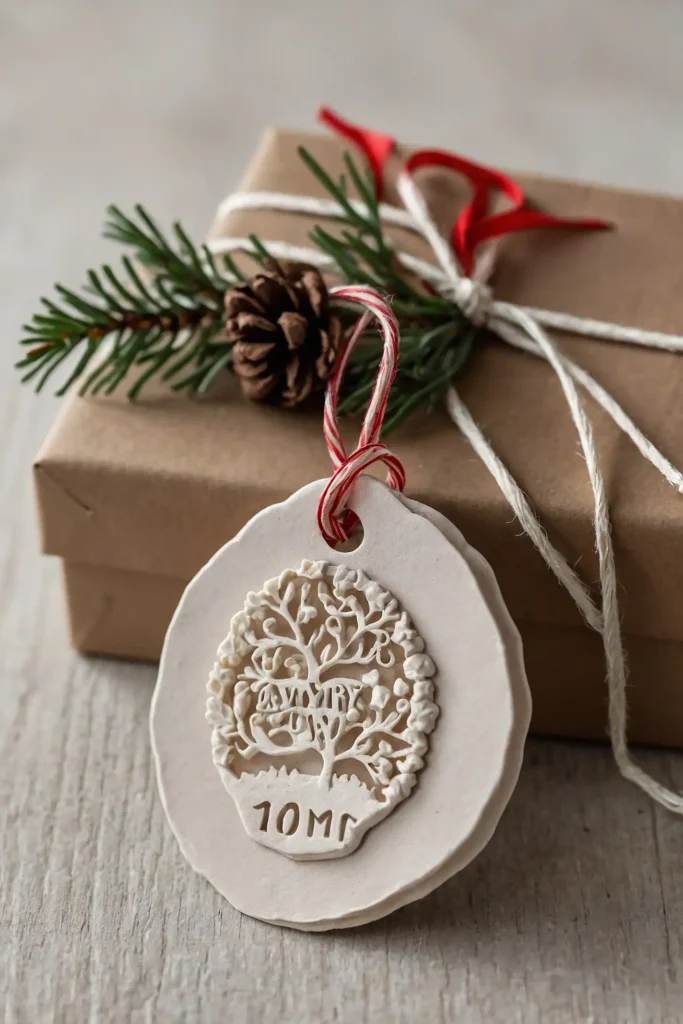
Design reusable gift tags that add a special touch to presents. Roll clay to approximately ⅛-inch thickness and cut into simple shapes like rectangles or circles.
Use letter stamps to add names or short messages. Create a hole near the top for ribbon or twine before drying.
These sustainable alternatives to paper tags become keepsakes long after the gift is opened.
Make them in neutral colors for versatility, or seasonal colors for holiday gifting.
18: Tea Light Holders
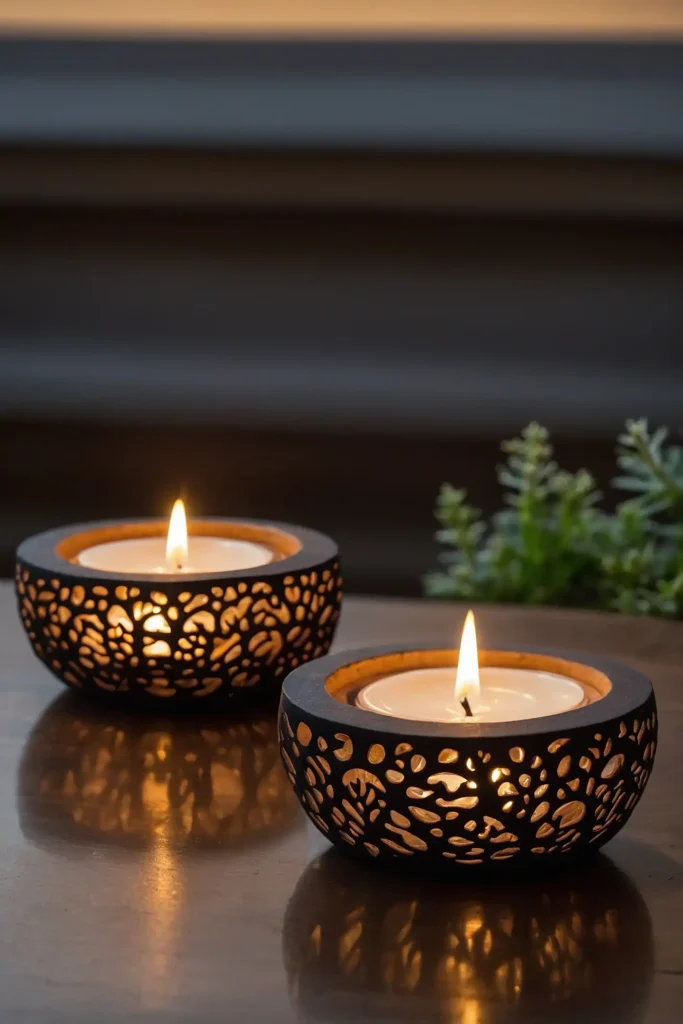
Craft simple holders for tea lights that create warm, inviting ambiance.
Form clay into small shallow bowls slightly larger than standard tea lights.
Add texture to the exterior or create cutouts around the sides for light to shine through. Ensure the walls are thick enough to withstand the tea light’s heat.
These functional pieces transform ordinary candles into decorative lighting.
Group several together for a greater impact on dining tables or mantels.
19: Rustic Napkin Rings
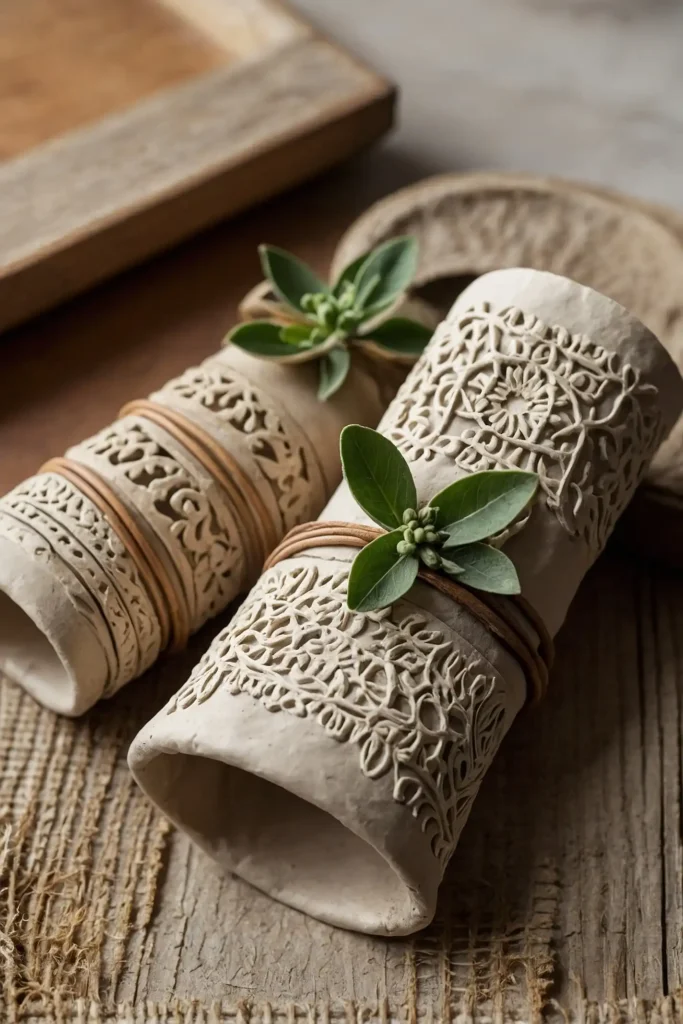
Create custom napkin rings that elevate your table setting.
Roll clay into cylinders about 1.5 inches in diameter and 1 inch high, then smooth the connected edges.
Add texture with stamps, fingertips, or small clay embellishments.
Consider pressing herbs or leaves into the surface for natural impressions.
These practical pieces add artisanal charm to everyday meals or special occasions.
Make a set of four or six in complementary designs for a cohesive tablescape.
20: Clay Earrings
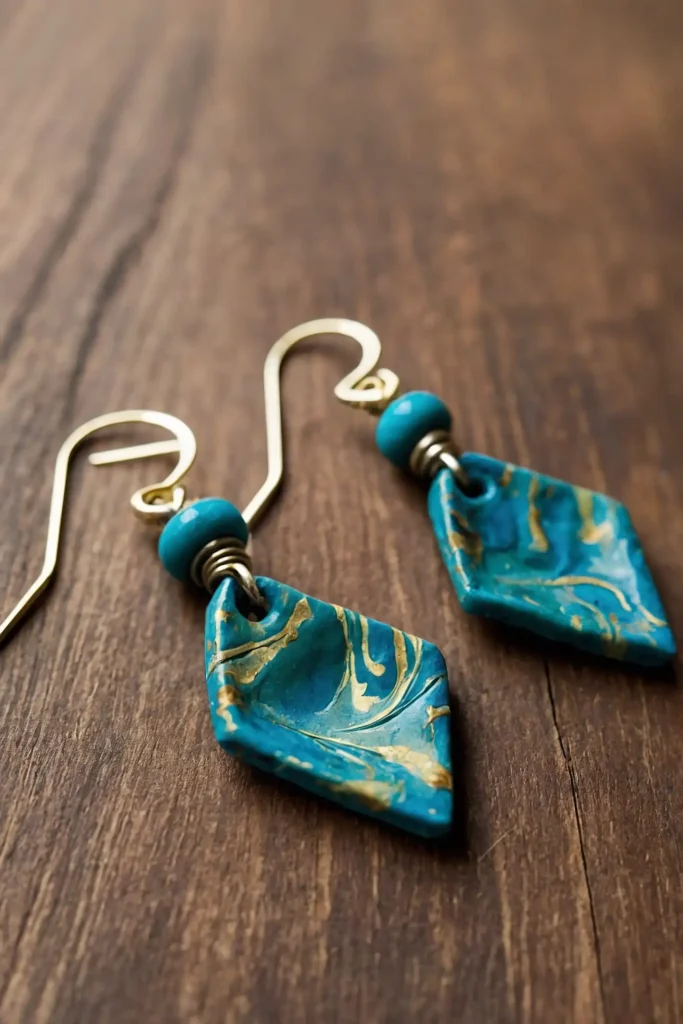
Design lightweight earrings in endless styles and colors.
Roll clay very thin (about 1/16-inch) and cut small shapes using knives or tiny cookie cutters.
Create holes for jump rings before drying, keeping them away from edges to prevent breaking. Experiment with textures, layers, or marbled effects.
After finishing, attach earring hardware using jewelry pliers.
These handmade accessories make perfect gifts or additions to your own jewelry collection.
Conclusion
Working with clay offers endless creative possibilities, even on a small scale.
Start with one of these projects today, and you’ll quickly discover the joy and satisfaction of creating something beautiful with your own hands!