31 Genius IKEA Kura Bed Hacks That Will Transform Your Child’s Room
The IKEA Kura bed might be the most versatile children’s furniture ever created.
This simple reversible bed offers endless possibilities for customization that can grow with your child.
No need to spend hundreds on specialty furniture when you can transform this affordable bed frame into something magical with just a bit of creativity and effort.
Ready to reimagine your child’s space? Let’s explore these incredible Kura bed transformations that will inspire your next weekend project!
1: Cozy House Bed Transformation
Turn your Kura into a charming house bed by adding wooden panels to the top frame.
Simply attach thin plywood cut in a house shape to create a dreamy sleeping space.
You can leave it natural or paint it to match your child’s room. Add fairy lights along the roof line for an extra magical touch.
This project requires basic woodworking skills but delivers professional-looking results that your little one will adore.
2: Under-Bed Reading Nook
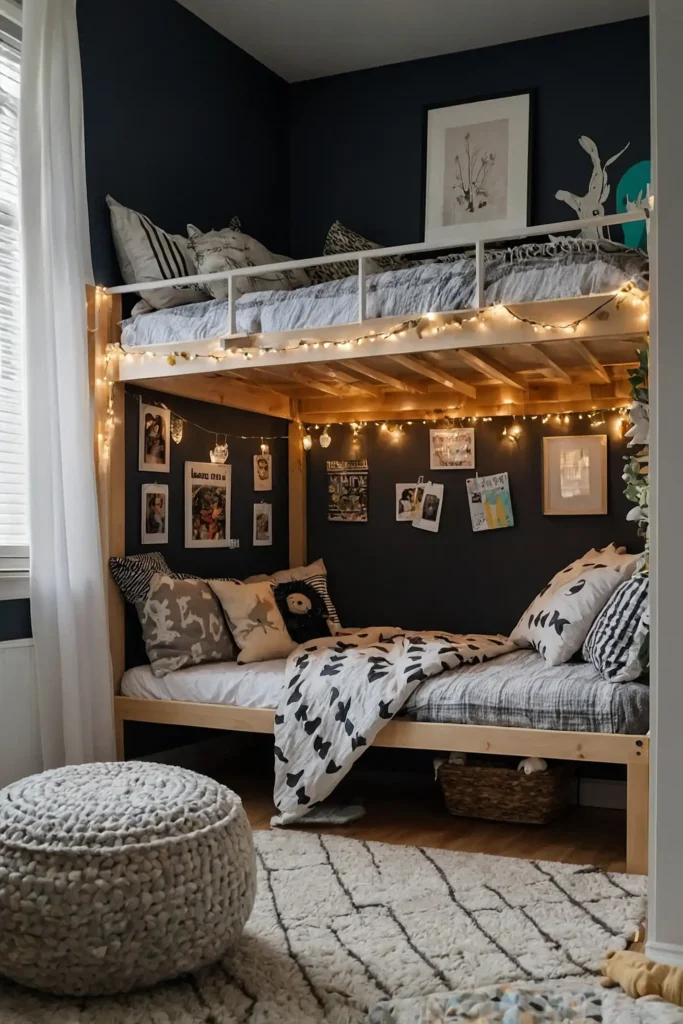
Create a cozy reading retreat beneath the Kura by adding floor cushions, string lights, and a small bookshelf.
This transforms unused space into a magical hideaway.
Hang sheer curtains around the lower area for added privacy. Your child will spend hours getting lost in books in their special nook.
This hack requires minimal materials and can be completed in just a few hours.
3: Slide Addition
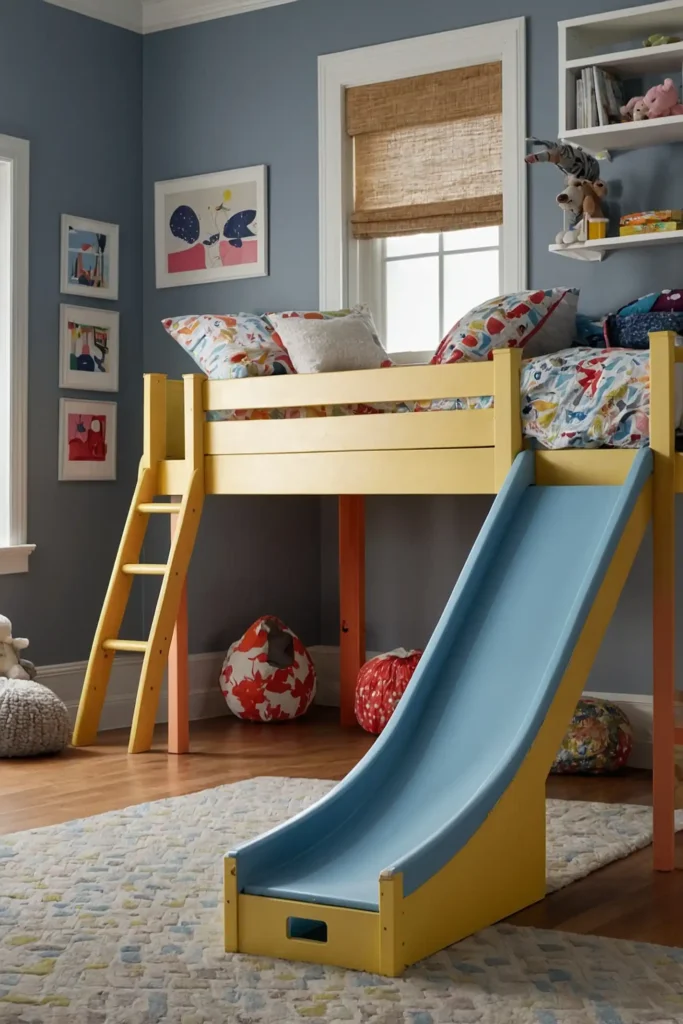
Attach a slide to your Kura bed for the ultimate fun factor. Purchase a standalone slide or repurpose an old playground slide secured to the bed frame.
Ensure it’s properly anchored for safety. This addition makes bedtime something to look forward to rather than resist.
Your little one will love sliding out of bed each morning—though they might need reminders not to slide during nighttime bathroom trips!
4: Painted Mountain Mural
Transform the plain wooden panels with a mountain mural using painter’s tape and several shades of paint.
Create a geometric mountain range that adds dimension to the room.
This visual hack requires no structural changes but dramatically transforms the bed’s appearance. Choose colors that complement the room’s palette.
Even painting novices can achieve impressive results with this simple technique.
5: Secret Storage Stairs
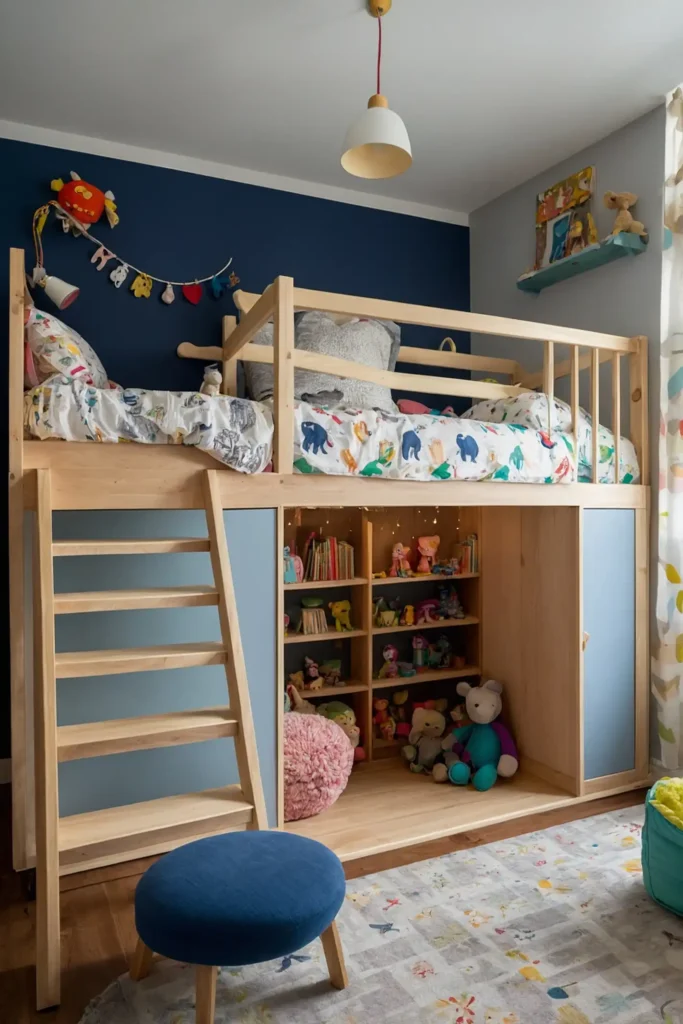
Replace the standard Kura ladder with custom stairs that double as storage. Build wooden steps with hinged tops to reveal hidden compartments.
These stairs provide safer access for younger children while creating valuable storage space for toys or bedding.
Each step can hide different treasures.
This project requires intermediate carpentry skills but solves two problems with one clever solution.
6: Canopy Bed Creation
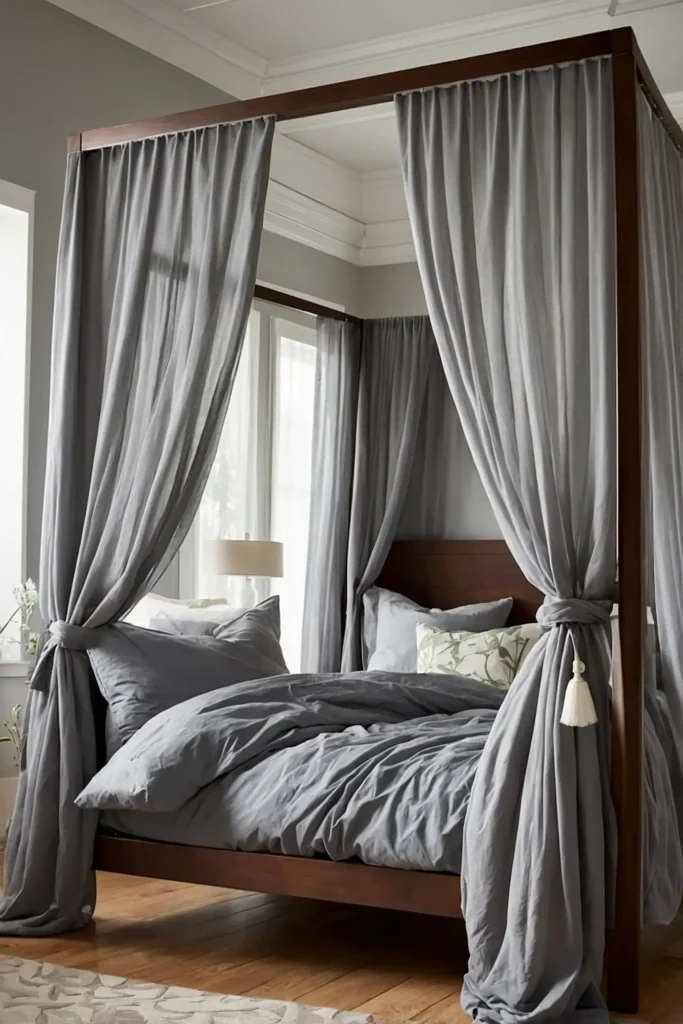
Add a dreamy canopy by installing a curtain rod across the top of the bed and hanging lightweight fabric.
This simple addition transforms the basic frame into a luxury retreat.
Choose sheer fabrics for a delicate look or heavier curtains for more privacy. Attach with tension rods for a damage-free installation.
This hack takes less than an hour but creates a dramatic transformation.
7: Castle Fortress Conversion
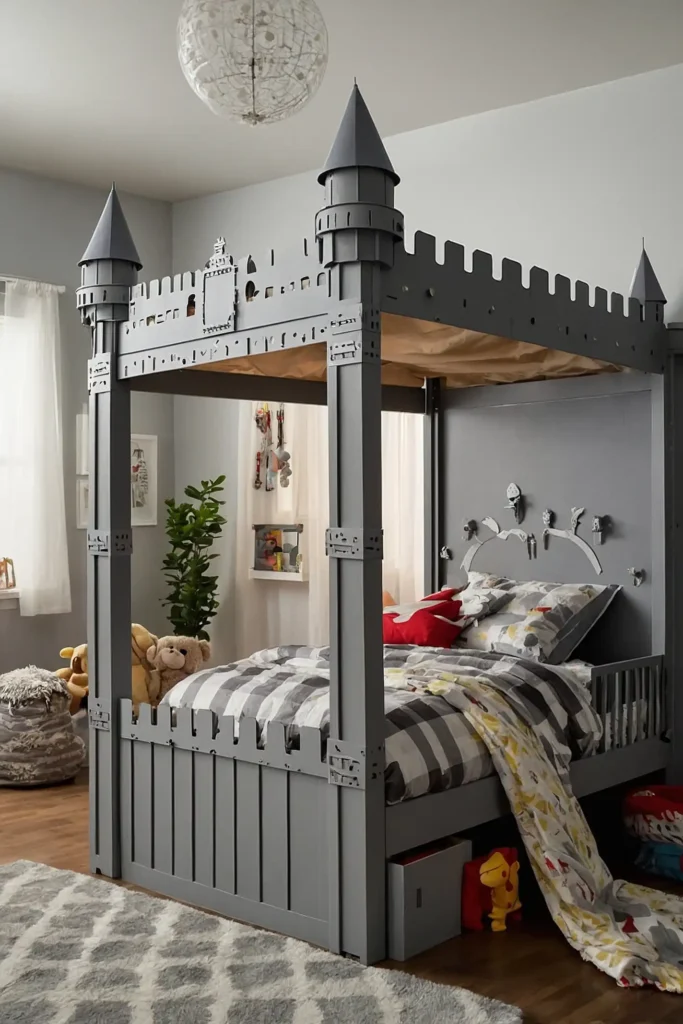
Transform the Kura into a medieval castle by adding cardboard or wooden battlements to the top frame and painting them gray.
Cut crenellations along the top edge for authentic castle vibes.
Add a drawbridge-style headboard and shield decorations for the full effect. Your little knight will defend their sleep kingdom with pride.
This project makes bedtime an adventure rather than a chore.
8: Integrated Desk Space
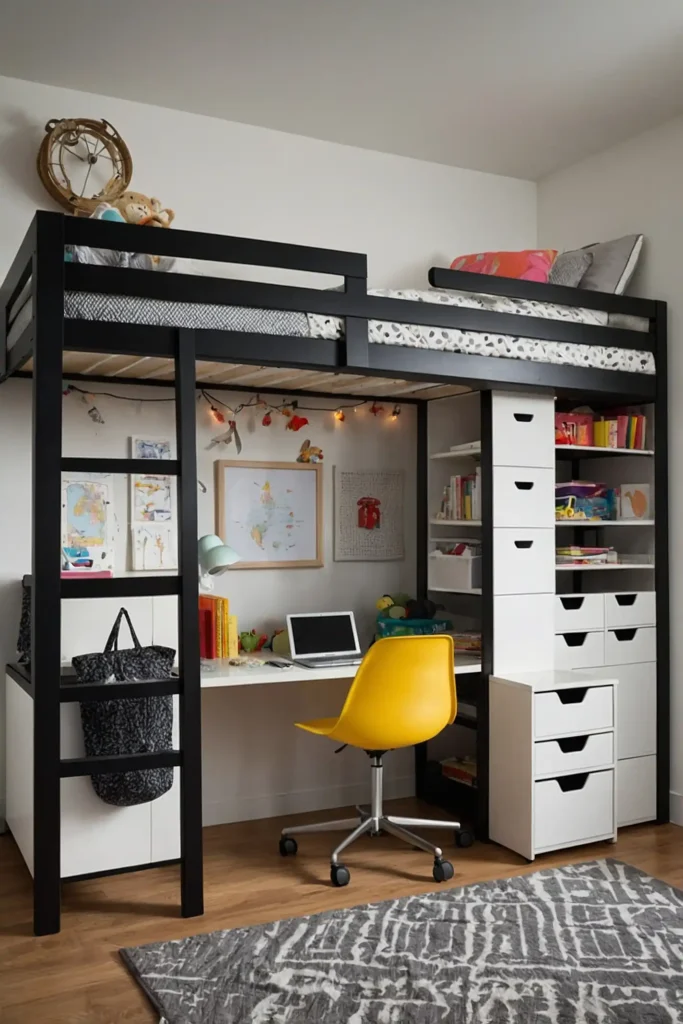
Maximize functionality by installing a pull-out desk under the bed.
Mount a wooden board on sliding drawer rails for a workspace that tucks away when not in use.
Add a small chair and wall-mounted organizers for a complete homework station. This creates a dedicated study space without sacrificing floor area.
Perfect for smaller bedrooms where every square inch counts.
9: Jungle Treehouse Theme
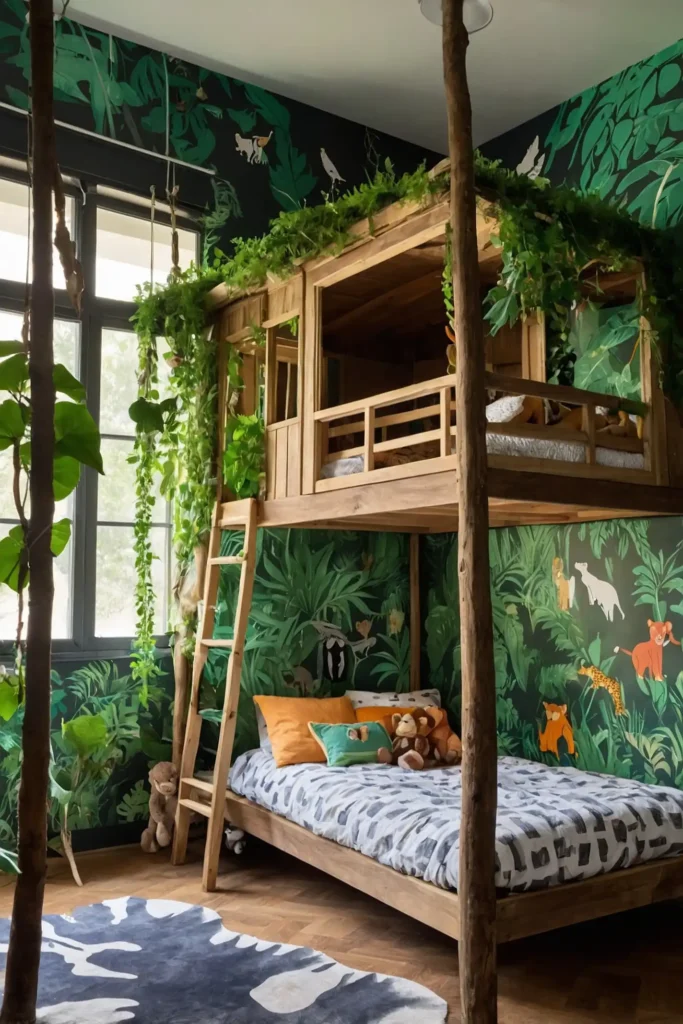
Create a jungle treehouse by adding faux foliage, stuffed animals, and a green canopy to the bed.
Wrap the posts with brown fabric or paper for a tree trunk effect.
Hang lightweight vines and leaves from the ceiling around the bed. Add jungle animal wall decals to complete the theme.
This immersive environment transforms bedtime into an adventure.
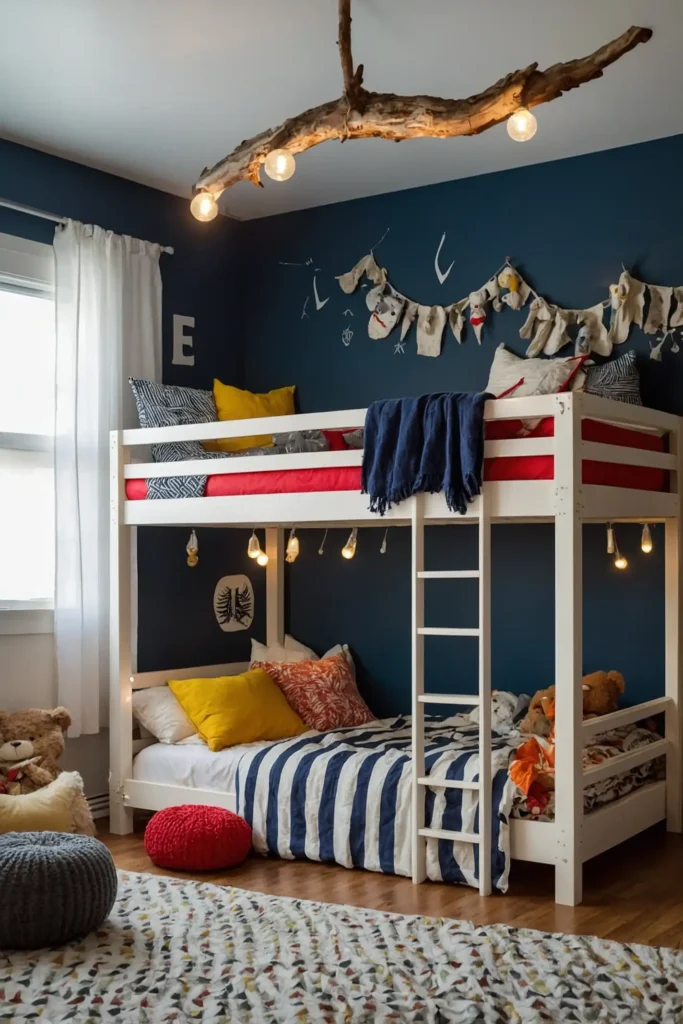
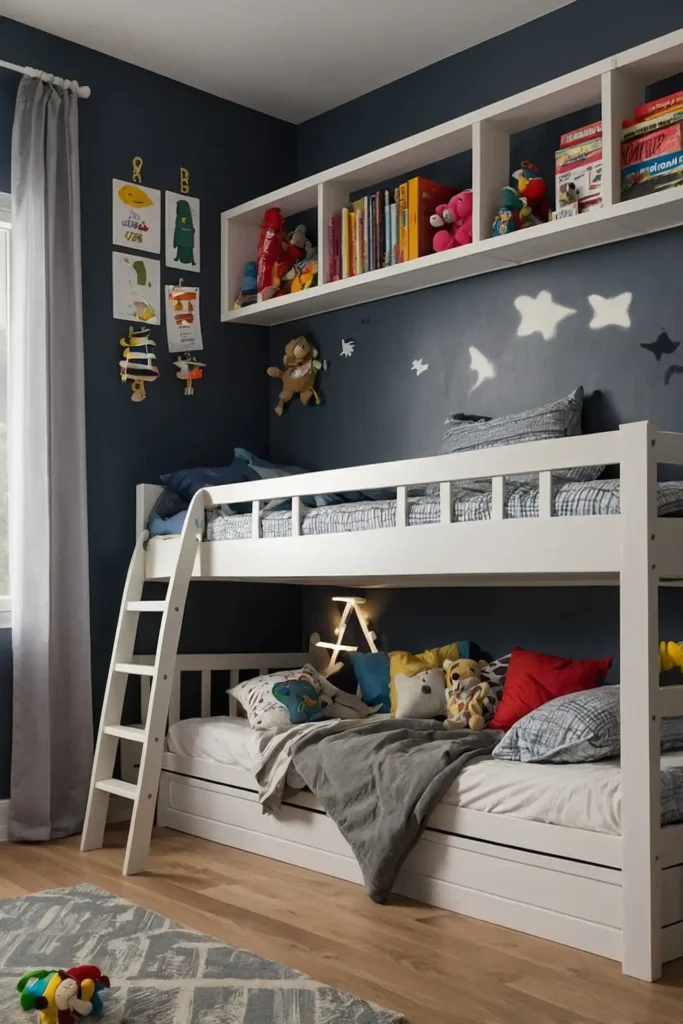
10: Light-Up Starry Night Ceiling
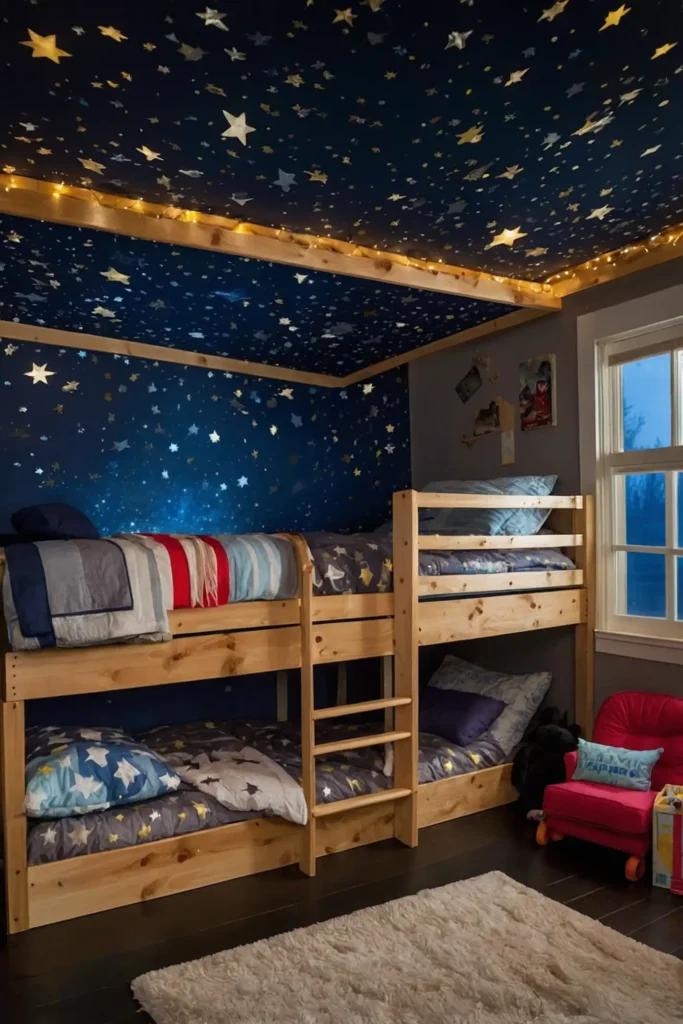
Install string lights or stick-on stars to the underside of the top bunk to create a magical starry night effect.
Battery-operated lights avoid cord dangers.
This simple addition makes nighttime magical and can help ease bedtime fears. Choose lights with timers to save battery life.
Your child will drift off to sleep while stargazing from the comfort of their bed.
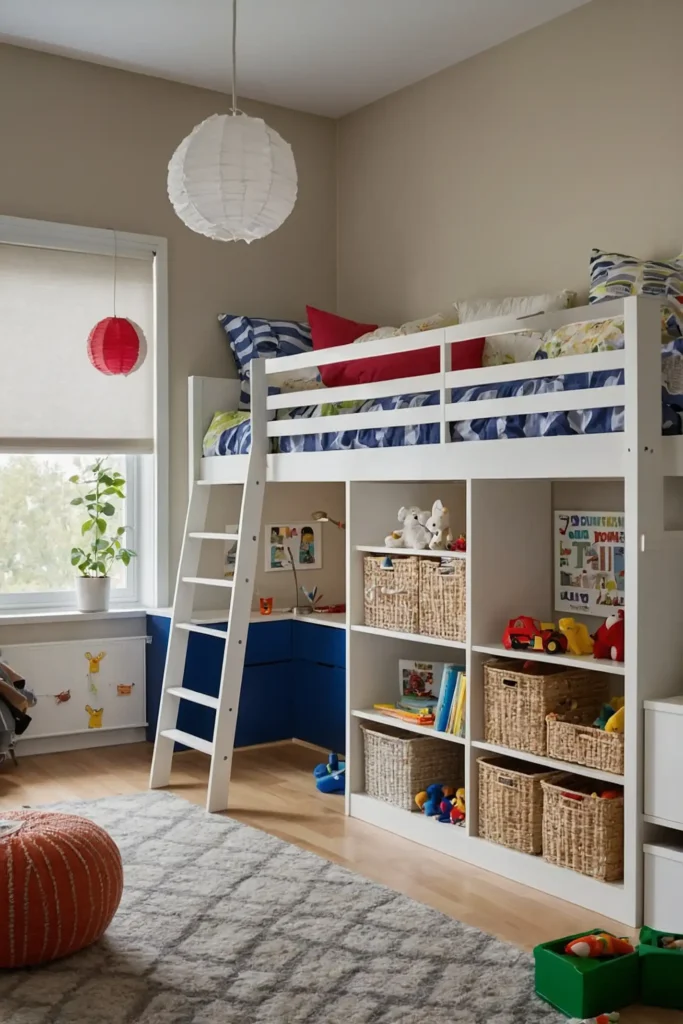
11: Built-In Bookshelf Headboard
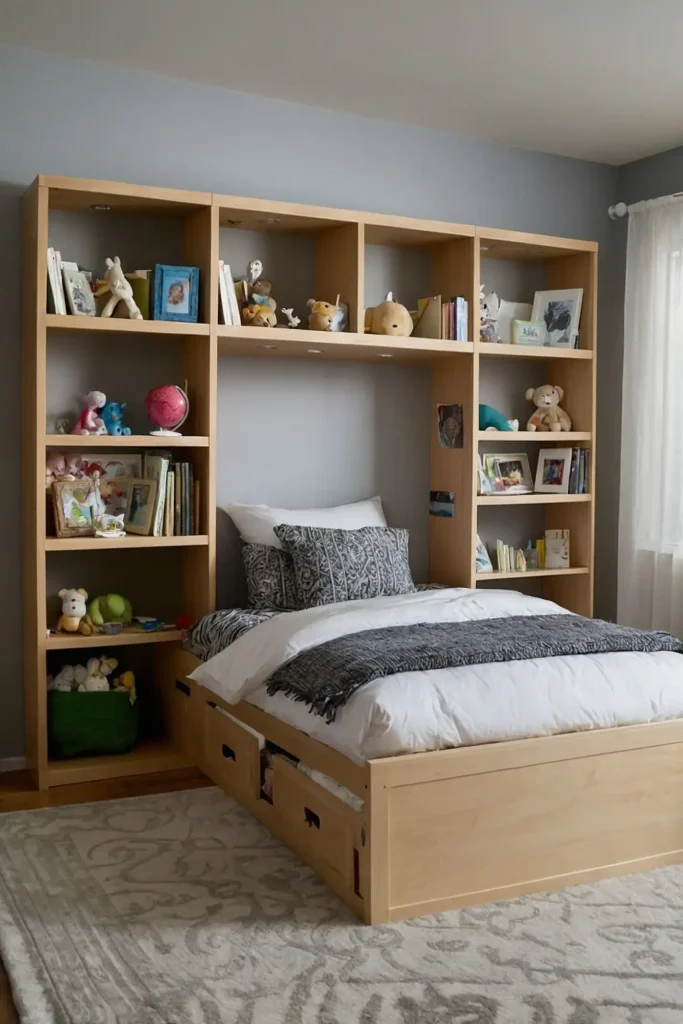
Replace one end of the bed with a custom bookshelf. Cut plywood to size, create shelving compartments, and attach securely to the bed frame.
This puts bedtime stories within easy reach and maximizes storage space.
Paint or stain to match the bed or use a contrasting color for visual interest.
A perfect solution for book-loving kids with growing collections.
12: Racing Car Conversion
Transform the bed into a race car by adding wheel-shaped cutouts to the sides and painting racing stripes along the frame.
Create a dashboard headboard with painted dials and buttons.
Add a steering wheel to the side for imaginative play. This high-octane hack will have your little racer eager for bedtime.
Use removable decorations if you anticipate wanting to change themes later.
13: Princess Carriage Makeover
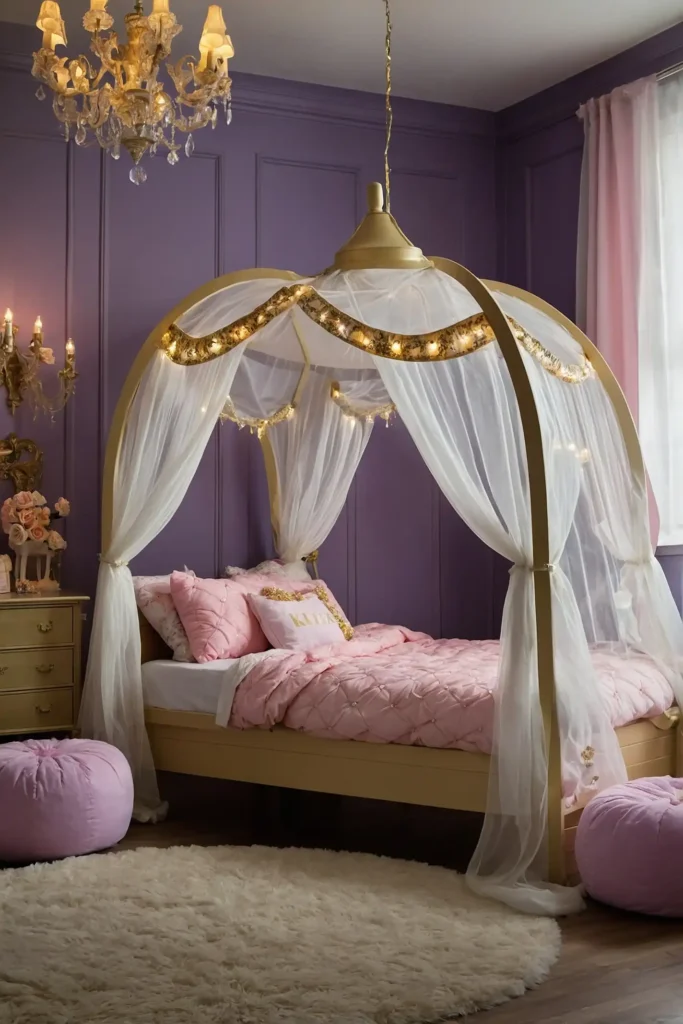
Turn the Kura into a royal carriage by adding a rounded fabric canopy and decorative elements.
Drape sheer fabric from a circular hoop above the bed for the carriage top.
Add battery-operated string lights around the canopy for extra magic.
This fairytale transformation creates the perfect sleeping space for your little royal.
Complete the look with crown-shaped pillows or wall decorations.
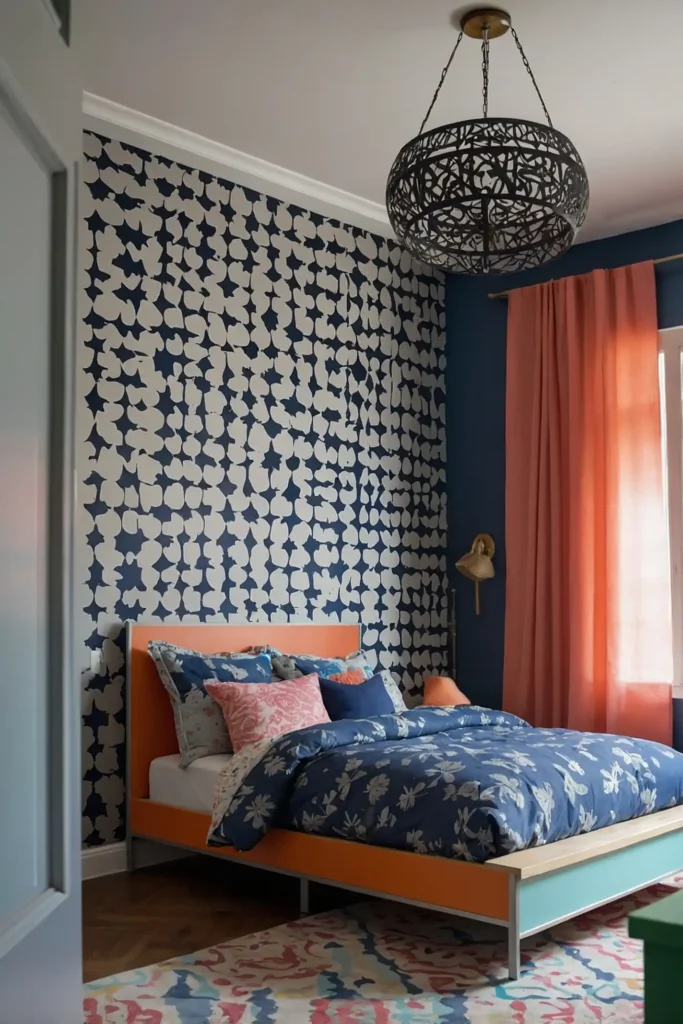
14: Geometric Tape Design
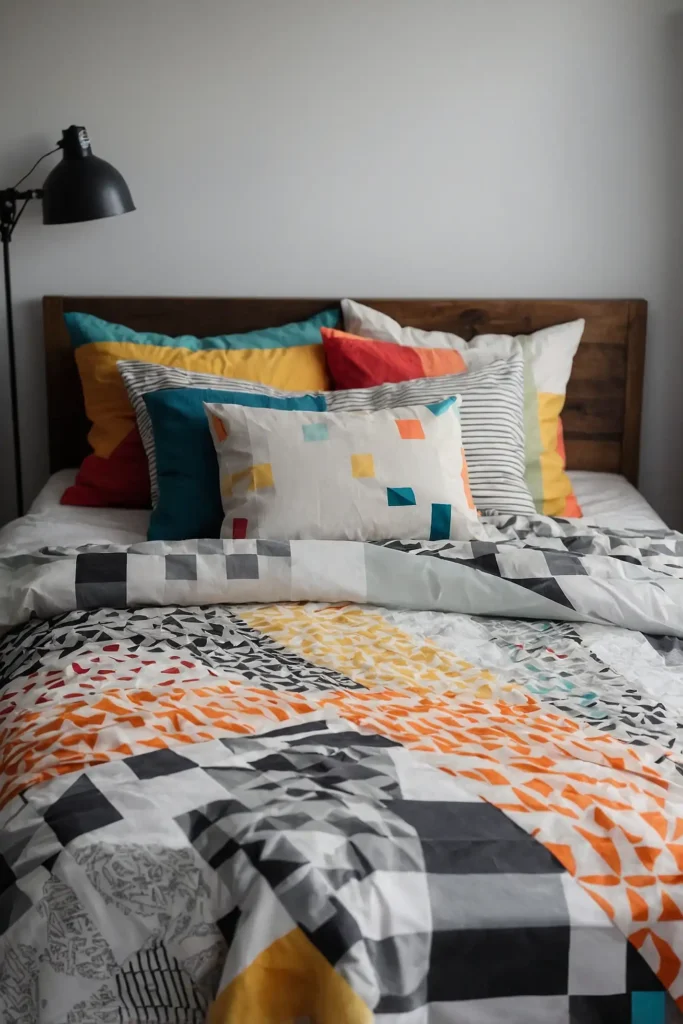
Create eye-catching designs on the bed panels using colorful washi tape or painter’s tape.
Design geometric patterns, stripes, or other decorative elements.
This temporary decoration can be easily changed when your child wants a new look.
Experiment with different tape widths and colors for various effects.
A perfect weekend project that even your child can help create.
15: Hidden Play Area
Enclose the bottom section with curtains or fabric panels to create a secret hideaway. Add cushions, toys, and perhaps a small play table.
This creates two distinct spaces: sleeping quarters above and a private play zone below.
Use tension rods and clips to attach fabric for easy removal when cleaning.
This two-in-one solution maximizes both sleeping and playing space.
16: Painted Chalkboard Panels
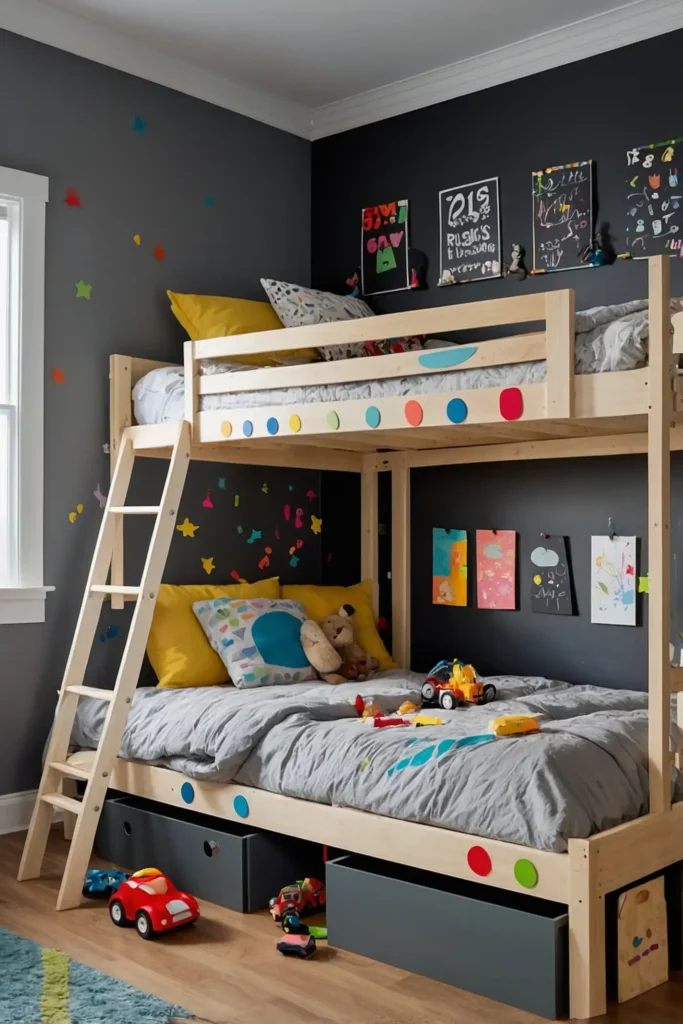
Apply chalkboard paint to some or all of the bed panels to create a creative drawing surface.
Your child can personalize their space and change their artwork whenever inspiration strikes.
Add small shelves or cups to hold chalk within easy reach. This interactive element evolves with your child’s artistic development.
Just remember to include a small dustpan for chalk dust cleanup!
17: Loft Bed with Tent Underneath
Create a camping experience by setting up a play tent under the top bunk. Choose a tent that fits the space or make a custom one using PVC pipes and fabric.
Add a sleeping bag and lantern for authentic camping vibes. This creates a fun sleepover space or daytime play area.
Your child can enjoy indoor camping adventures year-round.
18: Painted Faux Wallpaper Designs
Transform plain panels with stencils to create the look of expensive wallpaper.
Use repeating patterns like stars, geometric shapes, or florals painted in colors that match the room.
This customized look gives high-end style on a budget. Create your own stencils from cardboard or purchase ready-made options.
A great way to tie the bed into your overall room design scheme.
19: Functional Window Seat
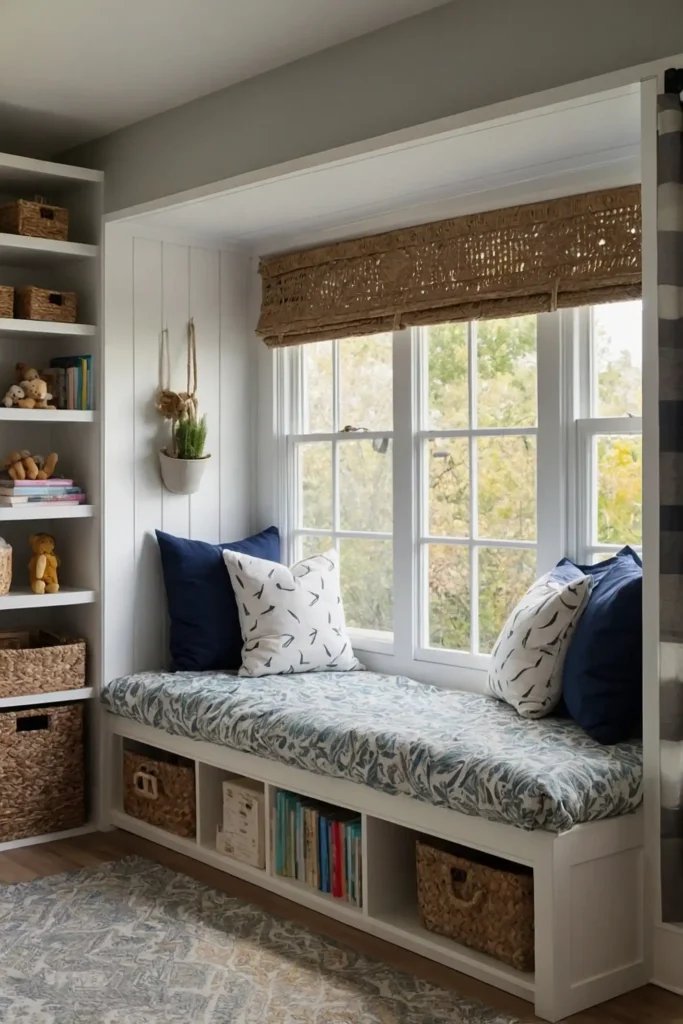
For a bed placed against a window, convert the top into a window seat with cushions and pillows. This creates a cozy reading nook that takes advantage of natural light.
Add storage baskets underneath for books and toys. Ensure the window has proper blinds or curtains for light control.
This hack transforms the bed into a multi-purpose piece of furniture.
20: Split-Level Play Space
Divide the under-bed area into separate zones for different activities. Create a reading corner on one side and a toy storage area on the other.
Use low shelving units as dividers between spaces. This organized approach keeps the room tidy while providing dedicated activity areas.
Perfect for children who enjoy having distinct spaces for different types of play.
21: Hanging Sensory Elements
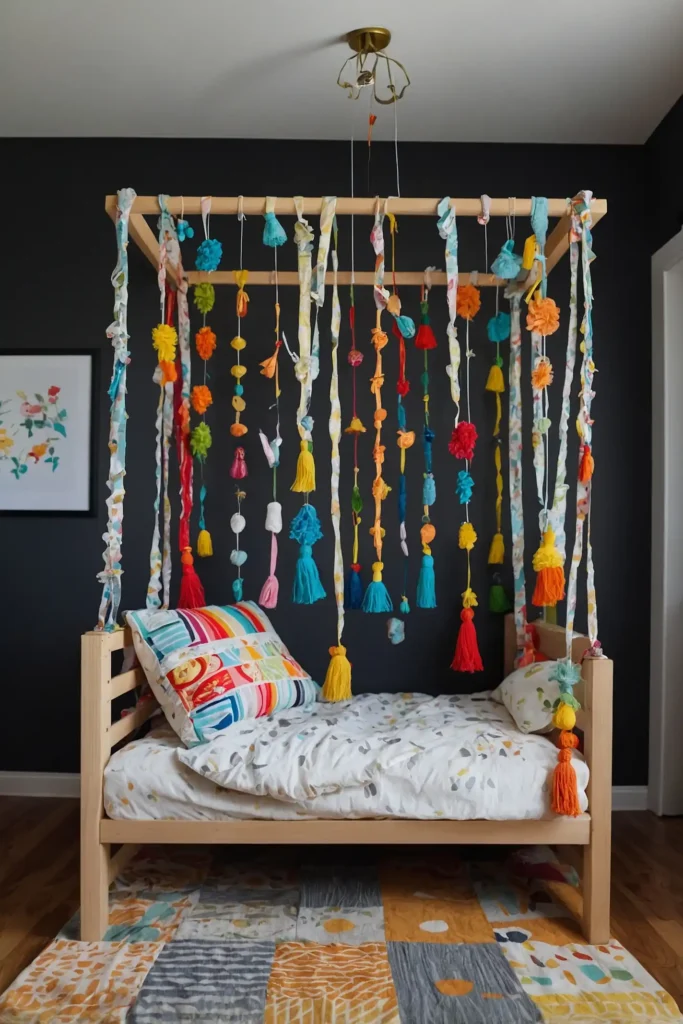
Add sensory elements like fabric strips, bells, or soft dangling toys to the underside of the top bunk. These provide tactile and auditory stimulation for younger children.
Choose elements that are securely attached and appropriate for your child’s age.
This simple addition makes the bed more engaging for sensory-seeking kids.
Rotate elements periodically to maintain interest and engagement.
22: Bunk Bed Buddy Shelf
Install a small floating shelf next to the top bunk for essentials like a water bottle, book, or small toy.
This keeps comfort items within reach without cluttering the sleeping space.
Choose a shelf with a lip to prevent items from falling. Position it at a height that’s convenient but won’t interfere with sitting up in bed.
This practical addition solves the “where do I put my stuff?” problem.
23: Painted Ombre Effect
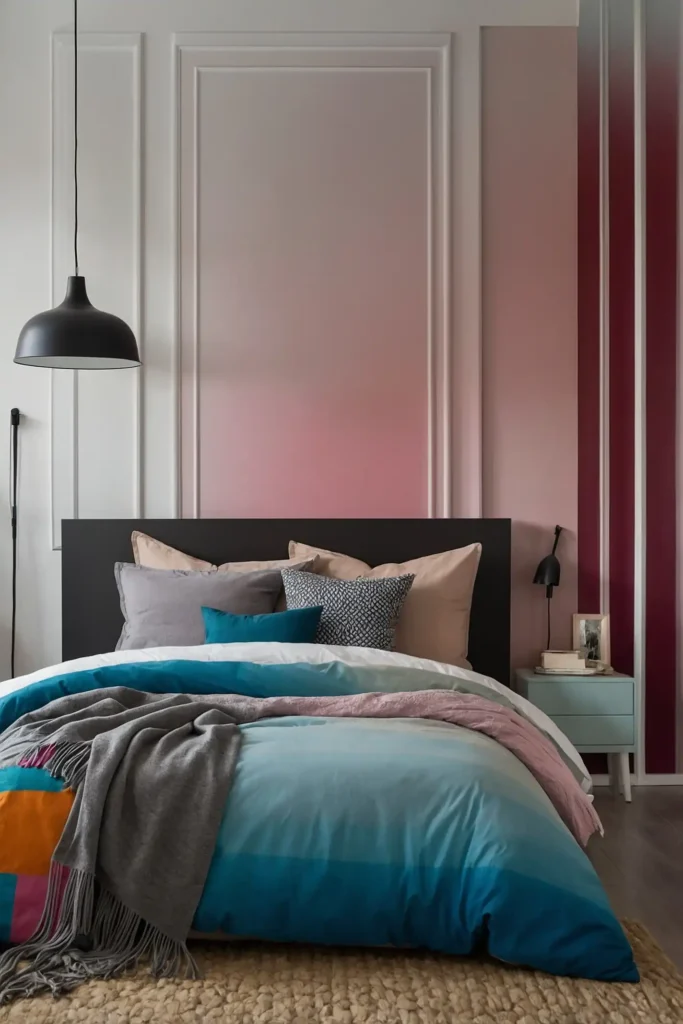
Create a stunning visual effect by painting the bed panels in an ombre gradient.
Start with your darkest shade at the bottom, gradually transitioning to lighter tones at the top.
This modern look adds dimension and interest to the room. Choose colors that complement your existing decor for a cohesive look.
The vertical gradient also creates the illusion of more height in the room.
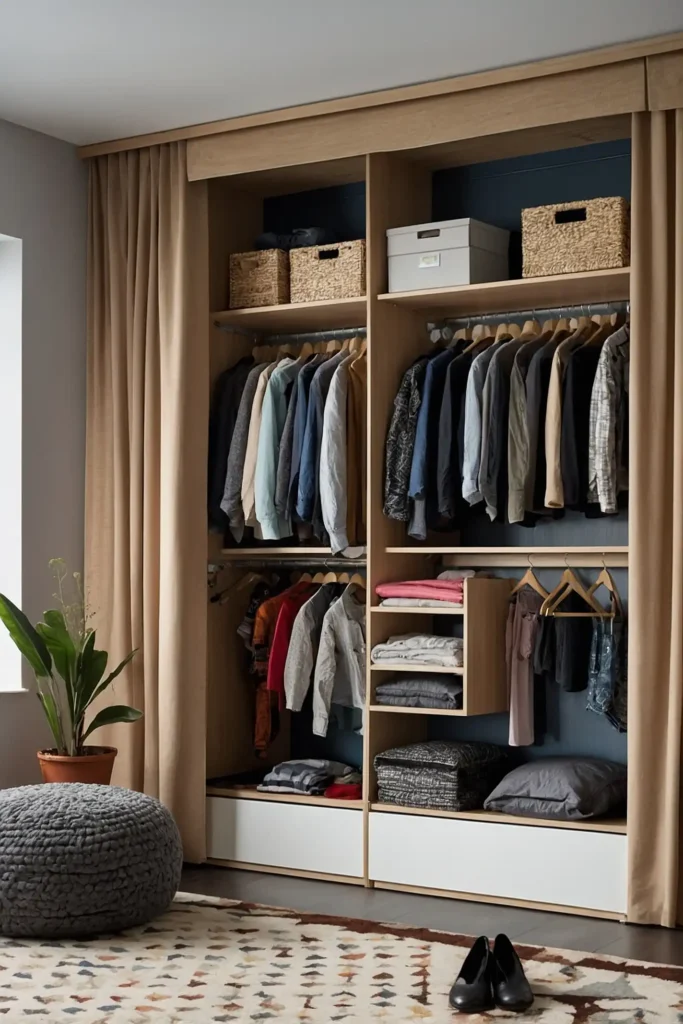
24: Built-In Clothing Storage

Add clothing storage by installing tension rods under the top bunk for hanging clothes. Include small bins or baskets for folded items.
This works especially well in smaller rooms that can’t accommodate a separate dresser. Label containers to encourage organization.
A smart solution that teaches kids to manage their wardrobe independently.
25: Space-Themed Cockpit
Transform the bed into a spaceship by adding control panels made from painted cardboard or wood.
Install battery-operated push lights as “buttons” for interactive play.
Add constellation decals to the ceiling above the bed. This imaginative conversion turns bedtime into a nightly space mission.
Your junior astronaut will be excited to blast off to dreamland every night.
26: Two-Tone Paint Job
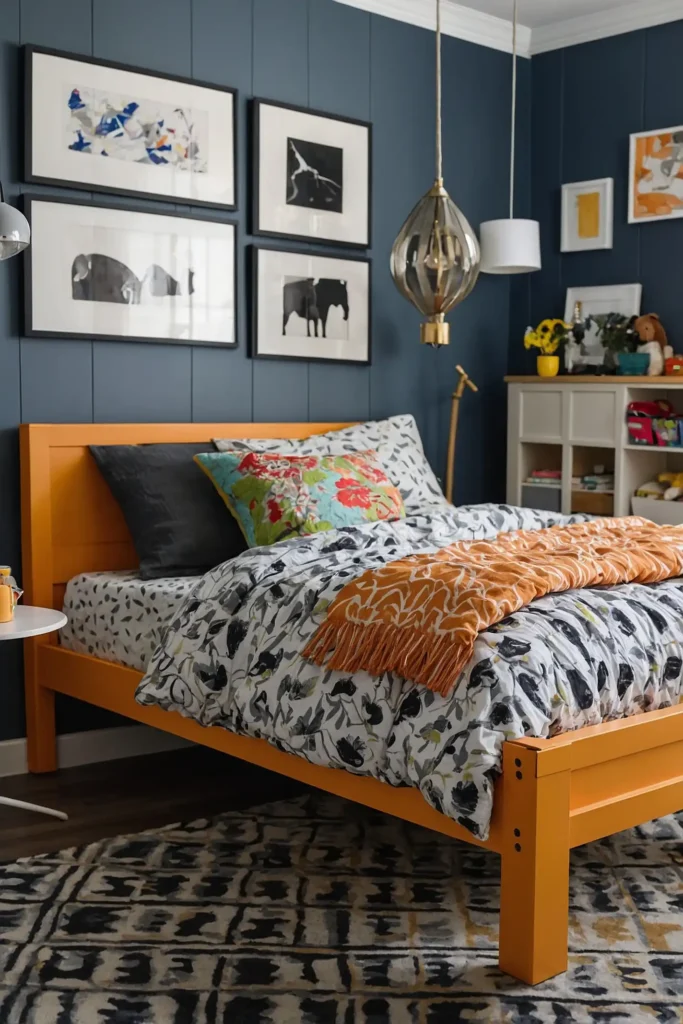
Simplify your hack with a two-tone paint treatment that dramatically changes the bed’s appearance.
Paint the frame one color and the panels another for a custom look.
This easy weekend project requires minimal materials but transforms the bed completely.
Choose complementary colors or bold contrasts depending on your style.
An affordable update that makes the bed look more expensive and custom.
27: Indoor Climbing Wall
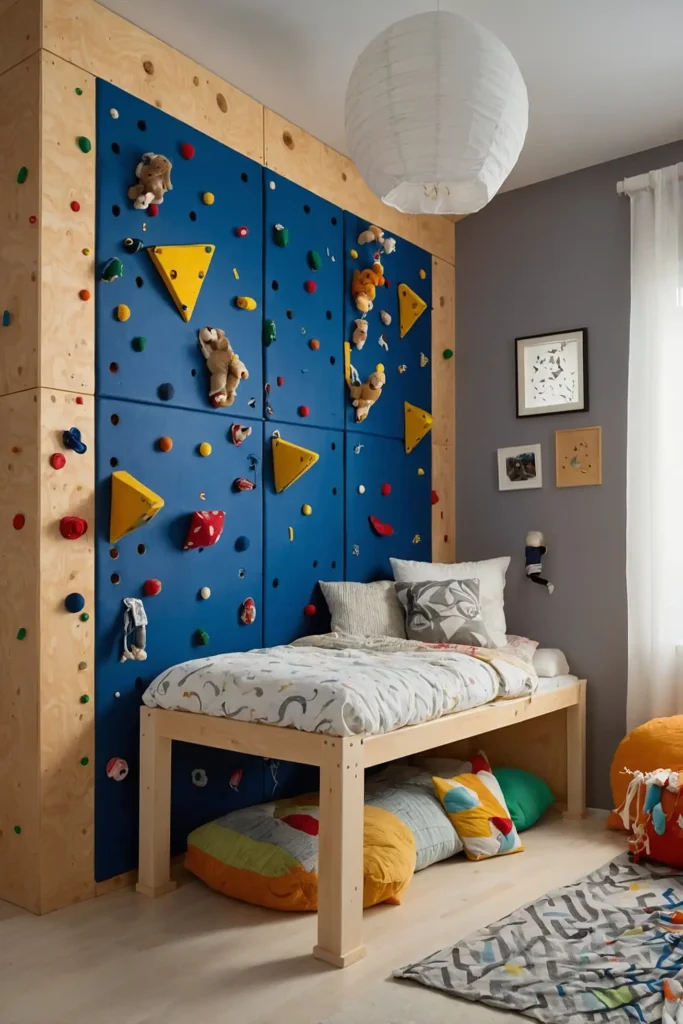
Replace one side panel with a kid-friendly climbing wall using plywood and climbing holds.
Ensure it’s securely attached and place cushions underneath for safety.
This active element encourages physical development and makes the bed part of play time.
Use different colored holds to create climbing routes of varying difficulty.
Perfect for energetic kids who need to burn energy before bedtime.
28: Integrated Closet Space
For rooms without closets, build a wardrobe extension that connects to one end of the bed. Add a hanging rod and shelves in the customized unit.
This creates a complete bedroom solution in one compact footprint. Include doors or curtains to keep clothing hidden and dust-free.
Maximize vertical space by extending storage to the ceiling.
29: Light-Up Message Board
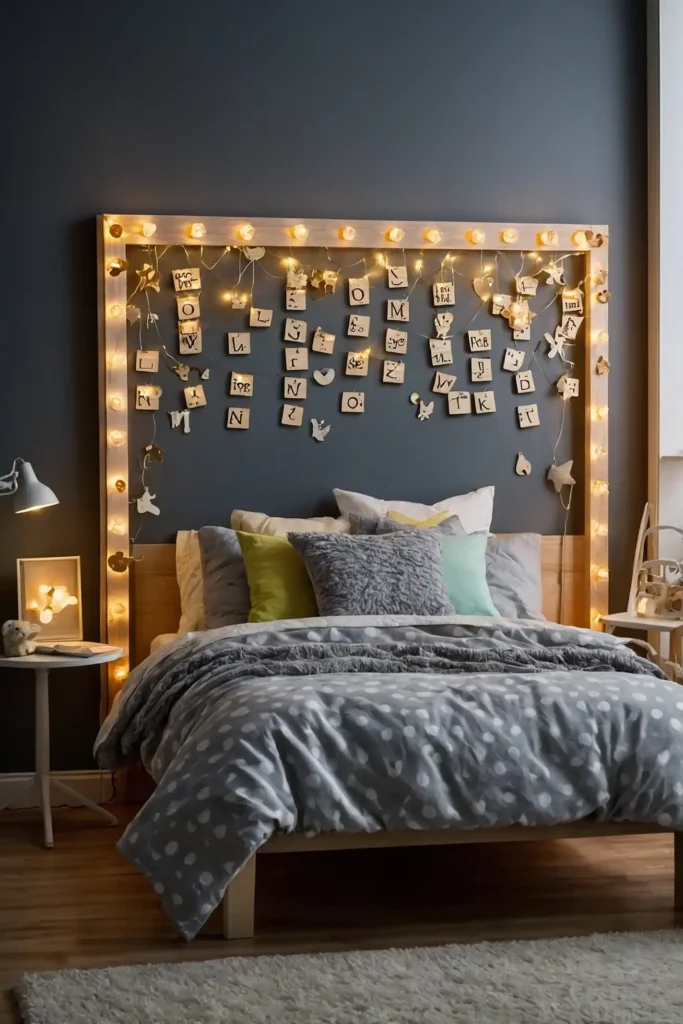
Install a light-up message board on one panel using string lights or LED strips. Create a frame where lights shine through cut-out letters or shapes.
This personalized feature adds character and serves as a night light. Change messages for birthdays, holidays, or just for fun.
A unique addition that makes your child feel special.
30: Built-In Toy Storage Drawers
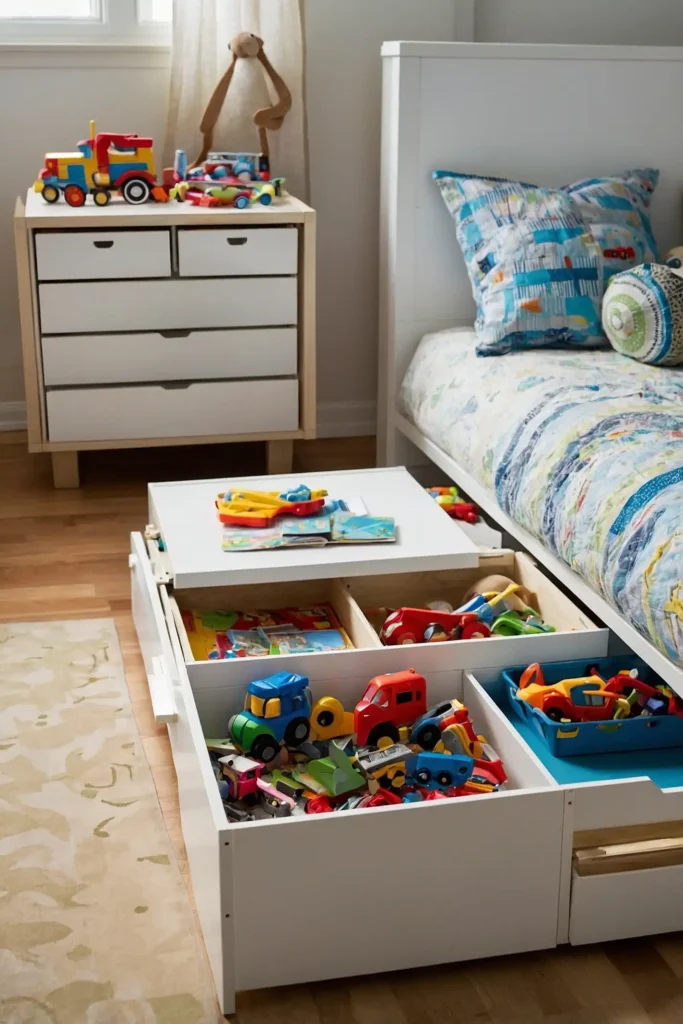
Build large rolling drawers that fit under the bed for easy toy storage. Use castors for smooth operation and handles for easy access.
This solution keeps toys organized but accessible. Label drawers with pictures for younger children who can’t yet read.
A practical addition that makes cleanup time quicker and more efficient.
31: Modular Play Kitchen
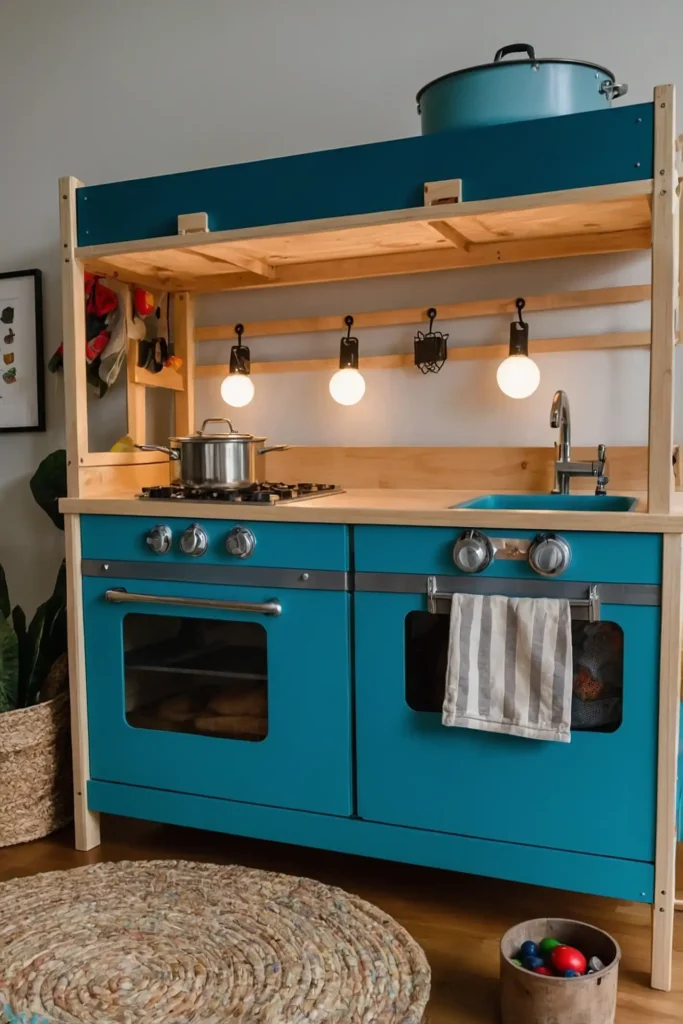
Install a play kitchen under the top bunk using the bed frame as the structure.
Add a countertop, sink, and stove made from repurposed materials or purchased play kitchen elements.
This creates a dedicated play space that doesn’t take up additional floor area. Add hooks for play pots and pans to complete the setup.
Your little chef will enjoy whipping up imaginary meals in their bedroom bistro.
Conclusion
With these 31 Kura bed hacks, you’ve got plenty of inspiration to transform a simple piece of furniture into something extraordinary.
Pick the ideas that best suit your child’s personality and get creating!