How to Create a Mood Board for Your Room Makeover
Planning a room makeover feels overwhelming when you don’t know where to start. You stare at empty walls and wonder how to transform your space into something beautiful.
A mood board solves this problem perfectly. It helps you visualize your dream room before you spend a single dollar.
Creating one saves you time, money, and design mistakes you’ll regret later.
Understanding What a Mood Board Really Is
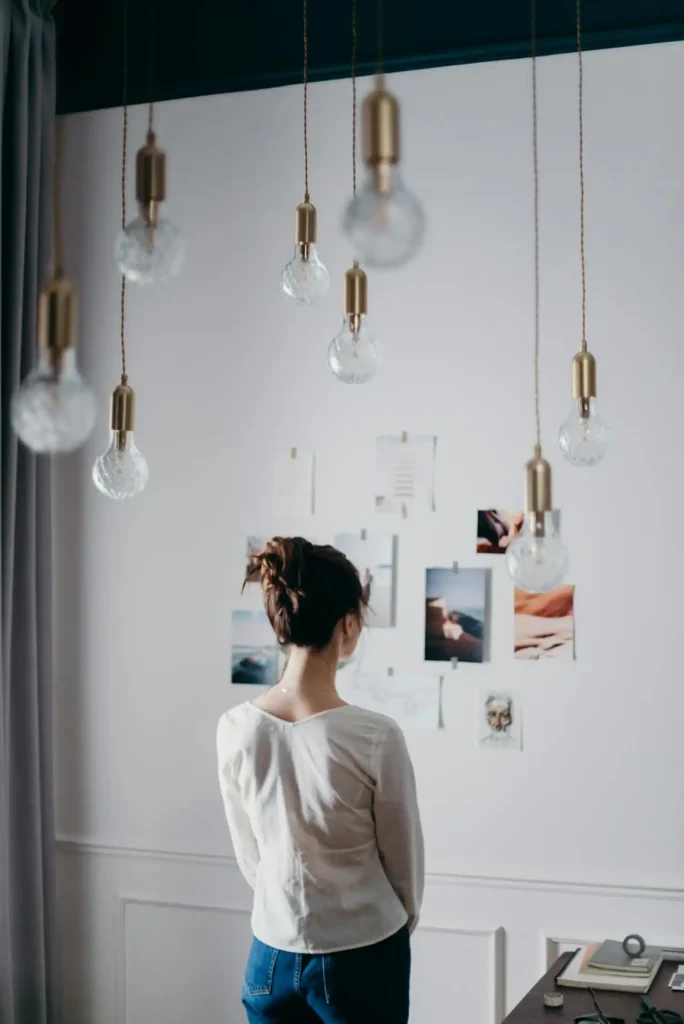
Think of a mood board as your room’s visual roadmap. You collect images, colors, textures, and materials that represent your ideal space.
This collection guides every design decision you make during your makeover. The images you choose will communicate this vision clearly.
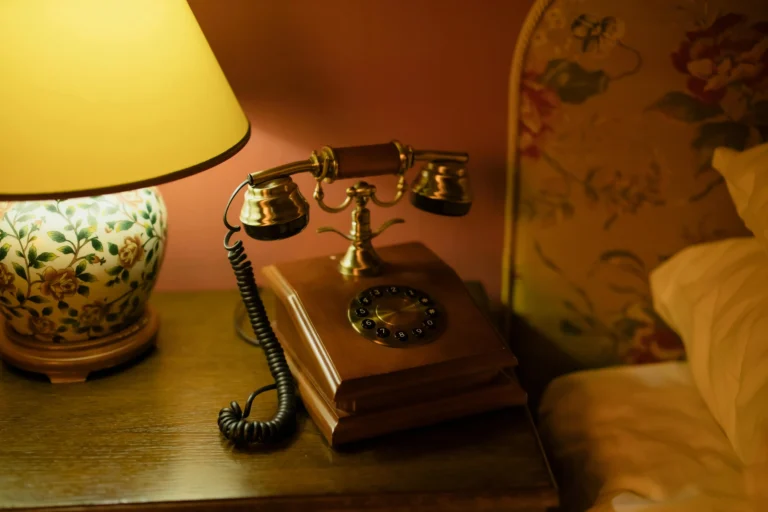
Your mood board captures the feeling you want your room to evoke. Do you crave a cozy, warm atmosphere or a sleek, modern vibe?
Most people skip this crucial step and jump straight into shopping. You’ll avoid costly mistakes by planning first. Your mood board prevents you from buying items that don’t work together.
Professional designers always start with mood boards. You can use the same strategy they rely on to create stunning spaces.
Gathering Inspiration From Multiple Sources
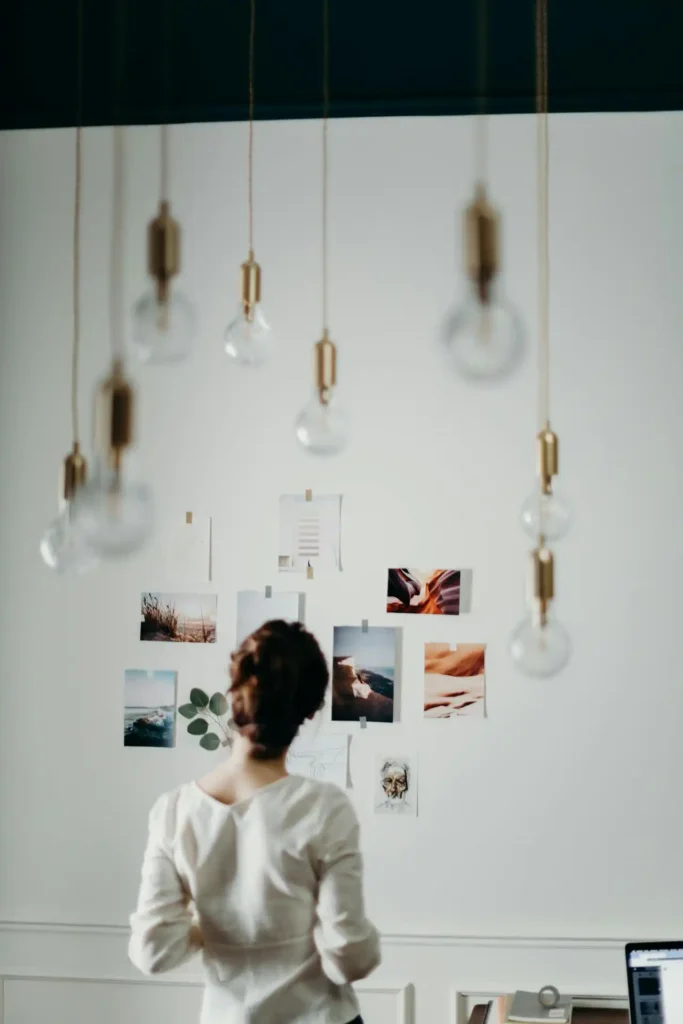
Start collecting inspiration from everywhere around you. Pinterest offers endless room ideas organized by style and color. Create boards for different room concepts you love.
Instagram serves up daily design inspiration through hashtags. Search terms like #bedroomdesign or #livingroomdecor to discover fresh ideas. Save posts that speak to you.
Design magazines showcase the latest trends and timeless classics. Tear out pages that capture your attention.
Don’t worry about copying exactly – you’re gathering elements that appeal to you.
Visit furniture stores and home decor shops regularly. Take photos of displays that catch your eye. Notice how they combine colors, textures, and furniture pieces.
Nature provides incredible color combinations you might never consider. A sunset, autumn leaves, or ocean waves can inspire your entire color scheme.
Your travels offer unique design perspectives. That charming café in Paris or rustic cabin in the mountains might spark your next room concept.
Choosing Your Perfect Color Palette
Your color palette sets the entire mood for your space. Start with one color that makes you feel happy and energized. This becomes your primary color.
Add two or three supporting colors that complement your main choice. Use the 60-30-10 rule: 60% primary color, 30% secondary color, and 10% accent color.
Consider how natural light affects colors in your room. North-facing rooms need warm colors to counteract cool light. South-facing rooms can handle cooler tones.
Test paint samples on your walls before committing. Colors look different throughout the day as lighting changes. Live with samples for at least a week.
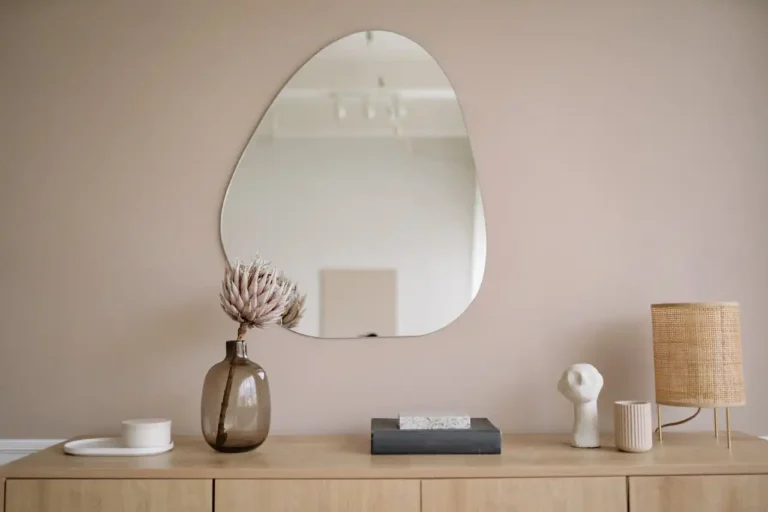
Don’t forget about neutral colors. Whites, grays, and beiges provide balance and prevent your room from feeling overwhelming. They let your accent colors shine.
Your existing furniture might influence your color choices. Work with pieces you plan to keep rather than fighting against them.
Selecting Textures and Materials That Work Together
Texture adds depth and interest to any room. You need a mix of smooth, rough, soft, and hard surfaces to create visual appeal.
Fabric samples tell you how materials will look and feel in your space. Collect swatches of curtains, pillows, and upholstery you’re considering. Touch them to ensure they feel as good as they look.
Natural materials like wood, stone, and metal bring authenticity to your design. Each material has its own personality and contributes to your room’s overall character.
Consider maintenance requirements for different textures. That beautiful white velvet chair might not work with kids or pets. Choose materials that fit your lifestyle.
Layer textures thoughtfully throughout your room. Combine a smooth leather sofa with nubby throw pillows and a soft area rug. This creates a rich, inviting environment.
Lighting affects how textures appear. Glossy surfaces reflect light while matte finishes absorb it. Plan your texture mix based on how much light your room receives.
Including Furniture and Décor Elements
Your mood board needs actual furniture pieces, not just pretty colors. Screenshot or print images of sofas, tables, and chairs that match your vision.
Scale matters enormously in room design. A massive sectional sofa might look perfect online but overwhelm your small living room. Consider proportions carefully.
Choose a focal point for your room first. This might be a statement sofa, dramatic artwork, or beautiful fireplace. Build your other selections around this anchor piece.
Mix different styles thoughtfully to avoid a boring, matchy-matchy look. Combine modern and vintage pieces for personality and character.
Function must guide your furniture choices. That gorgeous coffee table won’t work if it blocks traffic flow in your room. Beauty means nothing without practicality.
Consider your budget constraints while creating your mood board. Include a few splurge items along with budget-friendly options. This gives you flexibility during implementation.
Using Digital vs Physical Mood Boards
Digital mood boards offer convenience and flexibility. Apps like Pinterest, Canva, and Mood board Creator let you arrange and rearrange elements easily.
You can share them with family members or contractors instantly. They work well for people who think better with physical materials.
Physical mood boards provide a tangible experience you can’t get digitally. You can touch fabric samples and see true colors without screen distortion.
Create digital boards for initial brainstorming and exploration. Save everything that catches your attention without worrying about organization yet.
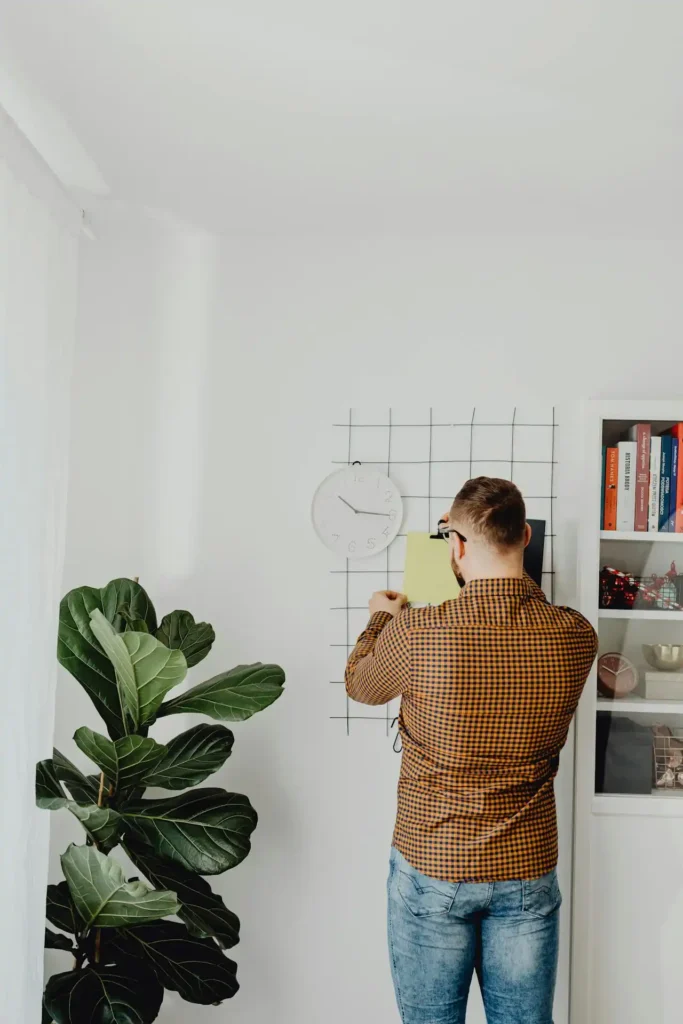
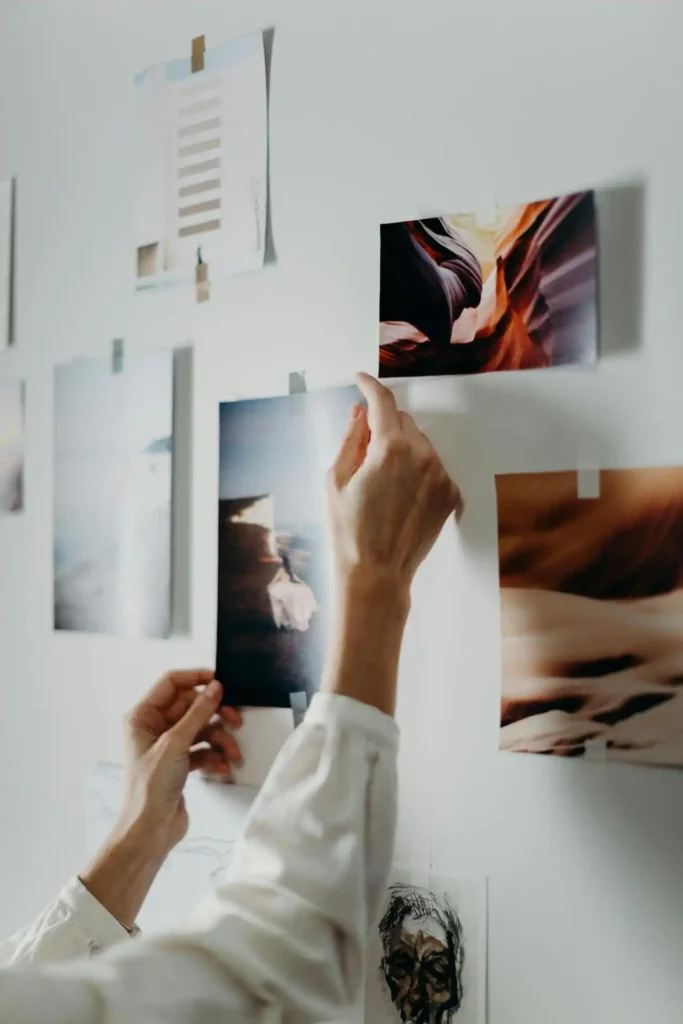
Switch to a physical board when you narrow down your choices. Pin fabric samples, paint chips, and printed photos to a large cork board or poster board.
Many designers use both methods together. They start digitally for broad inspiration, then create physical boards for final decision-making.
Choose the method that matches your working style. Some people need to touch and move physical elements, while others prefer the speed of digital tools.
Organizing Your Mood Board Effectively
Group similar elements together on your board. Place all color samples in one area, textures in another, and furniture images in a third section. This organization helps you see connections.
Create hierarchy with your most important elements. Make your focal point furniture piece the largest image on your board. Supporting elements should be smaller.
Leave white space around your elements. Crowded boards look overwhelming and make it hard to focus on individual pieces. Give each element room to breathe.
Label everything clearly if you’re working with a physical board. Write source information, prices, and item numbers on sticky notes. You’ll thank yourself later when you’re ready to purchase.
Step back and evaluate your board regularly. Does everything work together harmoniously? Remove elements that don’t support your overall vision.
Show your board to trusted friends or family members. Fresh eyes can spot issues you might miss after staring at your board for hours.
Testing Your Mood Board Vision
Create a small test area in your room using elements from your mood board. Paint a single wall in your chosen color or arrange a few pieces together.
This preview helps you spot potential problems. Ask yourself tough questions about practicality.
Live with your test area for several days. Notice how it makes you feel at different times of day. Does the morning light make you love it or question your choices?
Take photos of your test area from various angles. Sometimes cameras reveal issues your eyes miss in person. Colors might clash more than you realized.
Will that light-colored sofa show every spill? Can you actually afford all these elements? Be honest about your lifestyle and budget.
Make adjustments based on your testing experience. Swap out colors that don’t work or find alternative furniture pieces that better suit your needs.
Trust your instincts during this process. If something feels off, investigate why. Your gut reaction often reveals important information your logical mind missed.
Refining and Finalizing Your Board
Edit ruthlessly to create a cohesive final board. Remove elements that don’t support your main vision, even if you love them individually. Every piece should contribute to your overall goal.
Prioritize your must-have items versus nice-to-have pieces. Market your essential elements and note which items you could substitute or eliminate if needed.
Research where to buy each element on your final board. Note prices, availability, and delivery times. This information helps you plan your makeover timeline and budget.
Create a shopping list organized by priority and timeline. Group items you need immediately versus pieces you can add over time. This approach makes your makeover more manageable.
Take final photos of your completed mood board. These images become your reference guide throughout the makeover process. You can show them to salespeople and contractors for clarity.
Share your final board with anyone helping with your makeover. Everyone involved should understand your vision completely before work begins.
Conclusion
Your mood board transforms vague decorating dreams into concrete, actionable plans.
Start creating yours today and watch your room makeover become effortless and exciting.