5 Easy DIY Outdoor Décor Projects for the Weekend
Your outdoor space deserves the same attention you give your indoor rooms.
You don’t need a massive budget or professional skills to transform your patio, garden, or backyard into a stunning retreat.
These five weekend projects will help you create beautiful outdoor decor using simple materials and basic tools.
You’ll discover how satisfying it feels to craft something beautiful with your own hands.
Each project takes just a few hours to complete. You’ll have gorgeous new additions to your outdoor space before Monday morning arrives.
1. Mason Jar Solar Lights
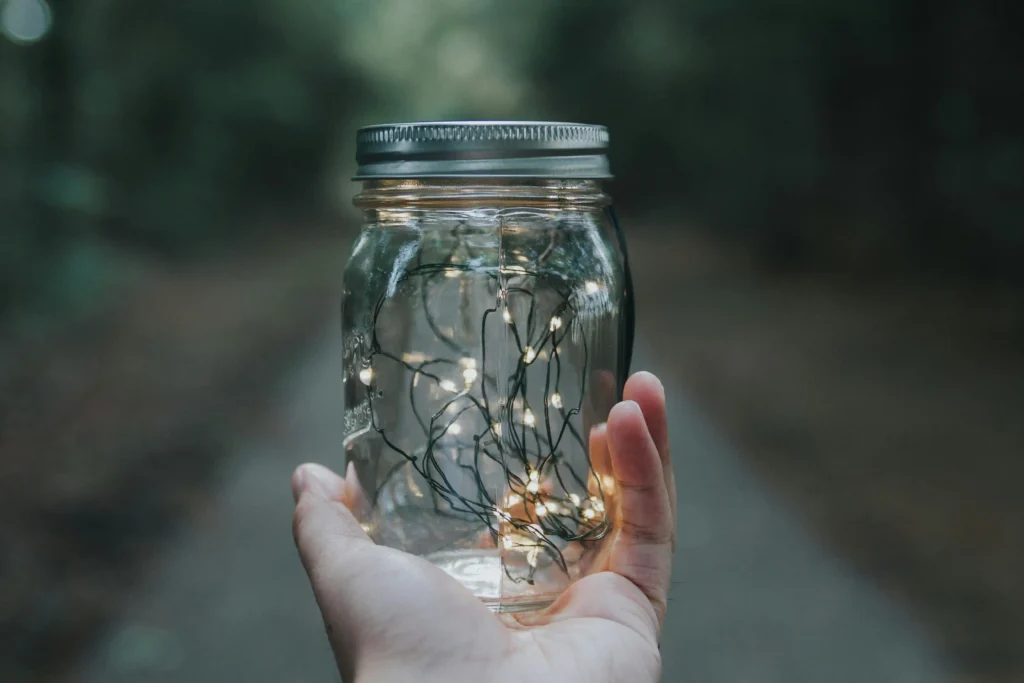
Transform ordinary mason jars into enchanting solar-powered lights that will illuminate your garden paths and create a magical evening ambiance.
This project combines rustic charm with modern, eco-friendly technology, and you’ll love how these lights cast dancing shadows through the glass.
Start by gathering wide-mouth mason jars, solar lid lights (available at most hardware stores), and decorative elements like colored glass stones or fairy lights.
You’ll also need wire cutters if you plan to modify the solar components.
Clean your mason jars thoroughly and let them dry completely. Remove any sticky residue from labels using warm soapy water and a scraper.
The cleaner your jars, the better your lights will look when finished.
Insert your solar lid directly onto the jar opening. Most solar lids fit standard wide-mouth jars perfectly, but test the fit before proceeding.
If you’re using fairy lights, thread them into the jar first, then position the solar panel on top.
Add decorative elements to create visual interest. Pour colored glass stones into the bottom of each jar for a beautiful foundation.
You can layer different colors or stick with a monochromatic scheme that matches your outdoor decor.
Position your solar lights where they’ll receive direct sunlight during the day.
Place them along walkways, hang them from shepherd’s hooks, or cluster them on patio tables. They’ll automatically turn on at dusk and provide hours of gentle illumination.
These lights work beautifully year-round and require minimal maintenance.
Simply wipe the solar panels clean occasionally and replace the rechargeable batteries when they no longer hold a charge.
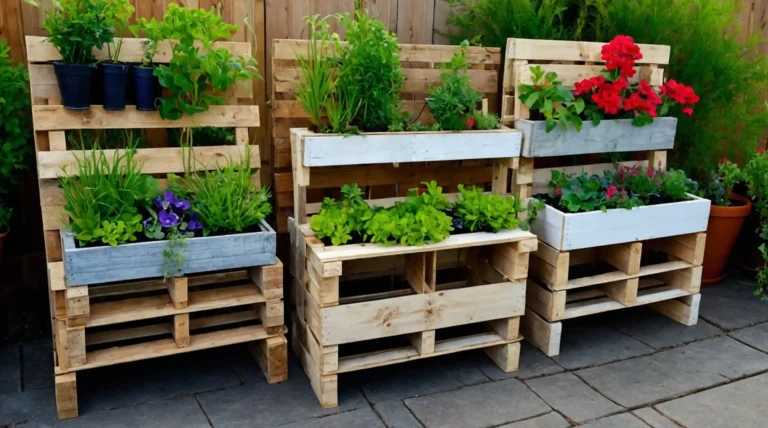
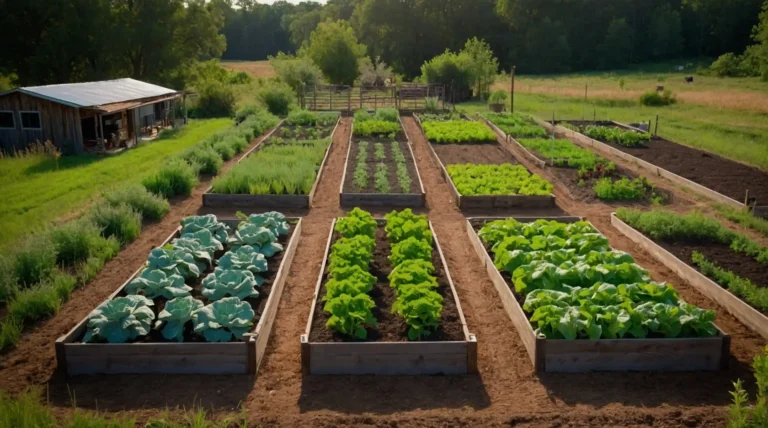
2. Pallet Herb Garden
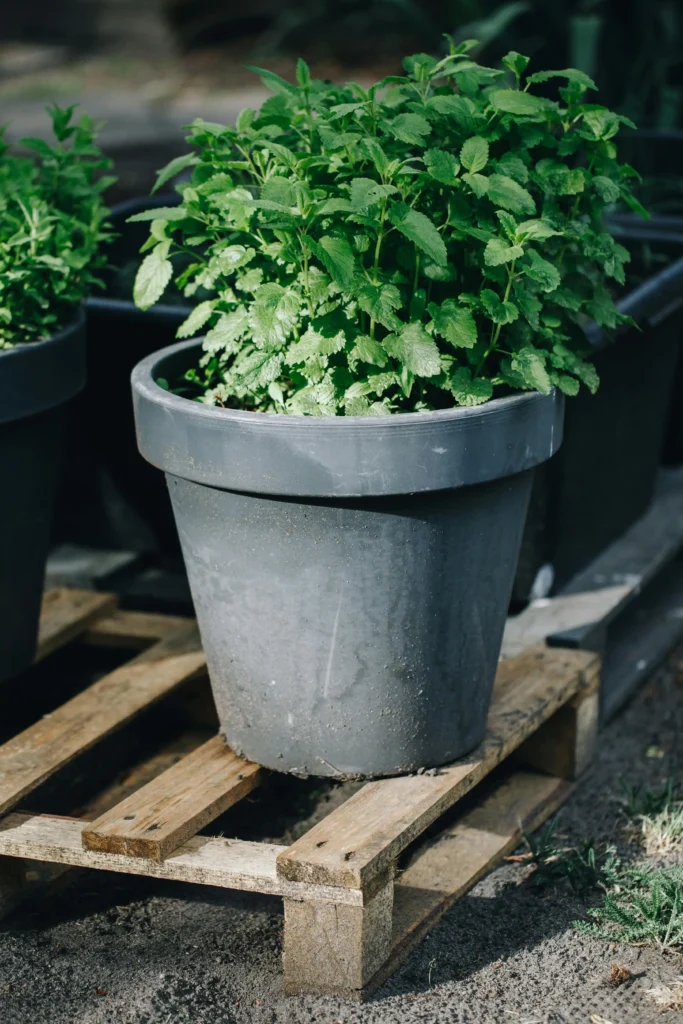
Create a vertical herb garden using a wooden shipping pallet that doubles as functional gardening space and attractive wall art.
This project maximizes your growing area while adding rustic appeal to any outdoor wall or fence.
Source a heat-treated pallet (look for the HT stamp) from local businesses or online marketplaces.
Avoid chemically treated pallets marked with MB, as these aren’t safe for food plants. Sand the pallet smooth to remove splinters and rough edges.
Attach landscape fabric to the back and bottom of the pallet using a heavy-duty staple gun.
This fabric prevents soil from falling through while allowing proper drainage. Overlap the fabric edges and staple them securely to ensure complete coverage.
Fill the pallet sections with high-quality potting soil mixed with compost.
Start from the bottom and work your way up, packing the soil firmly but not too tightly. Leave about an inch of space at the top of each section for watering.
Plant your herbs according to their growth habits and sun requirements.
Place trailing herbs like oregano and thyme in the bottom sections where they can cascade down. Position upright growers like basil and parsley in the middle and top sections.
Water your herb garden gently using a watering can with a fine rose attachment.
The soil will settle over the first few weeks, so add more as needed. Your herbs will establish quickly and provide fresh ingredients for your kitchen.
Mount your finished herb garden on a sunny wall or lean it against a fence where it receives at least six hours of direct sunlight daily.
You’ll have fresh herbs at your fingertips while adding living art to your outdoor space.
3. Tire Planter with Rope Design
Transform old tires into stylish planters that add texture and personality to your garden or patio.
The rope wrapping technique creates a sophisticated nautical look that complements any outdoor decor style.
Gather used tires from tire shops (they often give them away), natural jute rope, outdoor spray paint in your chosen color, and a hot glue gun with plenty of glue sticks.
Clean the tires thoroughly with degreasing detergent to remove all dirt and residue.
Paint the tires with outdoor spray paint in thin, even coats.
Apply multiple light coats rather than one heavy coat to prevent drips and ensure even coverage.
Let each coat dry completely before applying the next.
Start wrapping rope around the tire once the paint is completely dry.
Begin at the bottom and work your way up, keeping the rope tight and each row touching the previous one. Use hot glue every few inches to secure the rope in place.
Take your time with the rope wrapping process. Consistent tension creates a professional-looking finish, while uneven wrapping appears sloppy.
Pull each row tight and adjust as you go to maintain uniform spacing.
Create drainage by drilling several holes in the bottom of the tire if you plan to plant directly in it.
Alternatively, place a large pot inside the tire planter for easy plant changes and better drainage control.
Fill your tire planter with appropriate soil for your chosen plants. These planters work beautifully for flowers, succulents, or even small vegetables.
Position them strategically around your outdoor space to create visual anchor points.
The rope detail adds sophisticated texture while the tire provides durability that withstands all weather conditions.
You’ll appreciate how these planters maintain their appearance season after season with minimal maintenance.
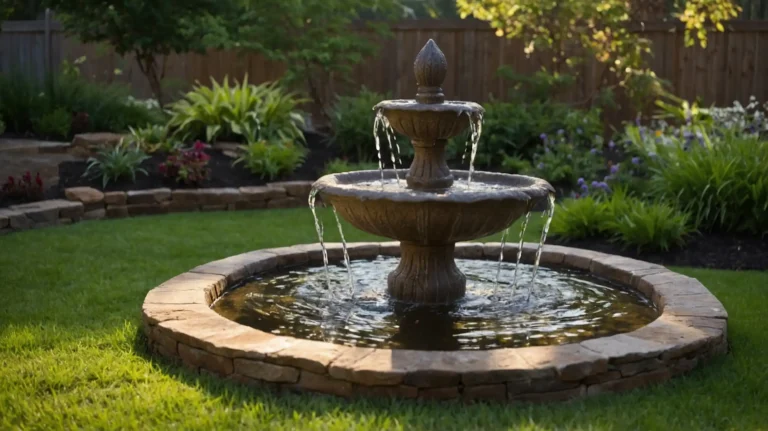
4. DIY Bird Bath from Terra Cotta Pots
Attract beautiful birds to your garden while creating an elegant focal point using simple terra cotta pots and saucers.
This classic design never goes out of style and provides essential water for local wildlife.
Purchase three different-sized terra cotta pots (small, medium, and large) along with matching saucers.
Choose pots with drainage holes, as you’ll use these holes for assembly. Also, gather waterproof outdoor sealant and decorative stones.
Clean all pots and saucers thoroughly, removing any dirt or manufacturing residue. Allow them to dry completely before beginning assembly.
Any moisture will interfere with the sealant’s adhesion.
Turn the large pot upside down and place the medium pot on top, also inverted. The drainage holes should align perfectly.
Apply waterproof sealant around the connection point and press firmly together.
Add the small pot on top of the medium pot using the same technique. You now have a three-tiered pedestal that creates the perfect height for a bird bath.
Let the sealant cure according to the manufacturer’s instructions.
Seal the drainage hole in the largest saucer using waterproof sealant.
This saucer becomes your water basin, so it must hold water without leaking. Allow the sealant to cure completely before testing.
Place the sealed saucer on top of your pot pedestal. Add decorative stones around the edge of the basin to provide perching spots for birds.
Fill with fresh water and position in a quiet area of your garden.
Change the water every few days to keep it fresh and prevent mosquito breeding.
Position your bird bath where you can enjoy watching the birds from inside your home while providing them with a safe drinking and bathing spot.
5. Hanging Macrame Plant Holders
Create bohemian-style hanging planters using macrame techniques that add vertical interest and free up valuable floor space on patios and decks.
These holders work beautifully with trailing plants and create stunning displays at varying heights.
Gather macrame cord (cotton rope works best), large wooden or metal rings for hanging, sharp scissors, and measuring tape.
Choose cord thickness based on your aesthetic preference – a thicker cord creates a more dramatic look, while a thinner cord appears more delicate.
Cut eight pieces of cord, each measuring four feet long.
Fold each piece in half and loop it through your hanging ring using a lark’s head knot. You now have sixteen working strands hanging from your ring.
Divide the strands into four groups of four strands each.
Measure down about six inches from the ring and tie each group together using a simple overhand knot. These knots create the top support structure for your plant holder.
Separate each group of four strands into two pairs.
Take one pair from each adjacent group and tie them together about eight inches below the first knots. This creates a diamond pattern that will cradle your pot.
Gather all sixteen strands together about six inches below the second row of knots and tie them in one large knot.
This bottom knot prevents your pot from slipping through the holder. Trim the excess cord below this knot to your desired length.
Test your macrame holder with an empty pot to ensure proper fit and support. Adjust knot placement if necessary before adding soil and plants.
The holder should support the pot securely without allowing it to tip or slide.
Hang your completed planters from sturdy hooks or brackets that can support the weight of the pot, soil, and plant when watered.
Space multiple hangers at different heights to create an attractive vertical garden display.
Conclusion
These five projects prove that beautiful outdoor décor doesn’t require professional skills or expensive materials. You’ll enjoy your enhanced outdoor space all season long.