DIY Outdoor Seating Ideas That Don’t Cost a Fortune
Creating comfortable outdoor seating doesn’t require expensive patio furniture or a professional contractor.
You can build stunning seating solutions using everyday materials, basic tools, and weekend afternoons.
These budget-friendly DIY projects transform ordinary spaces into inviting outdoor retreats where family and friends will love gathering for years to come.
Transform Pallets into Stylish Seating
Wooden pallets offer incredible versatility for outdoor furniture projects while costing very little or nothing at all.
You can often find free pallets at construction sites, shipping companies, or local businesses that receive regular deliveries.
Start by selecting pallets in good condition without broken boards, protruding nails, or chemical stains.
Sand all surfaces thoroughly to remove splinters and rough spots that could snag clothing or injure guests.
This preparation step ensures professional-looking results and comfortable seating.
Create a simple bench by stacking two pallets and securing them with wood screws. Add a third pallet vertically as a backrest, attaching it firmly to prevent wobbling.
This basic design provides comfortable seating for multiple people while requiring minimal tools and expertise.
For added comfort, cut outdoor cushions to fit your pallet dimensions or sew custom covers using weather-resistant fabric.
These soft touches transform rustic pallets into comfortable seating that rivals store-bought options at fraction of the cost.
Build Durable Cinder Block Furniture
Cinder blocks provide an affordable foundation for countless seating configurations that you can easily modify or expand as your needs change.
These versatile building materials cost just a few dollars each while offering incredible durability and design flexibility.
Create simple benches by laying wooden boards across cinder blocks spaced at comfortable intervals. Choose pressure-treated lumber or cedar boards that resist weather damage and insect problems.
This combination provides sturdy seating that looks intentional rather than makeshift.
Stack cinder blocks to create different seating heights and configurations.
Two-block stacks work perfectly for standard seating height, while single blocks create casual perimeter seating around fire pits or conversation areas.
The modular nature allows endless customization.
Paint cinder blocks in colors that complement your outdoor decor or leave them natural for industrial-chic aesthetics.
Use masonry paint designed for outdoor use to ensure colors stay vibrant despite weather exposure. Add cushions or outdoor pillows for comfort and style.
Repurpose Tree Stumps as Natural Stools
Tree stumps provide ready-made seating that brings natural beauty to outdoor spaces while costing nothing more than removal effort.
If you don’t have stumps on your property, tree services often provide them free since disposal costs money.
Choose stumps with flat, stable tops and remove any loose bark that might harbor insects or decay over time.
Sand the top surface smooth and apply outdoor wood preservative to prevent rot and extend the stump’s useful life.
Create cushioned seating by adding round outdoor cushions that you can easily remove for storage or cleaning.
Choose cushions slightly smaller than stump tops to prevent water from pooling underneath and causing mold problems.
Arrange multiple stumps at varying heights to create interesting seating groups that accommodate different users and activities.
This natural variation adds visual interest while providing comfortable options for adults and children alike.
Design Custom Storage Benches
Storage benches serve double duty by providing seating while hiding outdoor essentials like cushions, games, or gardening supplies.
You can build these practical pieces using basic carpentry skills and affordable materials from home improvement stores.
Start with a simple box frame using pressure-treated lumber or composite decking materials. Add a hinged lid that opens easily but stays securely closed during normal use.
Include safety hinges that prevent the lid from slamming shut and potentially injuring fingers.
Line the interior with weather-resistant materials to protect stored items from moisture and pests.
Use marine-grade plywood or plastic sheeting to create a barrier that keeps contents dry even during heavy rains.
Add comfortable seating surfaces using outdoor cushions or by upholstering the lid with weather-resistant fabric and foam.
This finishing touch transforms utilitarian storage into comfortable seating that guests will actually want to use.
Create Cozy Fire Pit Seating
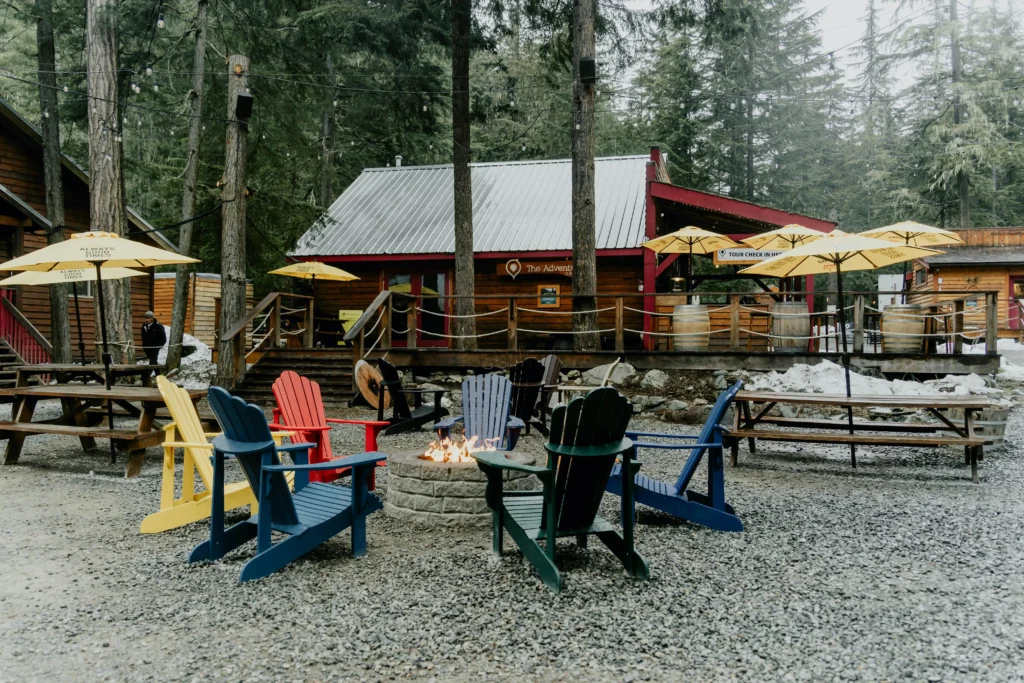
Fire pit areas require specialized seating that can withstand heat while providing comfortable gathering spots for evening entertainment.
You can create these essential elements using heat-resistant materials and simple construction techniques.
Build curved benches using concrete blocks or stones arranged in semicircles around your fire pit. Leave appropriate distances for safety while ensuring conversation remains easy and intimate.
These permanent installations provide reliable seating that requires no maintenance.
Create moveable seating using tree rounds or large stones that you can rearrange for different group sizes and activities.
Sand the tree rounds smooth and treat them with fire-resistant sealers to prevent cracking and splitting from heat exposure.
Add removable cushions that you can store indoors when not in use.
Choose fire-resistant fabrics and keep cushions at safe distances from flames while providing comfort during cooler evening gatherings.
Upcycle Indoor Furniture for Outdoor Use
Many indoor furniture pieces can successfully transition to outdoor use with proper preparation and weatherproofing treatments.
This approach gives new life to pieces you might otherwise discard while creating unique outdoor seating.
Refinish wooden chairs and benches using outdoor-rated paints and sealers that protect against moisture, UV damage, and temperature fluctuations.
Choose light colors that reflect heat and won’t become uncomfortably hot in direct sunlight.
Convert indoor ottomans and small tables into outdoor seating by reupholstering with weather-resistant fabrics and adding protective feet that won’t damage deck surfaces.
These pieces add comfort and style while costing much less than purpose-built outdoor furniture.
Protect metal furniture from rust using appropriate primers and outdoor paints.
Sand away any existing rust before applying new finishes to ensure long-lasting protection and attractive appearances.
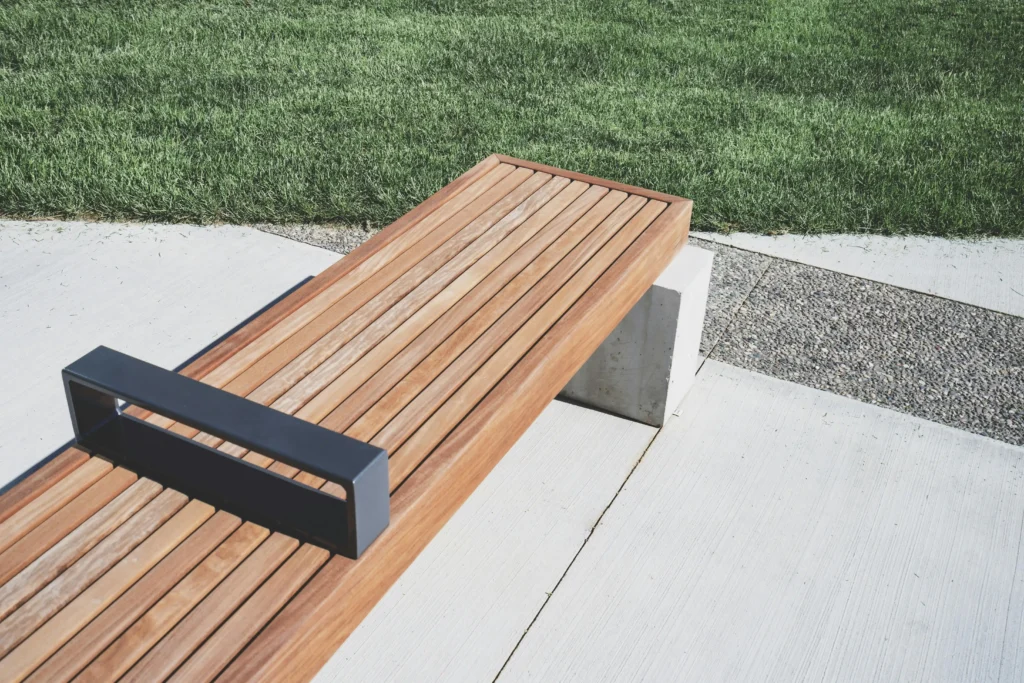
Build Elevated Deck Seating
Built-in deck seating maximizes space while providing permanent solutions that won’t blow away in storms or require seasonal storage.
These integrated designs create seamless transitions between deck surfaces and seating areas.
Construct simple bench frames using deck joist materials and techniques, ensuring proper support and attachment to existing deck structures.
Match materials and finishes to existing decking for cohesive appearances that look professionally installed.
Create L-shaped or U-shaped seating configurations that define conversation areas while maximizing seating capacity in compact spaces.
These arrangements work especially well for corner locations and small decks where freestanding furniture might feel cramped.
Add hinged tops to create hidden storage beneath seating areas.
This dual-purpose design keeps deck surfaces clean while providing convenient storage for cushions, outdoor games, and entertainment supplies.
Craft Tire Ottoman Seating
Old tires provide durable, weather-resistant foundations for unique ottoman-style seating that costs almost nothing to create.
This creative upcycling project transforms waste materials into functional outdoor furniture with distinctive character.
Clean tires thoroughly and fill centers with weather-resistant materials like outdoor cushions, wooden circles covered with outdoor fabric, or even planted succulents for living ottoman tops.
These different approaches create various aesthetic effects.
Wrap tire exteriors with rope, outdoor fabric, or leave them painted for different style effects. Rope wrapping creates nautical themes, while bright paint colors add playful elements to casual outdoor spaces.
Stack tires to create different heights and seating configurations.
Single tires work well for foot rests and casual seating, while double tires provide standard chair height for more formal seating arrangements.
Design Concrete Seating Elements
Concrete offers incredible durability and design flexibility for outdoor seating projects while remaining surprisingly affordable for DIY applications.
You can create everything from simple stools to elaborate built-in seating using basic concrete techniques.
Pour simple concrete stools using large planters or buckets as molds.
Add reinforcing materials like rebar or wire mesh to prevent cracking, and include colorants or decorative aggregates for visual interest.
Create larger bench forms using wooden frames lined with plastic sheeting. This approach allows custom sizing while keeping material costs reasonable.
Add embedded anchor points for removable cushions or back supports.
Finish concrete surfaces with appropriate sealers that protect against weather damage while enhancing appearance.
Choose slip-resistant additives for surfaces that might become wet, ensuring safety during all weather conditions.
Master Budget-Friendly Materials
Shop clearance sections and end-of-season sales for materials and cushions that you can use in DIY seating projects.
Many retailers discount outdoor items dramatically when seasons change, providing opportunities for significant savings.
Visit lumber yards and building supply stores for discounted or slightly damaged materials that work perfectly for outdoor projects.
Minor cosmetic flaws disappear under paint or stain while providing substantial cost savings.
Check online marketplaces and classified ads for free or low-cost materials like pallets, concrete blocks, or furniture pieces suitable for upcycling.
Many people happily give away materials they no longer need.
Consider bulk purchases when planning multiple seating pieces.
Buying materials in larger quantities often reduces per-unit costs while ensuring consistent appearances across your outdoor space.
Essential Tools and Techniques
Invest in basic tools that you’ll use repeatedly for outdoor furniture projects.
A circular saw, drill, sandpaper, and measuring tools handle most DIY seating construction while remaining affordable for occasional users.
Learn fundamental woodworking joints like pocket screws and simple lap joints that create strong connections without requiring advanced skills.
These techniques produce professional-looking results using basic tools and readily available hardware.
Practice proper finishing techniques that protect your work from weather damage.
Proper sanding, priming, and topcoat application make the difference between projects that last years versus those that deteriorate quickly.
Plan projects during favorable weather when you can work comfortably and finishes cure properly.
Rushing projects during poor conditions often leads to disappointing results and wasted materials.
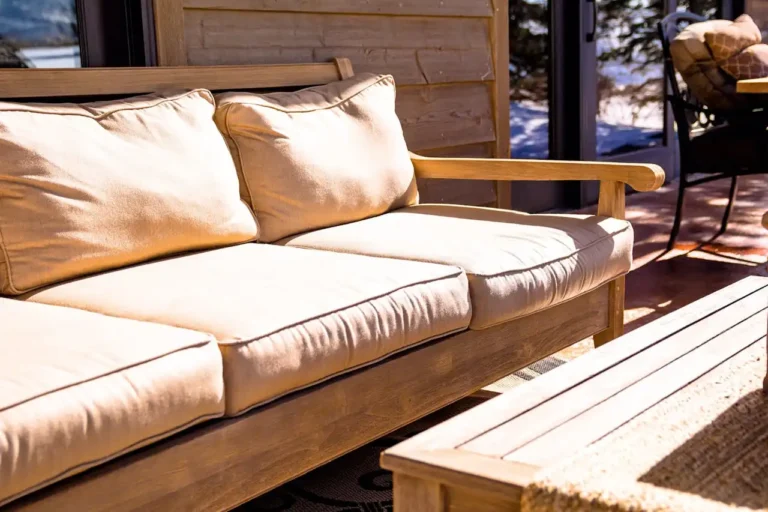
Add Comfort with DIY Cushions
Sew simple outdoor cushions using weather-resistant fabrics and outdoor foam that costs much less than ready-made options.
Choose fabrics specifically designed for outdoor use that resist fading, mold, and moisture damage.
Create removable covers with zippers or ties that allow easy cleaning and seasonal storage. This approach extends cushion life while keeping seating areas fresh and hygienic throughout outdoor seasons.
Fill cushions with quick-dry foam or synthetic materials that won’t absorb moisture and develop mold problems.
Avoid down or cotton fills that retain water and create unpleasant odors in outdoor environments.
Make multiple cushion covers in different colors or patterns that you can swap seasonally or for special occasions.
This approach provides design flexibility while protecting your investment in quality cushion forms.
Weatherproofing and Maintenance Tips
Apply appropriate finishes to all wood surfaces before exposing them to outdoor conditions.
Use exterior-grade stains, paints, or clear sealers that provide UV protection and moisture resistance for long-lasting beauty.
Establish regular maintenance schedules that address small problems before they become major repairs.
Annual cleaning, touch-up painting, and hardware tightening prevent deterioration and extend furniture life.
Store removable cushions and accessories indoors during harsh weather or off-seasons.
This practice prevents unnecessary wear while ensuring pieces look fresh when returned to service.
Choose hardware and fasteners designed for outdoor use that won’t rust or deteriorate when exposed to moisture.
Stainless steel or galvanized options cost slightly more but prevent ugly stains and structural failures.
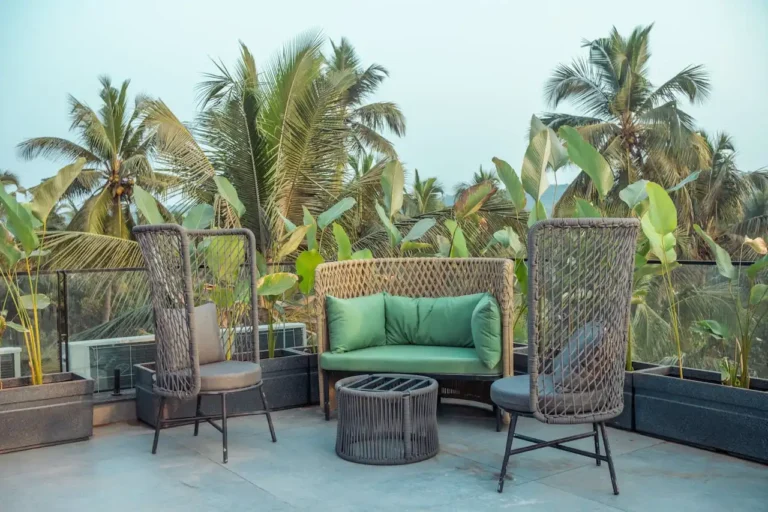
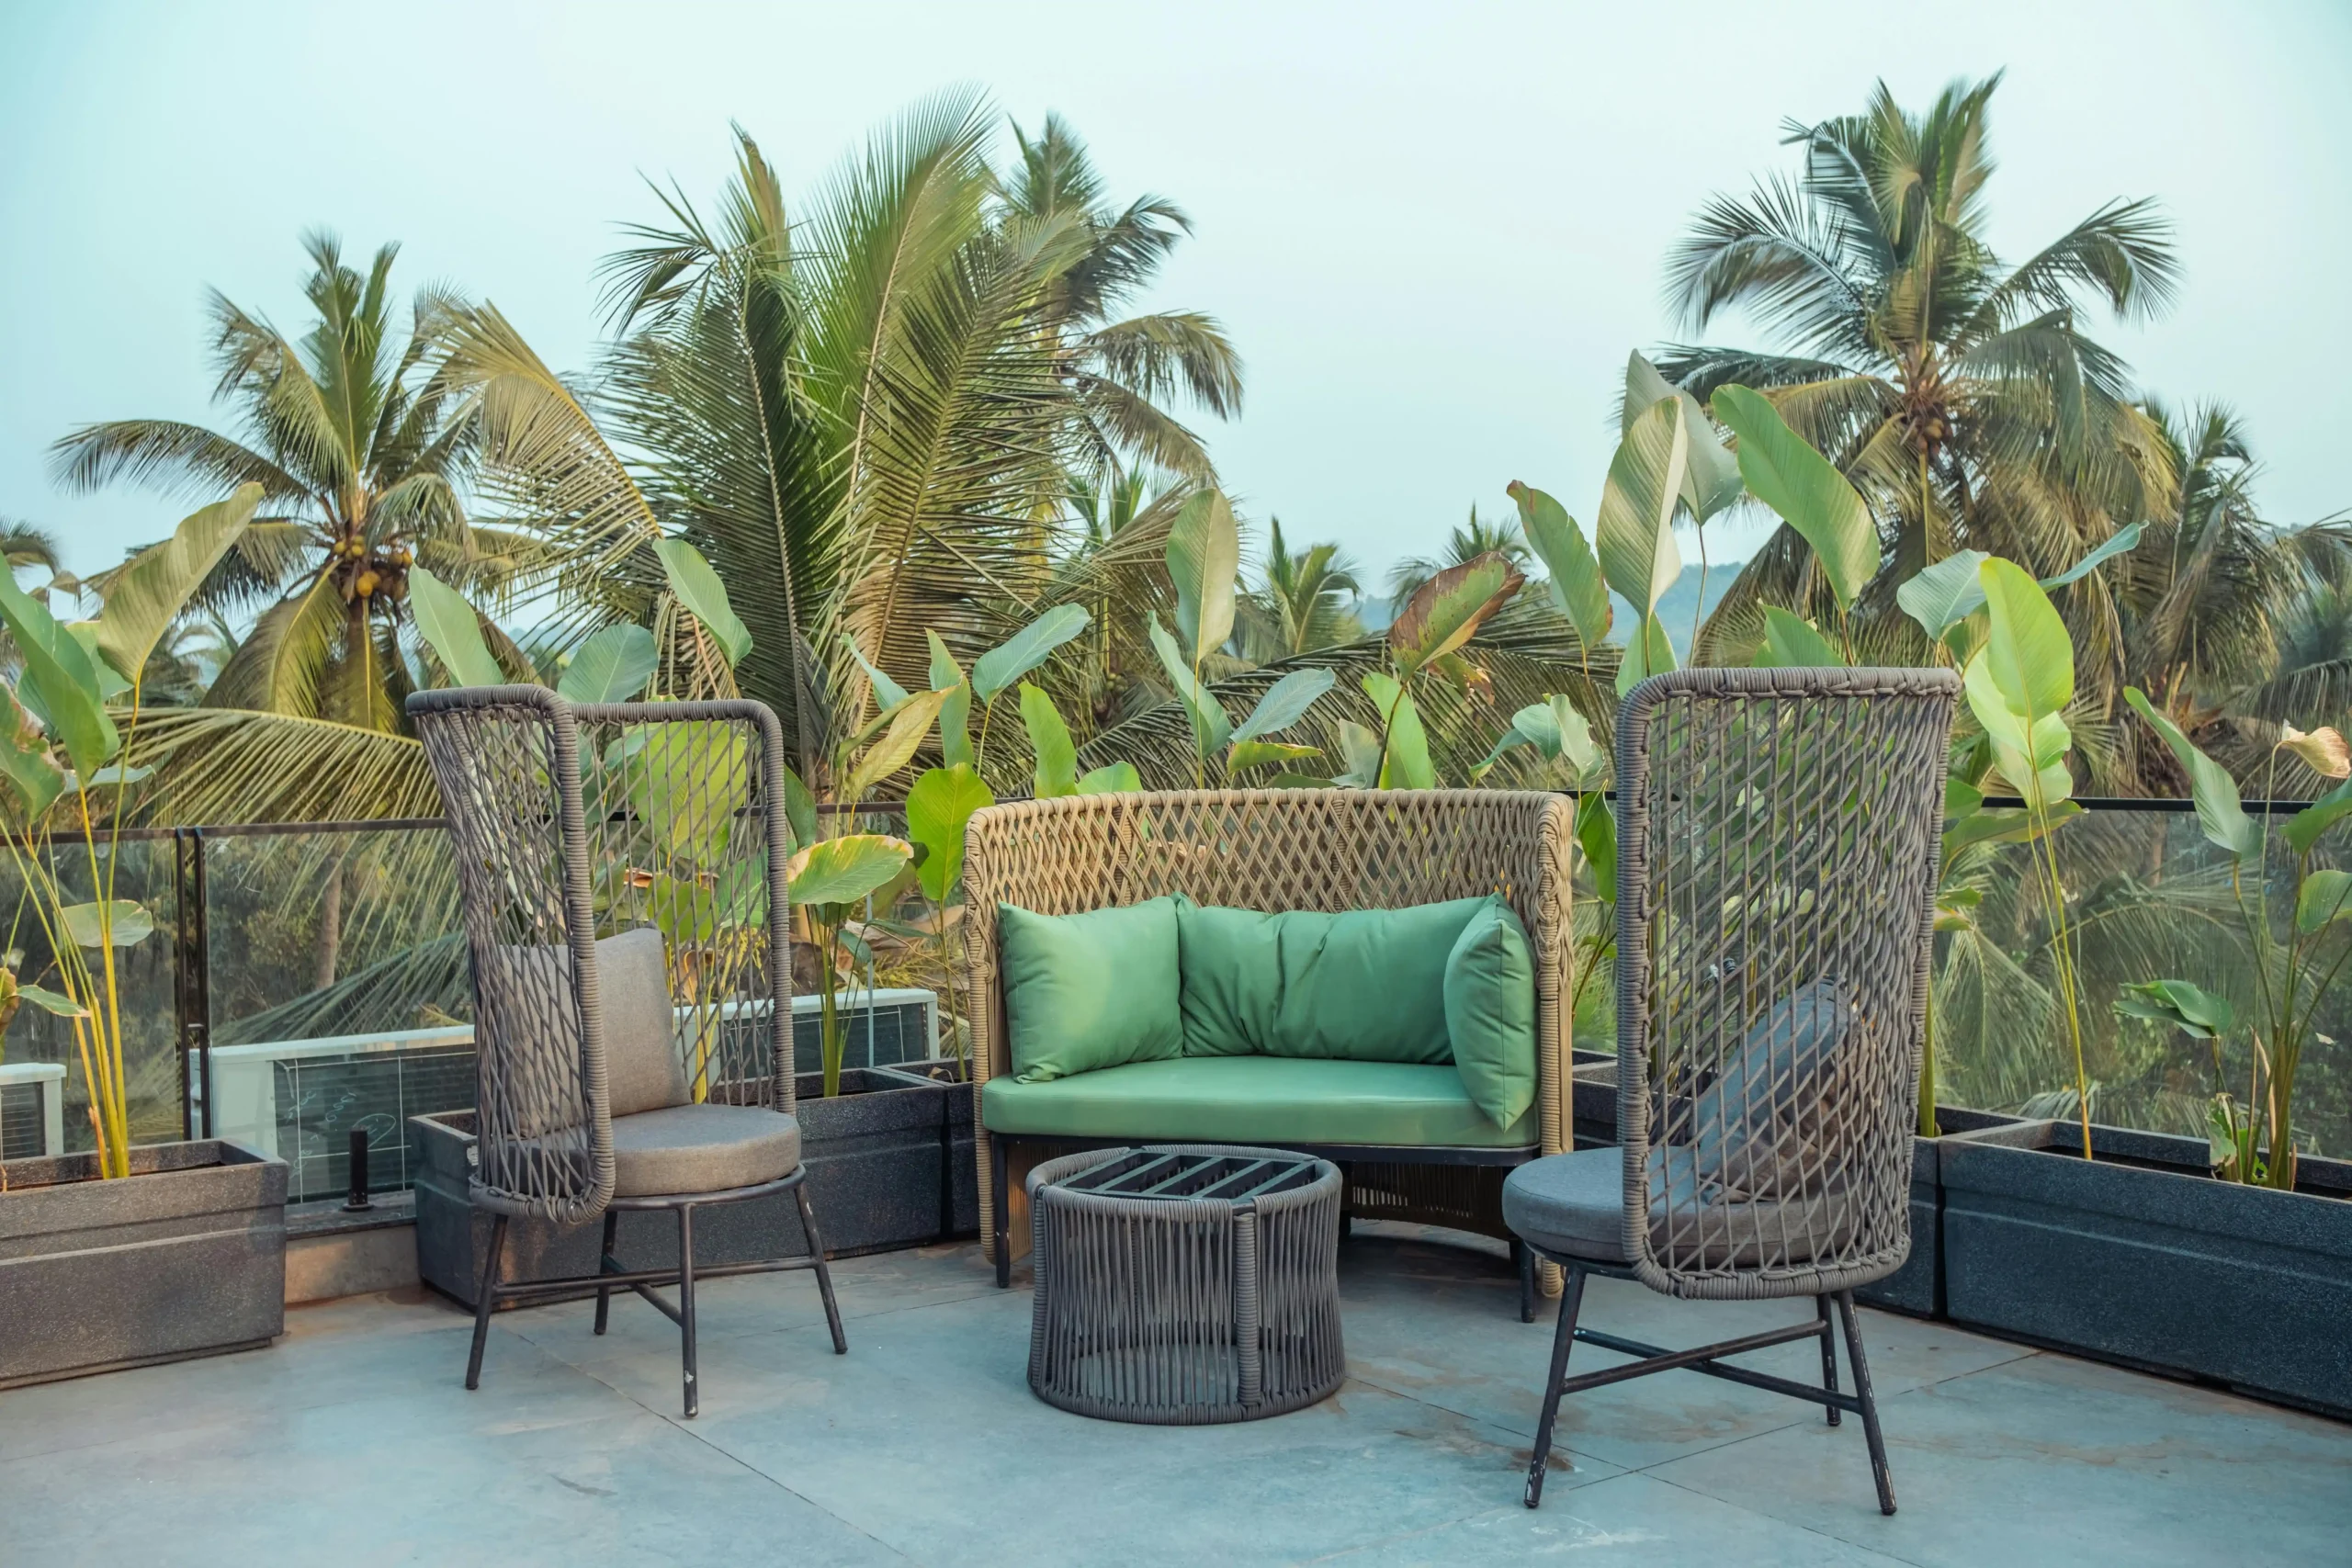
Styling Your DIY Seating
Arrange seating pieces to encourage conversation while accommodating traffic flow through your outdoor space.
Create intimate groupings that feel welcoming without blocking important pathways or views.
Add coordinating accessories like outdoor pillows, throws, and side tables that tie your DIY pieces together visually.
These finishing touches make budget furniture look intentional and professionally designed.
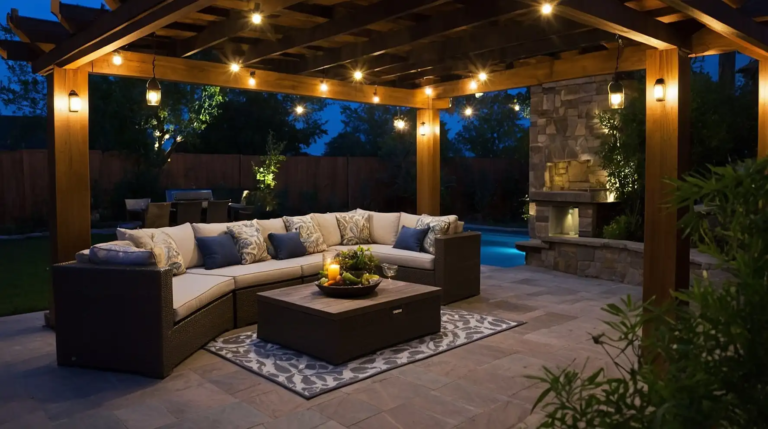
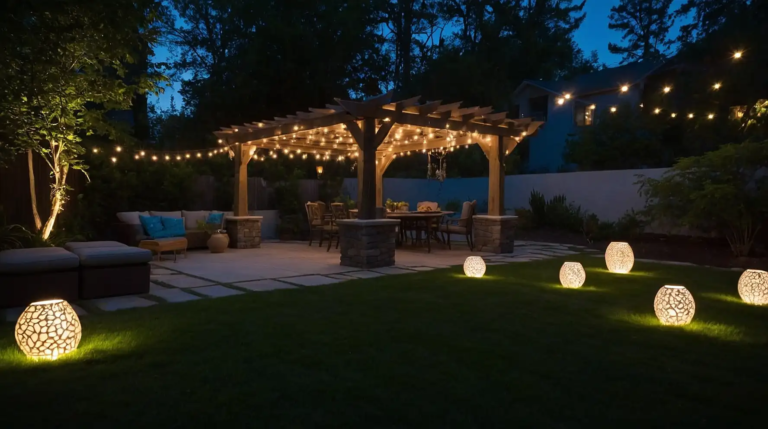
Incorporate lighting elements like string lights, lanterns, or solar fixtures that make seating areas usable during evening hours.
Good lighting extends the usability of your outdoor investment throughout longer days.
Use plants and landscaping to frame and soften hard edges of DIY furniture pieces.
Strategic plantings integrate furniture into your overall outdoor design while adding natural beauty and privacy.
Conclusion
Create stunning outdoor seating using these budget-friendly DIY techniques that transform everyday materials into comfortable, stylish furniture perfect for entertaining and relaxation.