How to Build a Garden Gate: Your Complete DIY Guide
Building your own garden gate transforms your outdoor space while giving you complete control over style and functionality.
Whether you want to keep pets contained, create privacy, or simply add charm to your garden entrance, constructing a custom gate puts the perfect finishing touch on your landscape design.
Planning Your Perfect Gate

Start by measuring your gate opening carefully. You’ll want to account for hinges, latches, and about half an inch of clearance on each side.
Standard garden gates range from 32 to 48 inches wide, but you can customize yours to fit your specific needs.
Choose your materials based on your climate and aesthetic preferences. Cedar and redwood resist rot naturally, making them excellent choices for outdoor projects.
Pressure-treated pine costs less but requires regular maintenance. Metal hardware should be galvanized or stainless steel to prevent rust.
Sketch your design before you start cutting.
Decide whether you want a simple frame-and-picket style, a solid privacy gate, or something with decorative elements. This planning stage saves you time and materials later.
Gathering Your Tools and Materials
You’ll need basic woodworking tools for this project. Grab a circular saw or miter saw, drill, level, measuring tape, and pencil. Don’t forget safety equipment like glasses and hearing protection.
For materials, calculate your lumber needs based on your design.
You’ll typically need 2x4s for the frame, 1x6s or 1x4s for pickets, and quality hinges and a latch.
Pick up galvanized screws and wood glue while you’re at the hardware store.
Consider purchasing a gate kit if you’re new to woodworking.
These kits include pre-cut materials and detailed instructions, though they limit your customization options.
Building the Frame Foundation
Cut your frame pieces to size using your measurements.
A typical gate frame consists of two vertical stiles, two horizontal rails, and a diagonal brace for stability. The diagonal brace prevents sagging over time.
Lay out your frame pieces on a flat surface. Apply wood glue to the joints, then secure them with galvanized screws.
Drive screws from the outside of the frame into the rail ends for the strongest connection.
Check your frame for square by measuring diagonally from corner to corner. Both measurements should match exactly. Adjust if necessary before the glue sets.
Install your diagonal brace from the bottom corner on the hinge side to the top corner on the latch side.
This orientation supports the gate’s weight properly and prevents sagging.
Adding Pickets and Hardware

Space your pickets evenly across the frame. Many builders use a scrap piece of wood as a spacer to maintain consistent gaps.
Attach each picket with two screws at the top rail and two at the bottom rail.
Pre-drill screw holes to prevent splitting, especially near the ends of boards. Countersink screws slightly so you can fill the holes with wood putty later if desired.
Install your hinges on the gate first, then position the gate in the opening. Mark hinge locations on your gate post and attach the hinges.
Heavy-duty strap hinges work well for garden gates and add rustic charm.
Mount your latch at a comfortable height, typically 36 to 42 inches from the ground. Test the gate’s swing and adjust the latch position if needed.
Finishing Touches That Last
Sand your completed gate with 120-grit sandpaper to smooth rough edges and surfaces. Pay special attention to areas where people might touch the gate.
Apply your chosen finish within a few days of completion.
Stain enhances wood grain while providing protection, or you can paint for a more polished look.
Use exterior-grade products designed for your climate.
Install a gate stop to prevent the gate from swinging past its intended position. A simple block of wood screwed to the gate post works perfectly.
Consider adding decorative elements like metal accents, carved details, or climbing plant supports to make your gate truly unique.
Maintenance for Longevity

Inspect your gate seasonally for loose screws, worn hinges, or signs of rot. Tighten hardware as needed and replace any damaged components promptly.
Reapply finish every two to three years, or when the wood starts looking weathered. Clean the gate with mild soap and water before refinishing.
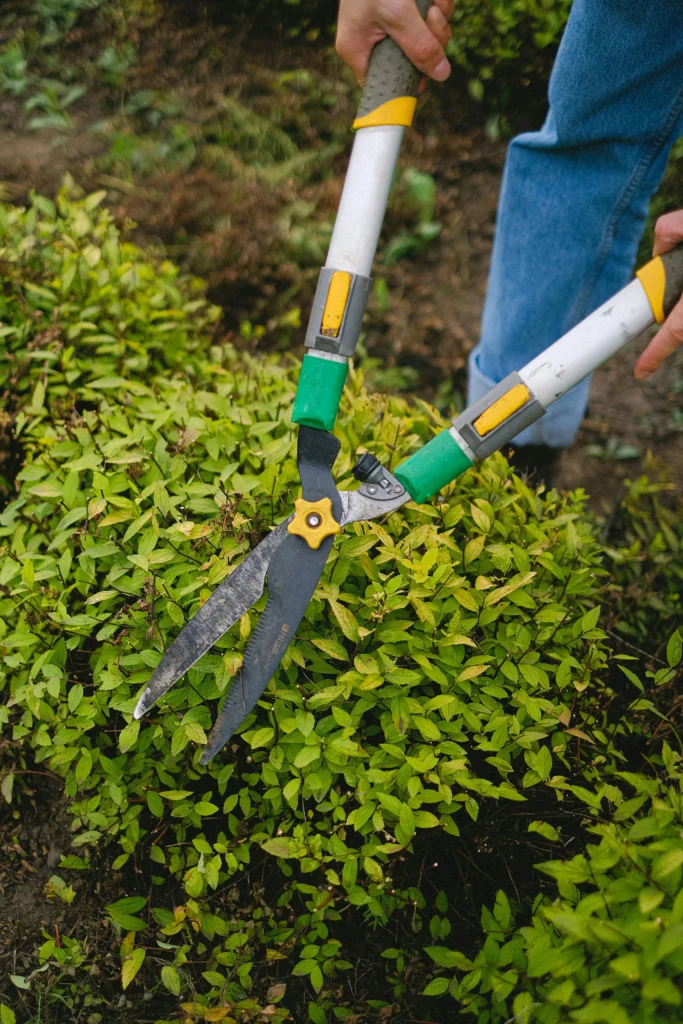
Keep vegetation trimmed away from the gate to promote air circulation and prevent moisture buildup. This simple step significantly extends your gate’s lifespan.
Oil hinges and latches annually to keep them operating smoothly. A few drops of machine oil prevents squeaking and ensures easy operation.
Conclusion
Building your own garden gate combines practical skills with creative expression, resulting in a functional feature that enhances your outdoor space for years to come.